Install Windows 11

In this chapter, we will see how to install Windows 11 Enterprise on a new machine from an ISO file and how to complete the initial setup that runs the first time the system starts.
The demos in this course will use the free hypervisor VirtualBox.
Before that, take a quick look at Microsoft hardware recommendations to make sure the machine you will install Windows on, whether physical or virtual, meets the minimum requirements: Windows 11 specifications and system requirements
Start the Installation
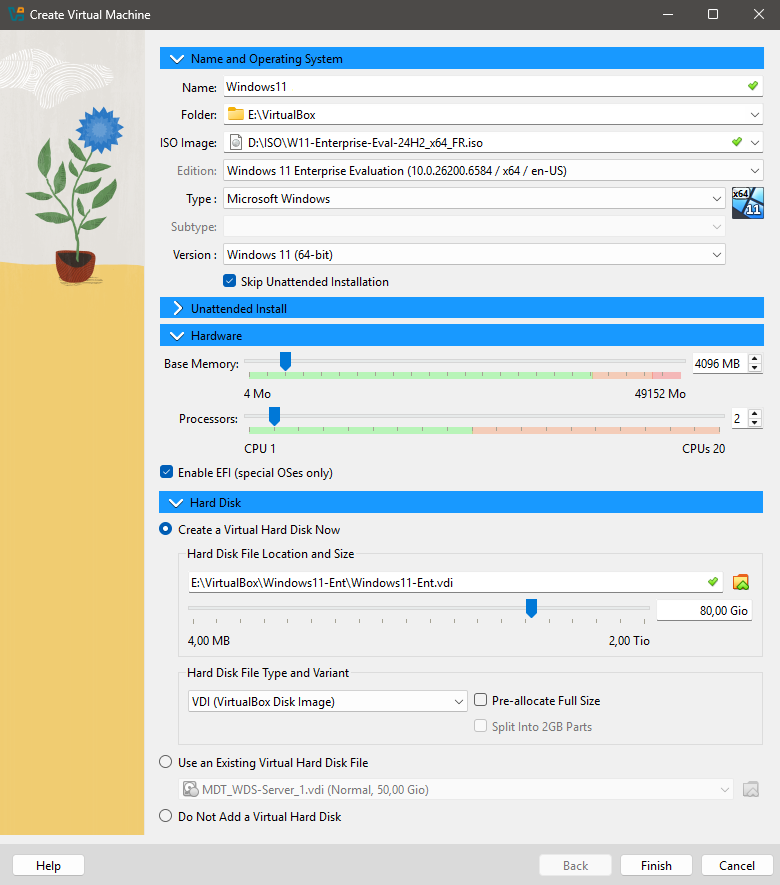
It is time to start our Windows 11 installation! Create a new virtual machine with the following settings:
ISO Image: select the Windows 11 Enterprise ISO file you downloaded in the previous chapter from your computer
Check the "Skip Unattended Installation" box
Memory: 4096 MB
Processors: 2
Check the "Enable EFI (special OSes only)" box
Hard Disk File Size: 80 GiB
Once your virtual machine is created, you can start it to launch the installation. You can find every step of this first part of the installation in this video:
When the machine starts, press any key to boot from the installation media.

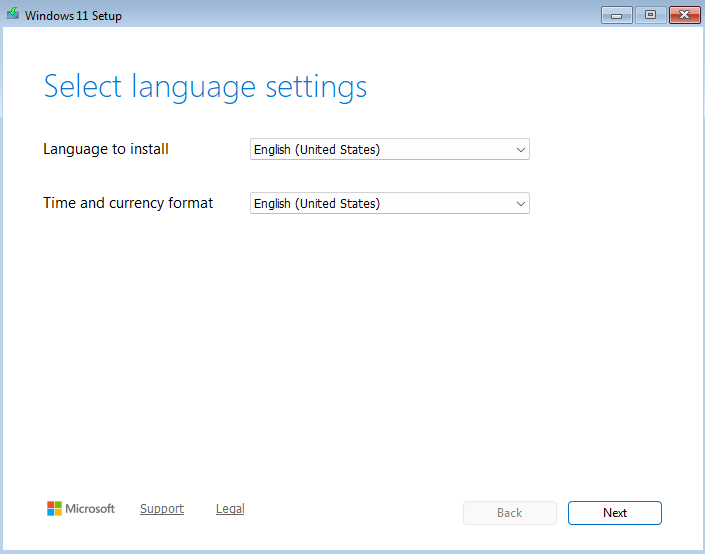
Start by choosing the system language, time and currency time format.
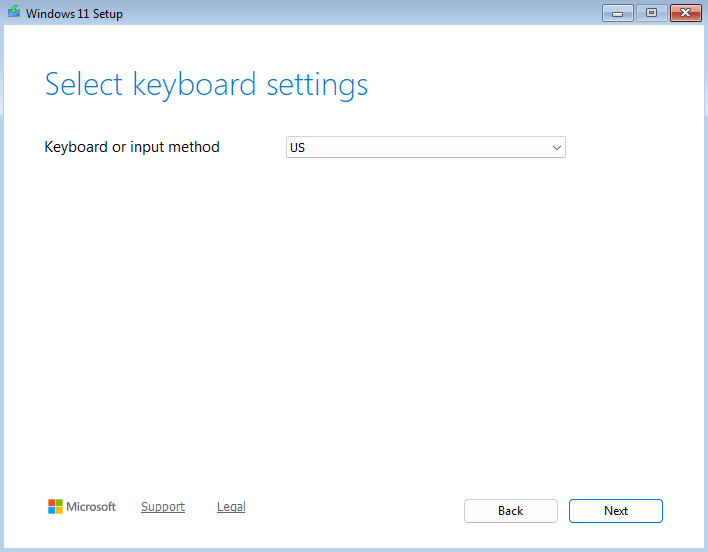
Select your keyboard layout.
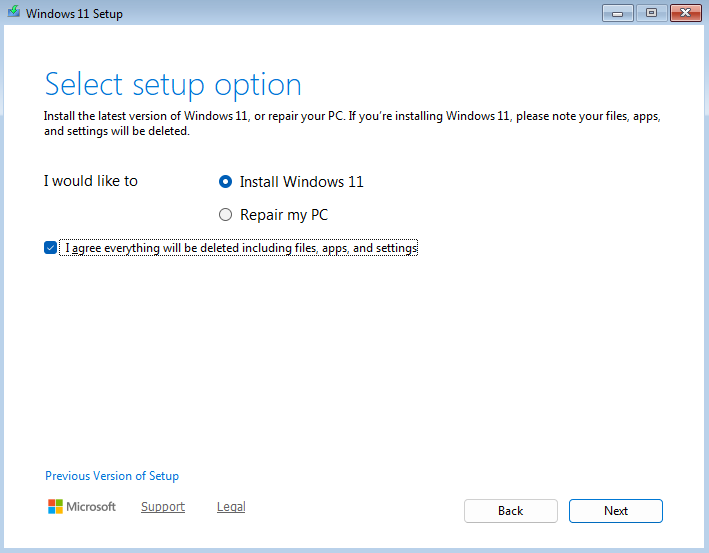
We are performing a new installation, so select the "Install Windows 11" option and check the “I agree everything will be deleted” box to confirm that the data currently on the disk will be removed (personal files, apps, settings, and so on).
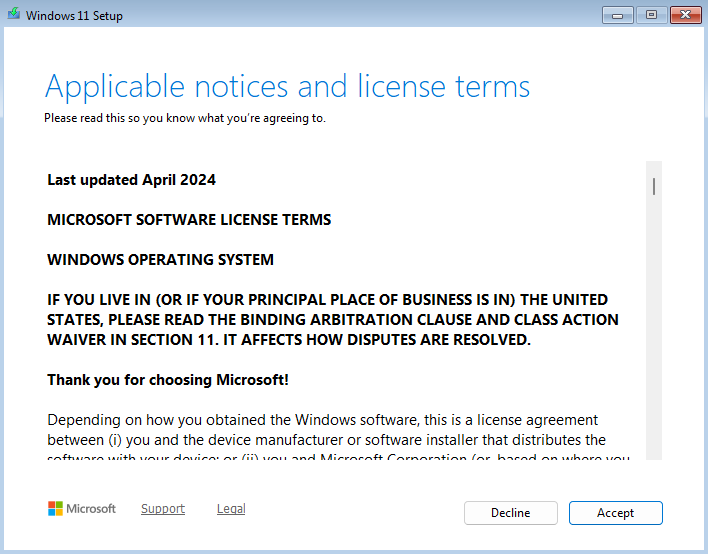
Accept the license terms.
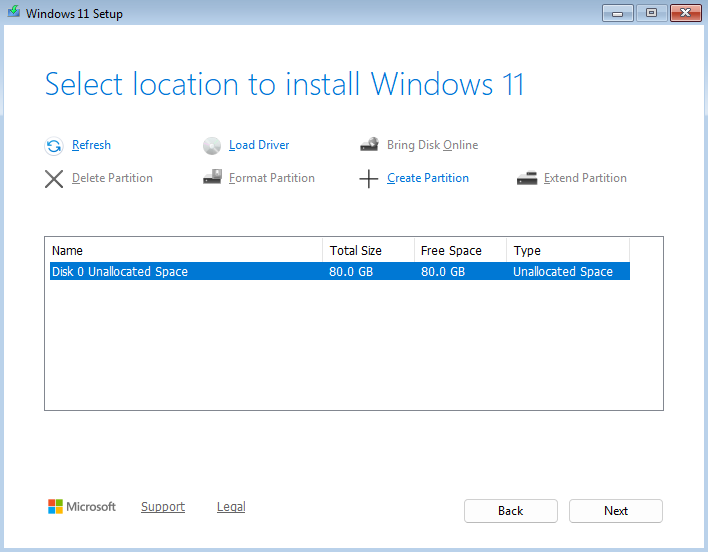
Select the disk where you want to install Windows. By default, there is only one disk here, Disk 0, so there is nothing else to do and you can click Next right away. Default partitioning will be performed automatically.
You can now start the Windows 11 installation.

The installation will take a few minutes.
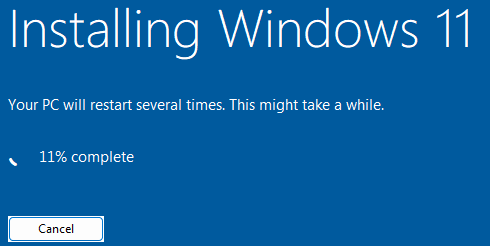
The machine will restart automatically several times during the installation. Do not touch anything.
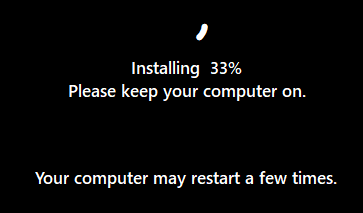
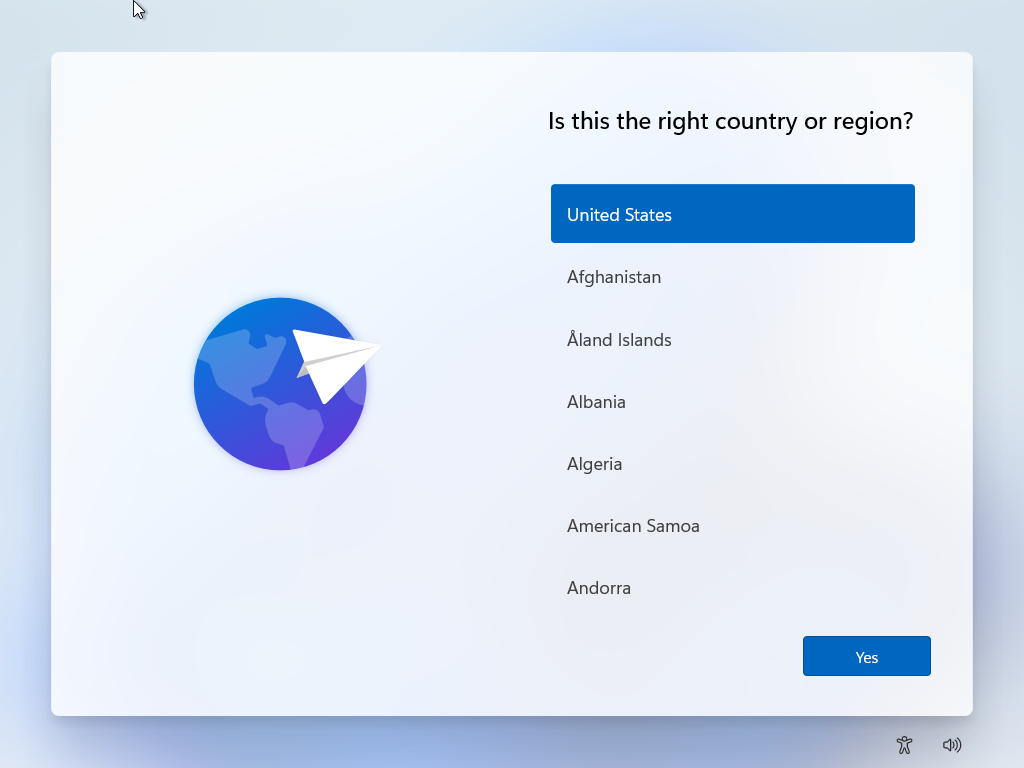
After yet another restart, you will reach a window asking you to select the country. At that point, Windows 11 has been installed on the machine's hard drive, and you can move on to the next step: OOBE configuration.
Customize the Initial Setup (OOBE)
The OOBE (Out-Of-Box Experience) phase in Windows is the initial setup step that launches automatically the first time a machine starts after a Windows installation or reinstallation, and sometimes after a major update.
It lets you choose the language, configure an account, and adjust privacy settings. This step is essential for customizing the Windows environment before it is used.
Let's continue the installation step by step, guided by this video:
Select the country.
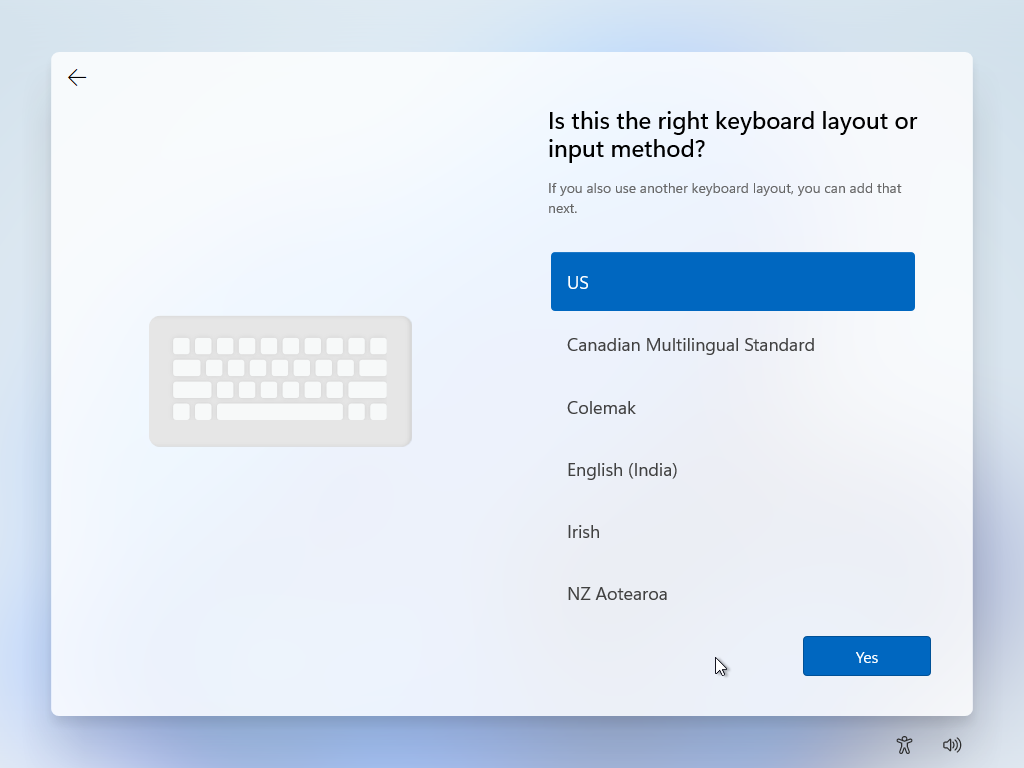
Select your keyboard layout.
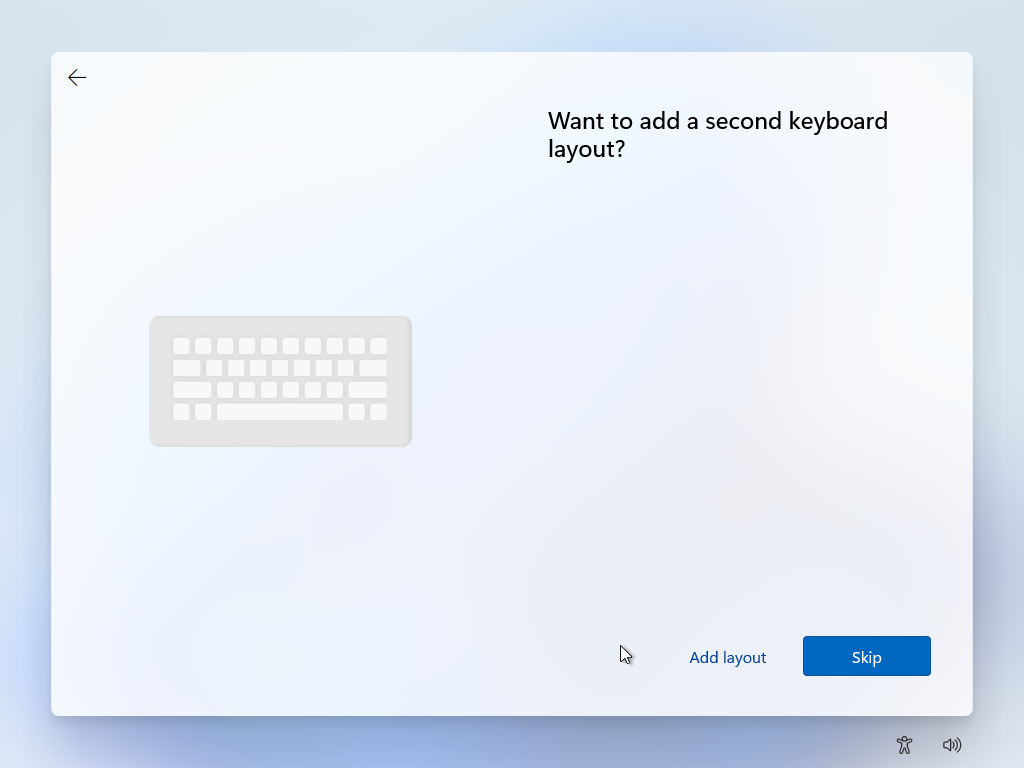
You can add a second keyboard layout if you want, such as AZERTY, or skip this question and continue.
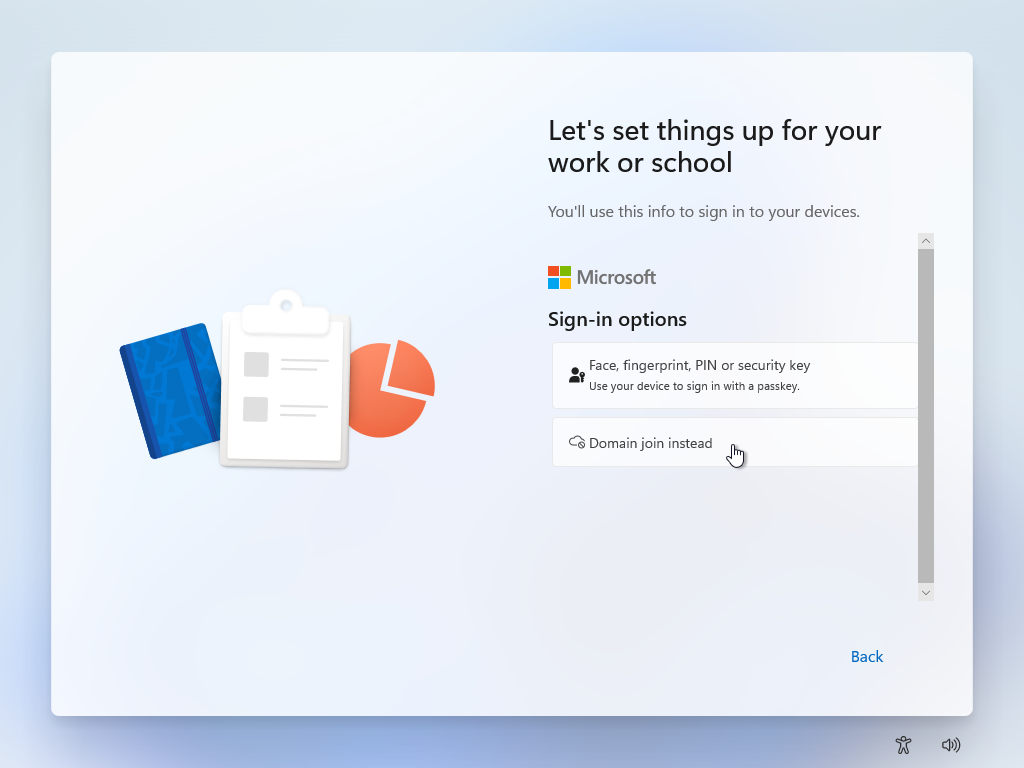
If you want to use your Microsoft account to sign in to the machine, enter your email address. For a simple test or virtual lab like the one we are using here, click "Sign-in options" instead.
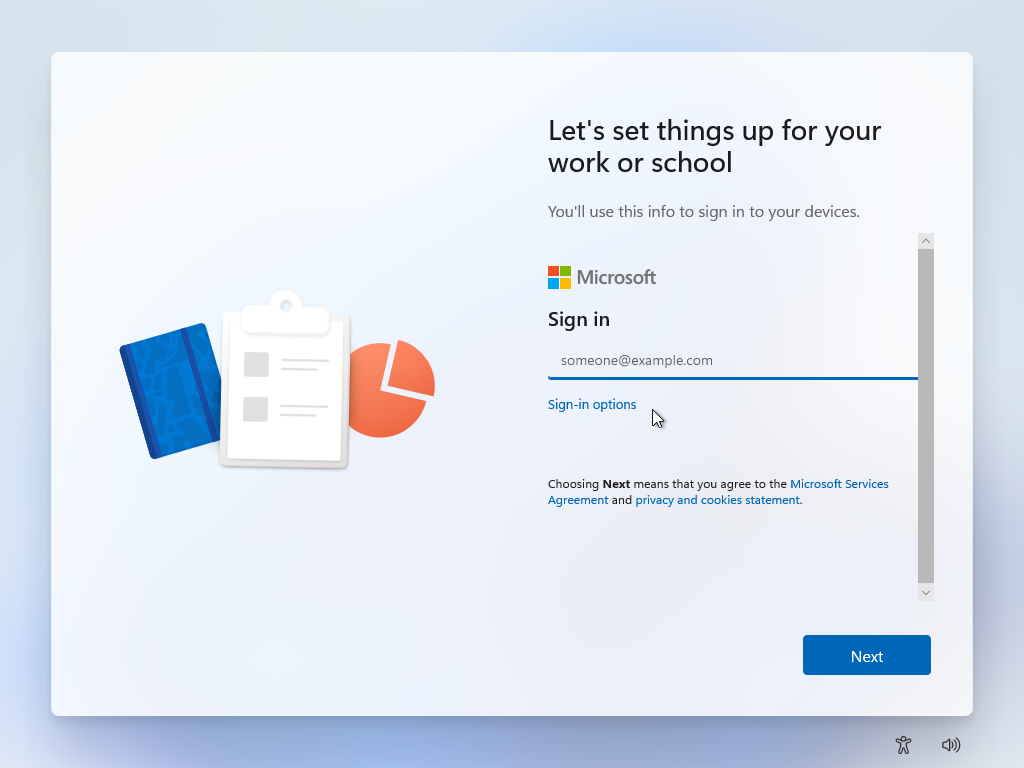
Select one of the sign-in options. For this course, we are going to create a simple local account that will only exist on this machine, so click "Domain join".
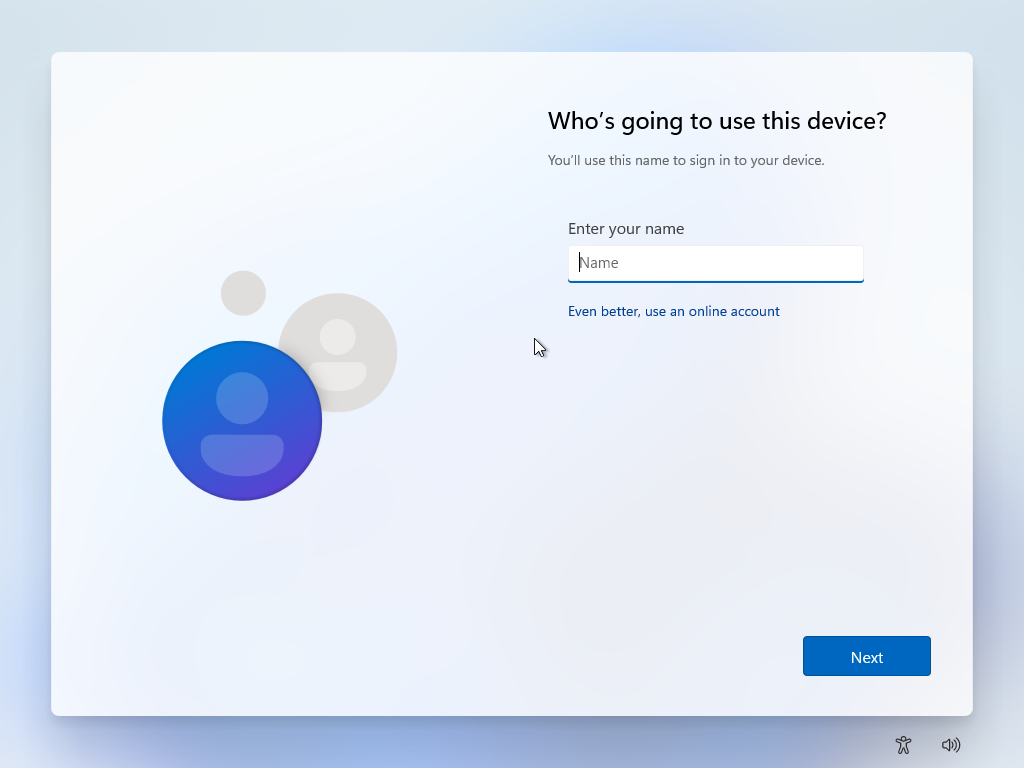
Set the username that will be used to sign in to the machine. You can use your first name, a customer's name, or a more neutral name (for example, tech or user).
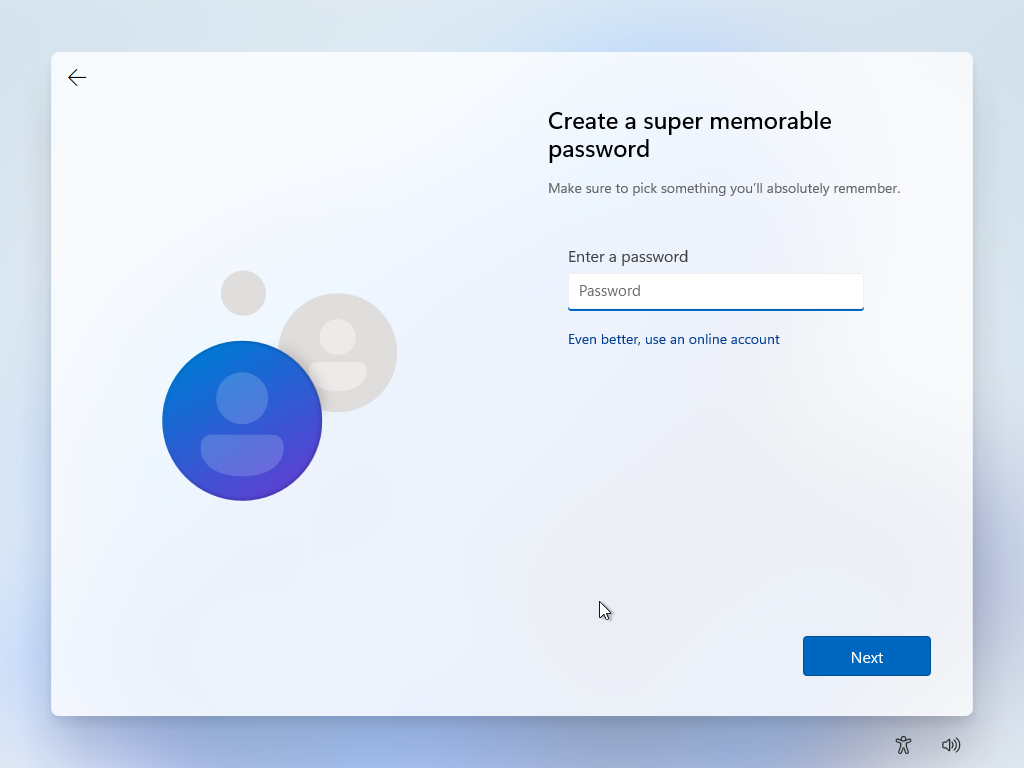
Set a password for the user.
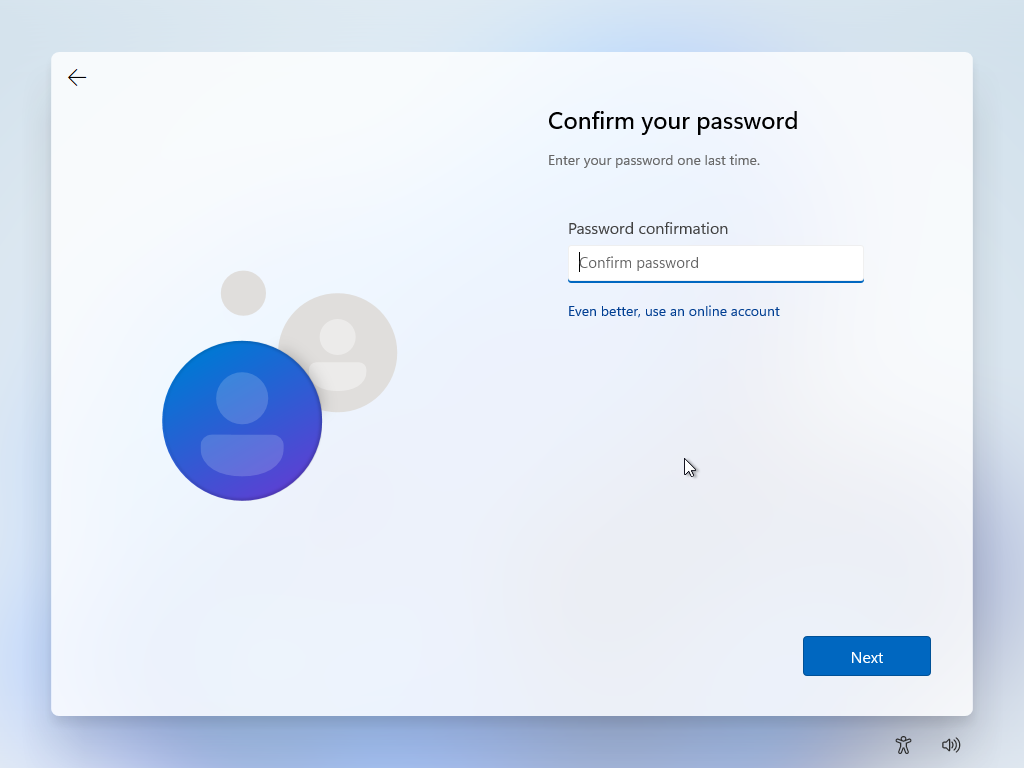
Confirm the password.
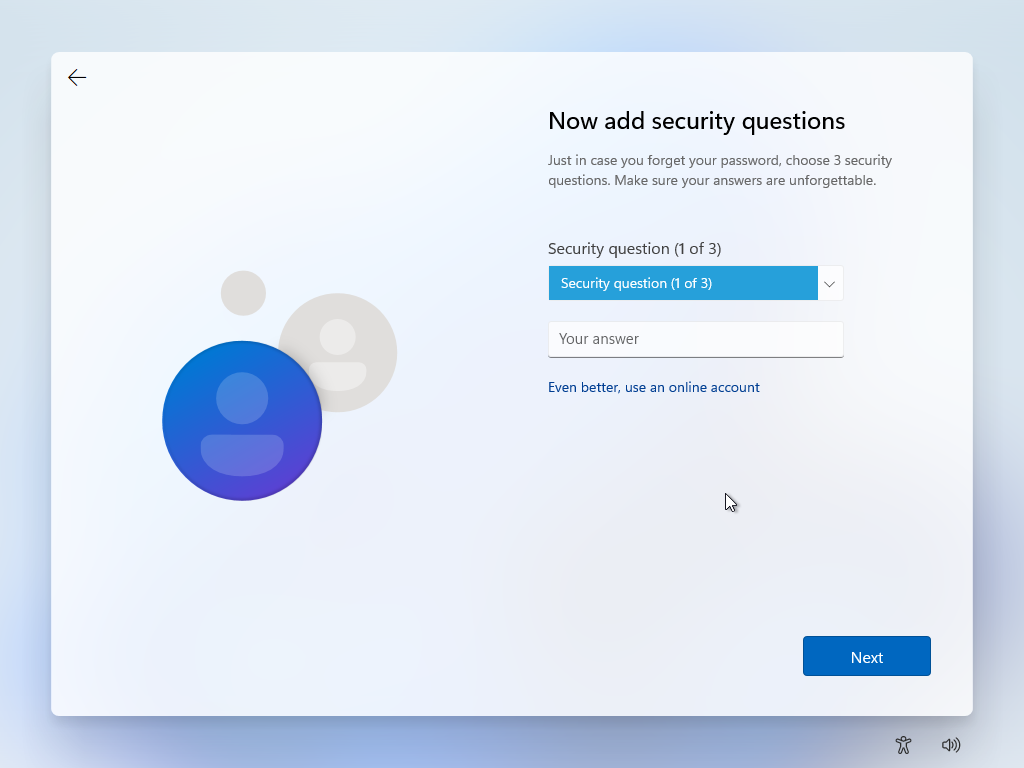
Choose three security questions and enter the answer for each one.
Allow or deny Microsoft the use of your location.
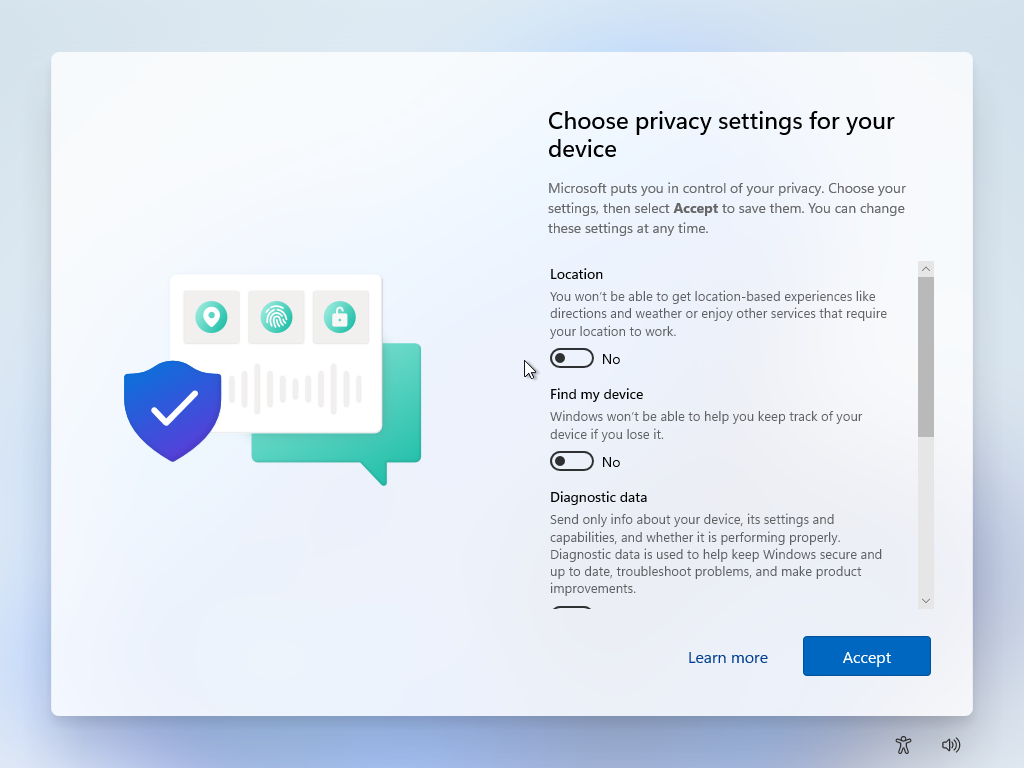
Turn location services on or off for the machine.

Check for Windows updates
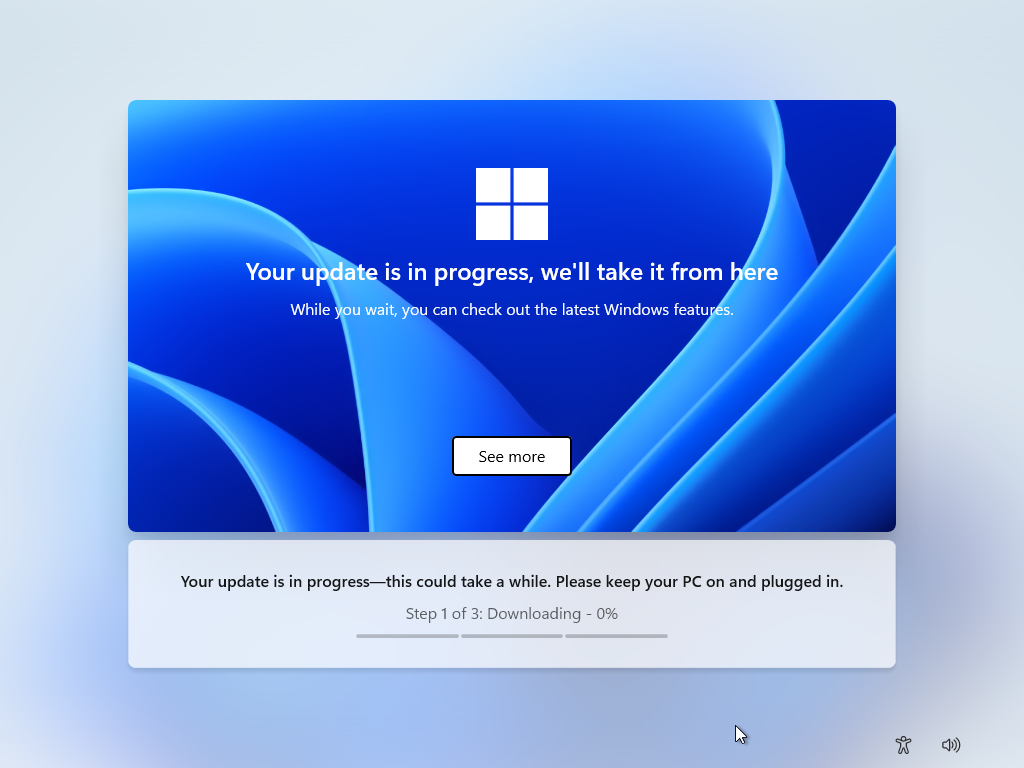
The update may take some time, you will need to wait while it is in progress.

The OOBE phase is now complete. Windows will now apply your settings to the machine.

When a user signs in for the first time, they will have to wait a few seconds while their environment is prepared.

That's it! You have installed Windows 11 and completed the initial OOBE customization. Your Windows 11 machine is ready.
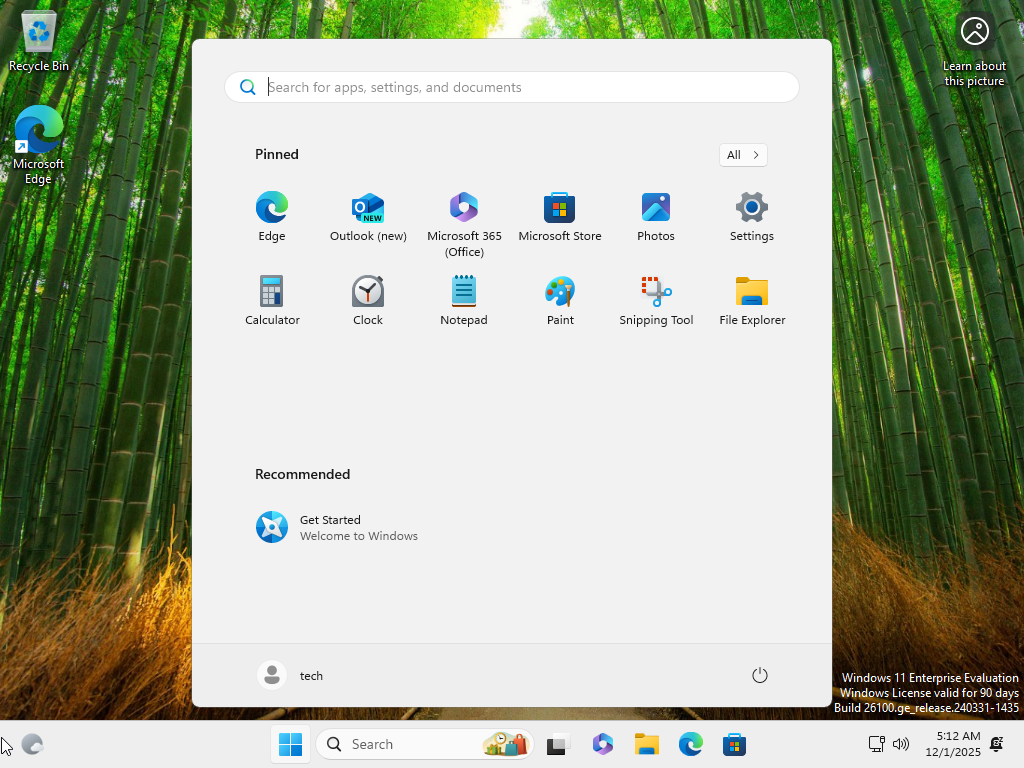
In the next chapter, I will show you how to perform a few basic configuration tasks on your Windows 11 machine.
Over to You!

In your previous task, you downloaded the ISO for the Windows 11 edition that matched your manager's needs. She is now asking you to install the operating system on a virtual machine so it can be tested.
Mission
You need to complete the full Windows 11 installation and make sure to:
Create a local user named “silva”;
Assign that user a strong password with at least 12 random characters, including lowercase letters, uppercase letters, numbers, and special characters.
Once you are done, use this answer key to check your work.
Let's Recap!
The machine on which you install Windows 11 must meet the hardware requirements listed on the Microsoft website to ensure the system runs properly.
To start a Windows installation on a virtual machine, you must mount the ISO file in the virtual machine's optical drive.
OOBE (Out-of-Box Experience) is the Windows initial setup process that lets you customize certain settings before using the device, such as language, creating a local account or signing in with a Microsoft account, and privacy settings.
