Perform the Basic Configurations

This chapter will guide you through the fundamental system settings every good technician should know: configuring the network adapter and managing Windows updates, renaming the PC or joining it to a domain, and initializing an additional storage disk.
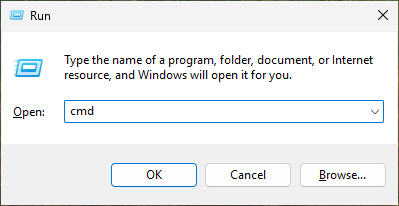
I will also share a few extra tips that take you straight to the right menus by running commands in the Run window, which you can open by pressing Windows+R on your keyboard. It is worth remembering a few of them. 😏
Configure the Network Adapter
Let's start with the network adapter configuration. Configuring the network adapter lets you communicate with other devices and connect to the Internet. Go to:
Settings > Network & Internet.
From there, you can configure a network adapter, set up a proxy, add a VPN, or access advanced properties.
To configure the network adapter, open Advanced network settings, click the available network adapter, usually named Ethernet, then click Edit.
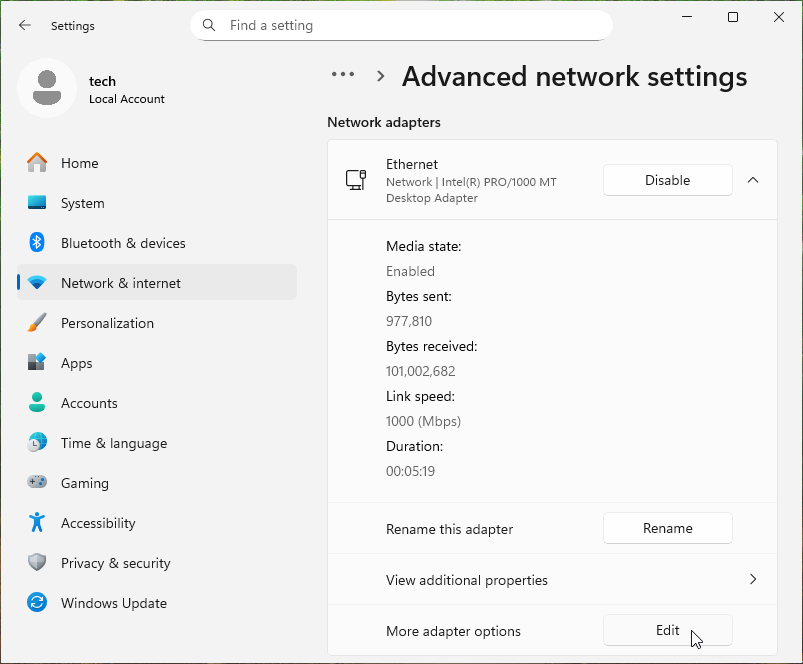
You are now in the network adapter properties. From there, you can, for example, change the machine's IPv4 configuration or disable IPv6 if it is not used in the company by clearing the checkbox for that line.
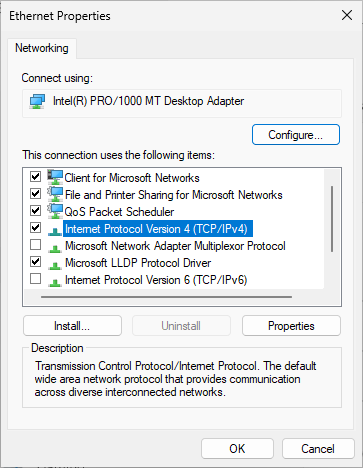
To configure IPv4, double-click Internet Protocol Version 4, making sure its checkbox is selected. You can define the machine's network settings statically by selecting Use the following IP address and Use the following DNS server addresses, then filling in the required information.
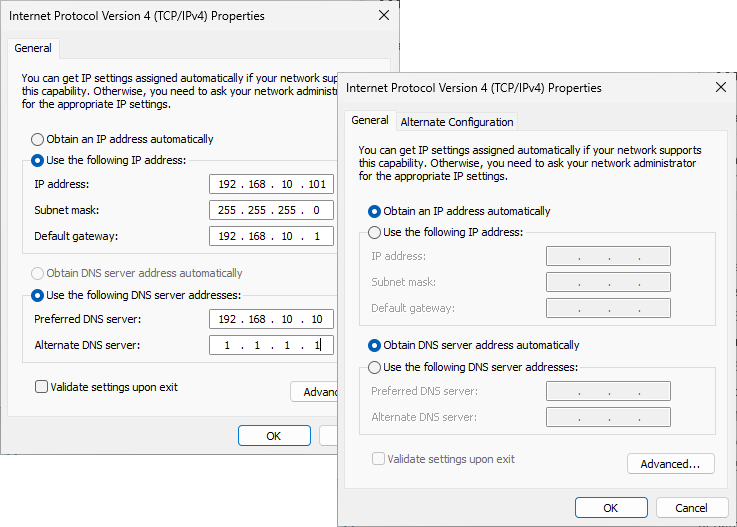
If instead you want the configuration to be assigned automatically by DHCP, select both Obtain... options. For this course, we will simply stay on DHCP.
You are now able to connect your computer to a network and therefore to the devices connected to it, as well as to the Internet.
Keep Windows Up to Date
Keeping the operating system up to date is essential for your computer's security, stability, and performance, as it helps prevent vulnerabilities and gives you access to the latest improvements. The update center is available under Settings > Windows Update or by running “control update”.
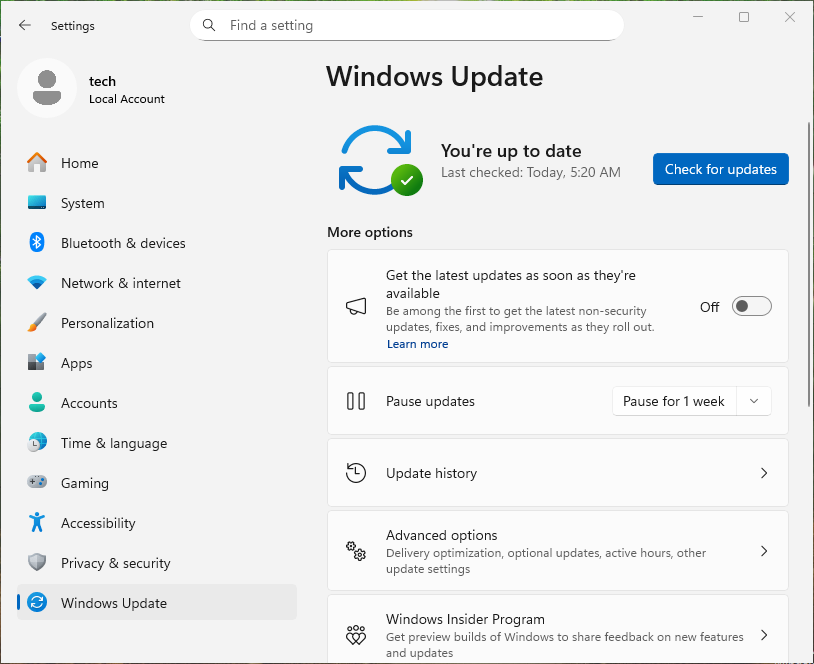
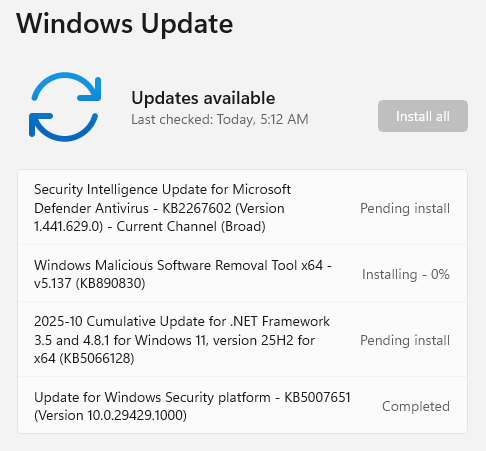
After a fresh installation, you can start checking for updates.
Restart the machine if prompted, as some updates require a restart to take effect. If there is a problem with an update, you can uninstall it from the Update history menu.
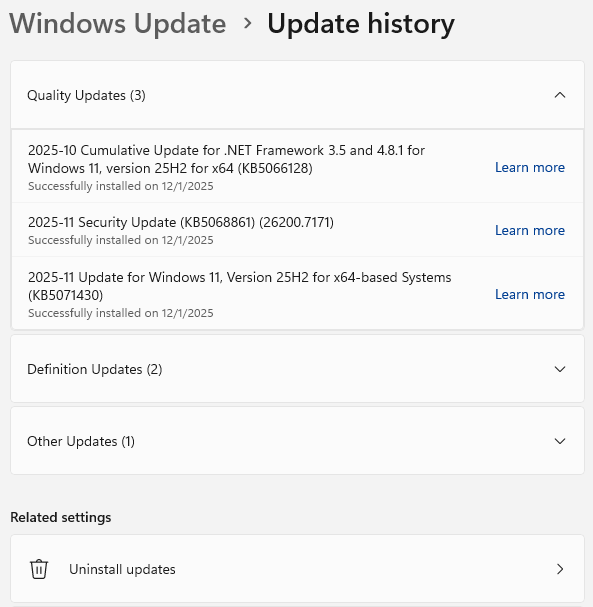
Keep in mind, however, that not all updates can be uninstalled.
Windows updates play a key role in system security and stability. By applying them regularly, you help ensure optimal operation and better protection against potential threats.
Rename the PC or Join a Domain
If you did not define a name for your machine during installation, or if you want to change it to apply your company's naming convention, for example, it is very simple. Go to Settings > System > About or run “ms-settings:about”.
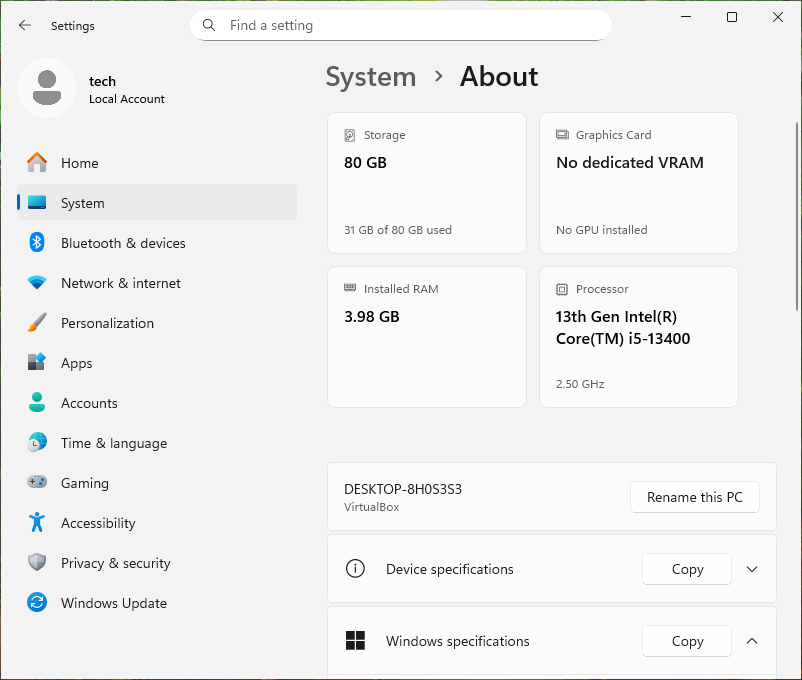
Click Rename this PC and enter the name of your choice, using no more than 15 characters.
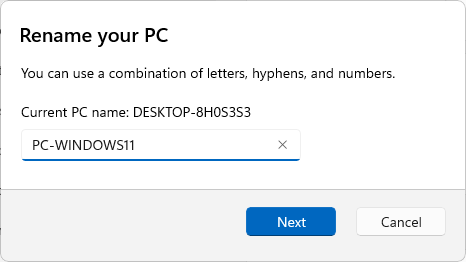
Restart the PC to apply the new name.
In a business environment, Windows 11 machines must join a domain so they can authenticate users and give them access to resources such as printers, folders, and applications.
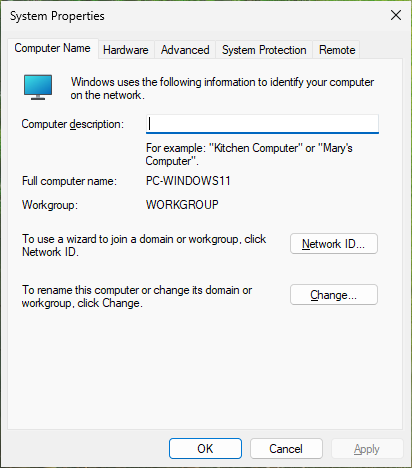
To join a domain, go to Settings > System > About > Expand Device specifications > Domain or workgroup, or run “sysdm.cpl”.
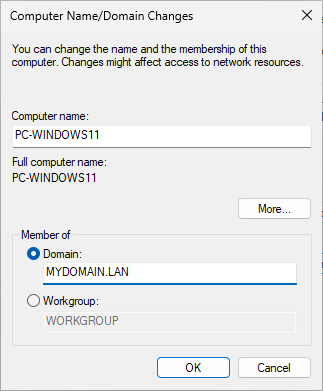
Click the Change button. Select the Domain option, then enter the company's domain name before clicking OK.
Enter the credentials for a domain account that is authorized to join computers to the domain, such as the administrator account.
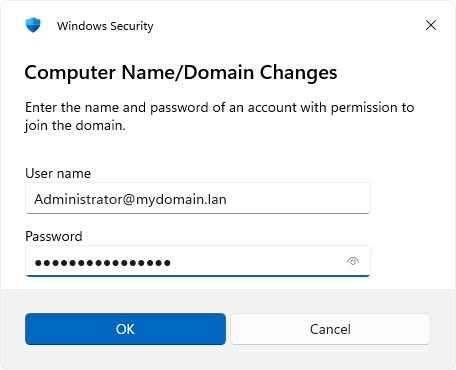
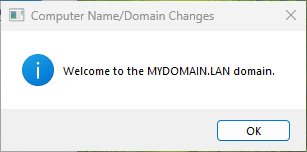
A message will welcome you to the domain. Windows will then need to restart.
Initialize Additional Storage
Another topic I wanted to cover in this chapter is disk management.
If you install a new Windows machine and add a second storage disk to hold data, it will not automatically appear in File Explorer. You first need to initialize it and create a volume.
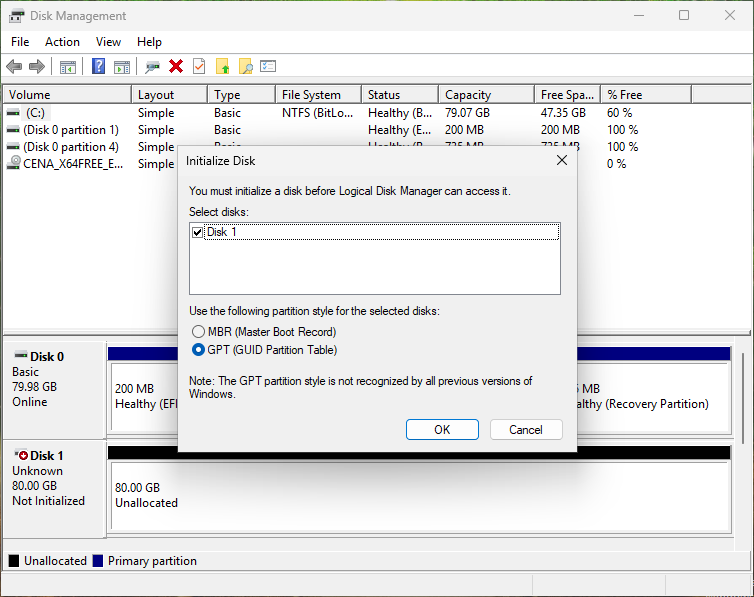
Right-click the Windows icon in the Start menu (or press Windows+X) > Disk Management, or run “diskmgmt.msc”.
A window will open indicating that a disk needs to be initialized. Select it, then click OK.
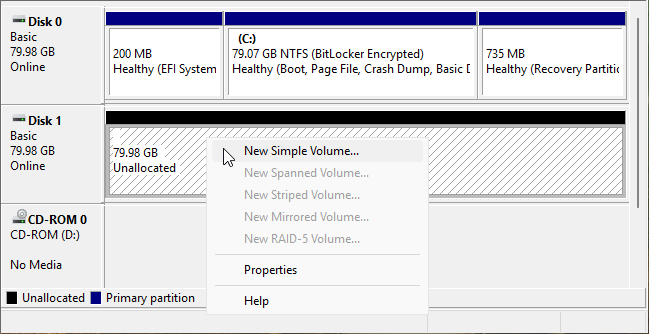
Once the new disk is recognized, it will appear in Disk Management. In my case, it is Disk 1. Right-click the unallocated space on that disk, then click New Simple Volume.
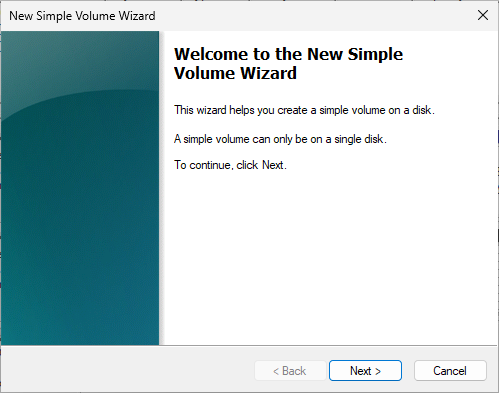
The New Simple Volume Wizard starts. Continue.
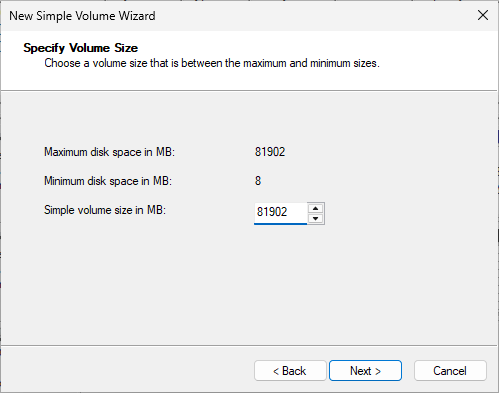
Specify the volume size you want based on the maximum capacity of the new disk. In my case, I will use the full volume, so I am not changing anything.
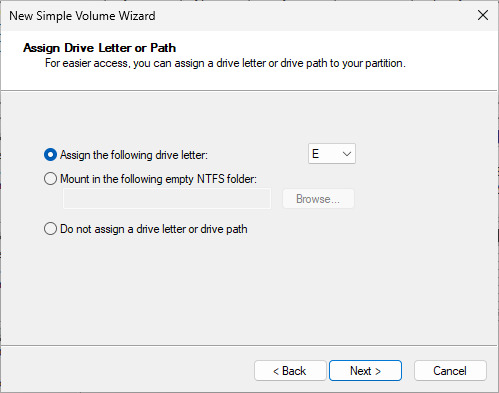
Assign a drive letter for easier access.
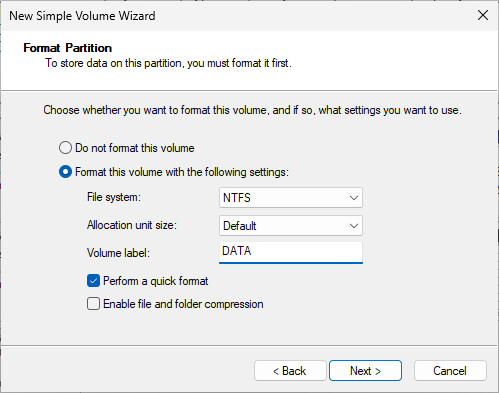
Select the Format this volume option and the Perform a quick format checkbox. Optionally, define a volume label.
Click Finish.

Your new disk is now recognized as active in Disk Management.
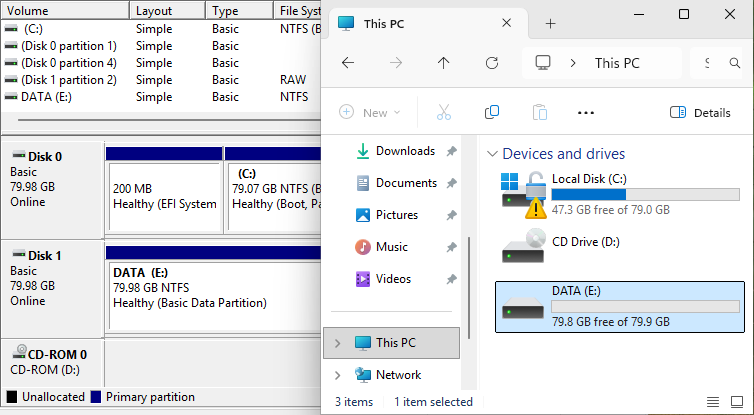
You can access its contents through File Explorer and store your data there.
This chapter helped you master the essential system configurations. In the next one, I will walk you through a few must-have Windows 11 features.
Over to You!

You previously installed Windows 11 on a virtual machine at your manager's request. Before handing the machine over, you need to complete a few basic configurations.
Mission
On your manager's virtual machine, perform the following configurations:
Rename the computer “PC-W11-SILVA”
Verify that the network adapter is configured automatically (DHCP)
Install all available updates
Add a second 10 GB disk to the virtual machine for data storage and make it accessible in File Explorer using the letter F
Once you are done, use this answer key to check your work.
Let's Recap!
A network adapter can be configured with:
Automatic assignment: configuration is provided by a DHCP server
Manual assignment: all information must be entered manually (IP address, mask, gateway, and DNS)
Keeping your operating system updated regularly is essential to ensure system security and reliability and to access new features.
Windows system properties let you rename the machine and join a business domain.
To use the storage space of an additional disk, you need to use Disk Management to initialize it and create a volume.
The Windows+R keyboard shortcut lets you quickly open the Run window, which provides direct access to Windows tools and settings by entering specific commands.
