Write Your Test Cases

Identify the Structure of a Test Case.
Test cases are like handing an actor their script.
They provide a detailed description of the steps to follow to test a feature or scenario.
Let’s break down a test case to understand what it’s made of:
A Name: It must be descriptive and easy for the test team to understand.

An Identifier: It can be numeric or alphanumeric; the organization defines the naming pattern.

A Description: This details the test case, including the features or scenarios being tested. The more complete it is, the easier it will be for readers to understand your intention.

Prerequisites: The conditions required to run the test case—system setup, input data, etc.

Test steps: These describe, in sequence, each action to perform and the expected result.
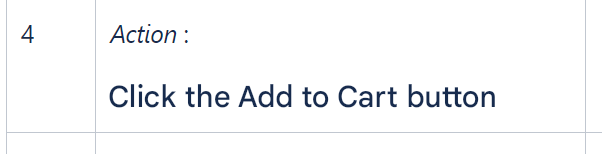
This description must be clear, precise, and leave no room for interpretation. Here’s an example of what to prefer and what to avoid:
Preferable |
 |
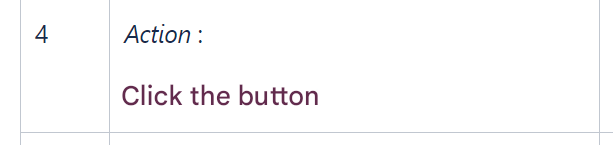
Avoid |
 |
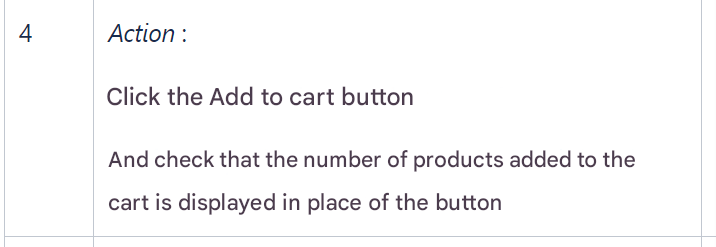
Each step should validate a single check. Split steps rather than grouping them:
Preferable |
 |
Avoid |
 |
Notice how each instruction begins with an action verb. This ensures the tester knows exactly what to do.
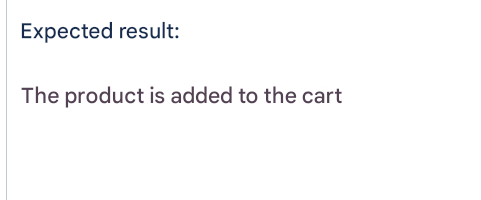
The expected results: They describe how the system should behave after each action. As with steps, keep it to one expected result per step.
Preferable |
 |
Avoid |
 |
Write Your Test Cases.
Now let’s write the test cases in the Test Repository (the area where test cases are stored).
Test cases must correspond directly to the scenarios defined for the project. Return to your list of scenarios and identify the test cases to create.
Here are two examples:
Case 1:
Test case name: Add a product to the shopping cart. Identifier: PAN-01 Goal: Verify that the user can add a product to the shopping cart. Prerequisites: The e-commerce website is accessible. The user is logged in. The selected product is available on the website. Test case:
|
In this example, the steps lack precision. The tester could take a different path than the one you intended, which may prevent them from testing under the correct conditions.
Second case:
Test case name: Add a product to the shopping cart. Identifier: PAN-01 Goal: Verify that the user can add a product to the shopping cart. Prerequisites: The e-commerce website is accessible. The user is logged in. The selected product is available. Test case:
|
In this second example, every action is explicit. The tester must follow a precise path, which ensures the intended conditions for validating the Goal.
Update Your Test Cases
During writing, one golden rule applies: be economical.
Don’t reinvent the wheel.
Check your test assets to see whether an existing test case can be updated instead of creating a new one. This prevents clutter and saves significant time.
When updating, pinpoint exactly which steps must change.
Let’s update step 7 of the second case, assuming cart access changes from a pictogram to a hyperlink:
7 | Click the “Shopping Cart” hyperlink | The cart contents display. |
Over to You!

Context
All requirements have been imported and reviewed.
From your earlier notes, you recall that the following test cases from the test assets must be updated:
CDT-2: Place an order as an unauthenticated customer.
CDT-3: Place an order as an authenticated customer.
Instructions
Write the new test cases needed for the campaign and update those impacted.
Summary
A test case is a sequence of ordered steps guiding the tester toward the scenario Goal.
Test cases must make testers autonomous in both understanding and execution.
Control the granularity of your steps. Avoid exceeding twenty steps or you risk losing the tester.
Reuse existing assets, updating only what is necessary to avoid duplication and save time.
Now that the test cases are written, let’s look at assembling them to build your scenarios.
