Separate App Logic From Presentation With a Django Template
Understand Templates
We’re going to start this chapter by demonstrating an anti-pattern.
In programming, a pattern is a style or technique that represents best practice and leads to good outcomes. Conversely, an anti-pattern represents bad practice, something you should avoid.
To demonstrate, let’s fill out one of our pages with some more HTML.
Open up listings/views.py, and find your hello view. Begin adding structural elements of a web page like <head> , <body> , <title> , and the all-enclosing <html> tag.
You could achieve that by adding more HTML to your view, like this:
def hello(request):
    bands = Band.objects.all()
    return HttpResponse(f”””
        <html>
            <head><title>Merchex</title><head>
            <body>
                <h1>Hello Django!</h1>
                <p>My favourite bands are:<p>
                <ul>
                    <li>{bands[0].name}</li>
                    <li>{bands[1].name}</li>
                    <li>{bands[2].name}</li>
                </ul>
            </body>
        </html>
    ”””)
This code works, but it’s an anti-pattern.
Why, what’s wrong with this approach?
Well, our view is already starting to look a little busy, and the amount of HTML here will only get larger as we continue to build the app.
The problem is that the view now has two responsibilities:
Selecting all
Bandobjects from the database - the logic.Displaying the names of those bands among other content like headings and paragraphs - the presentation.
If one part of the application has too many responsibilities, it becomes unmanageable.
How can we turn this from an anti-pattern into a pattern and use best practices?
We’re going to follow the single-responsibility principle by moving the responsibility for presentation out of the view and placing it in its rightful home: a template.
Add an HTML Template File to the Templates Directory
Start by creating a new file at:
listings/templates/listings/hello.html
Let’s fill out this file with HTML:
# listings/templates/listings/hello.html

<html>
    <head><title>Merchex</title></head>
    <body>
        <h1>Hello Django!</h1>
        <p>My favourite bands are:</p>
        <!-- TODO: list bands -->
    </body>
</html>
Doesn’t HTML code look so much better in an .html file than in a .py file? You get proper syntax highlighting, and auto-indentation!
Update View to Render that Template File
Now let’s update the view so that it renders our template rather than defining its own HTML:
# listings/views.py

...
from django.shortcuts import render
...

def hello(request):
    bands = Band.objects.all()
    return render(request, 'listings/hello.html')
First, import the render function. It is probably already there since it’s included in the boilerplate code, but add it if you need to.
In the return statement, you’re no longer calling the HttpResponse constructor. Instead, call the render function with two arguments:
The
requestobject that is passed into thehellofunction.A string with the path to the template file we created.
Let’s take a look at the page in the browser:
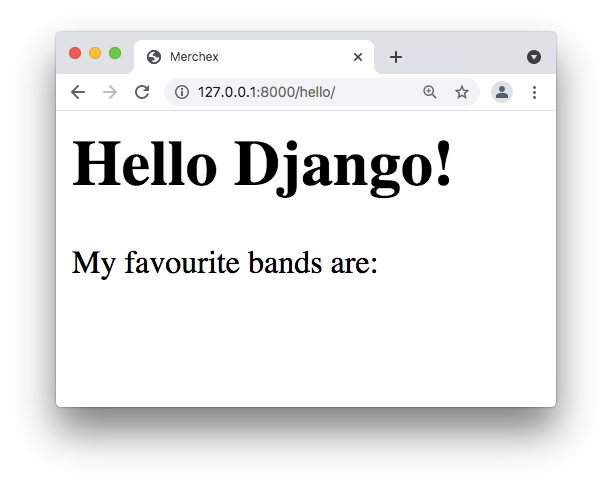
This is a great start, but the band names are no longer appearing on the page.
We need a way to inject the model data into our template.
Pass a Context Object to the Template Containing a List of Objects
Let’s go back to our view and add a third argument to our call to the render method. This argument must be a Python dict .
# listings/views.py

...
return render(request,
            'bands/hello.html',
            {'first_band': bands[0]})
This dictionary is called a context dictionary. Each key becomes a variable you can use in your template, like this:
# listings/templates/listings/hello.html

...
<p>My favourite bands are:</p>
    <ul>
        <li>{{ first_band.name }}</li>
    </ul>
...
Let’s look at the page in our browser to see that in action:
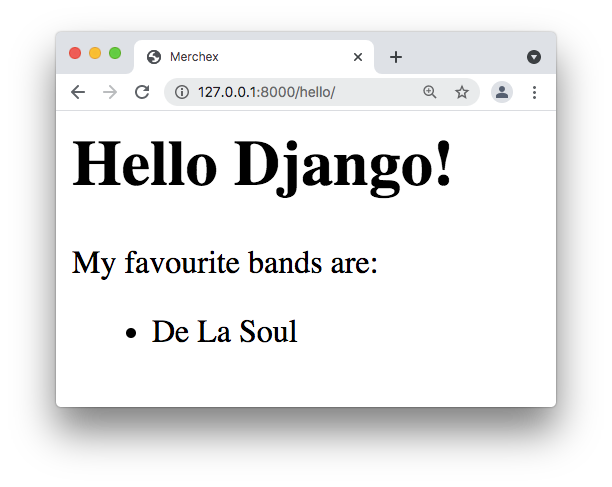
What are these curly brackets? That’s not HTML!
Well spotted! Django templates can include this curly bracket syntax within valid HTML, also known as the Django template language. Wherever you see double curly brackets containing a variable name, the value of that variable will be inserted. These are called template variables.
We could continue adding each band to the context dictionary individually, but let’s save time and pass them all at once:
# merchex/listings/views.py

    ...
    return render(request,
                'bands/hello.html',
                {'bands': bands})
And then in our template:
# listings/templates/listings/hello.html

...
<p>My favourite bands are:</p>
    <ul>
        <li>{{ bands.0.name }}</li>
        <li>{{ bands.1.name }}</li>
        <li>{{ bands.2.name }}</li>
    </ul>
...
In summary, templates are a way to define the content on a page that doesn’t change. Inside these templates, insert template variables, which act as placeholders for the content that does change. Let's check this out!
When you render a template in a view, pass a context dictionary to the template, and the context variables are injected into their respective placeholders.
By keeping the view free from any presentational code (HTML), you can limit the view’s responsibility to one thing only - the logic for retrieving the correct data from the database and injecting it into the page.
Now that you understand the basics of templates let’s look at some more useful template functionality.
Iterate Over a List in a Template
So far, our example code has assumed that we will always have a fixed number of bands (three). But what if you deleted one in the database? A reference to bands[2] would now throw an error, as there would be no item at index 2 of the list. On the other hand, if we have more than three bands, we might also want to display those additional bands on the page.
In programming, when you have to deal with a list of an unknown length, use a for loop, which iterates over each item and then stops when there are no more left. The Django template language has its own syntax for looping.
In our template, let’s replace the fixed length list with a loop:
# listings/templates/listings/hello.html

<p>
    My favourite bands are:
    {% for band in bands %}
        {{ band.name }},
    {% endfor %}
</p>
Here are some things to note:
Looping and other logic statements are enclosed in brackets and percent-signs (
{% … %}). These are called template tags.A
forstatement is constructed using similar syntax as Python, but without the trailing colon (:).The tendency is to use the conventional Python
for singular in pluralformat inforstatements.A
fortemplate tag must have a closingendfortag later on in the template.The space between the
forandendfortags can contain text, HTML, and even Django template variables.
Wait… you said that logic belongs in the view, and presentation belongs in the template and that we should keep the two separate. But we just added a for loop to our template. Isn’t that logic?
Ok, ok, you’re right! The lines are a little blurred. Django’s design philosophy here is that “a template system [is] a tool that controls presentation and presentation-related logic” (Source: Django Documentation). So Django does allow some logic in its templates. But the logic for, say, making calls to the database is not related to presentation and belongs firmly in the view.
Let’s take a look at our page in the browser:
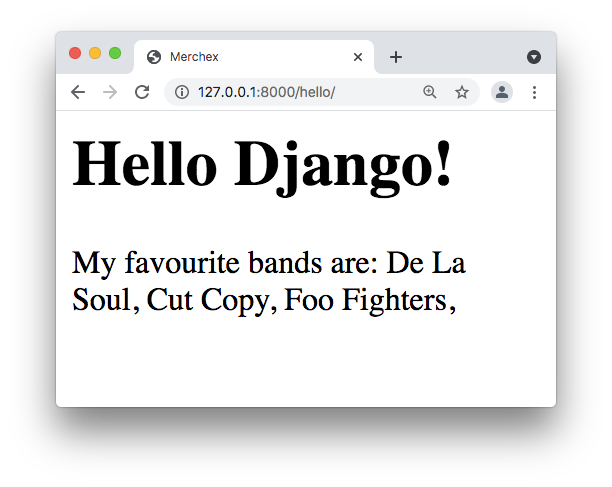
We’ve got a slightly annoying trailing comma there, but rather than spending time fixing that, let’s update the loop to render our bands as an HTML unordered list, like we had before:
# listings/templates/listings/hello.html
<p>My favourite bands are:</p>
<ul>
{% for band in bands %}
<li>{{ band.name }}</li>
{% endfor %}
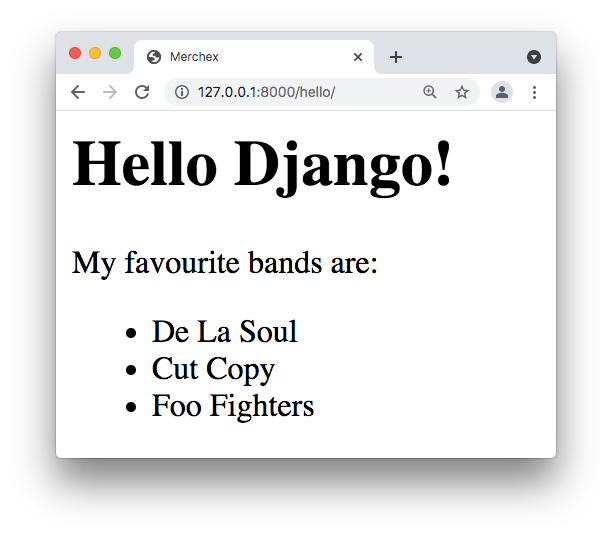
</ul> Notice how the <ul> opening and closing tags are outside the loop - because we only want those to appear once. The<li> tags are inside the loop, because we need those to repeat - once for each band on the list.
We’re back to our list, but now we’re rendering it with a loop:
Use a Template Filter (e.g. truncate) in a Template
Sometimes when you inject a variable into your template, you might want to apply some formatting. Template filters can help you here. For example, say you wanted to display the band names in a different case. You could use the lower or upper filter, like this:
# example code

<li>{{ band.name|upper }}</li>
You apply a filter to a variable by using the pipe ( | ) character.
Filters can do more than just text formatting. Let’s see how you would print out the number of bands in our list by applying the length filter to the list of bands:
# example code

<p>I have {{ bands|length }} favorite bands.</p>
Use an if Statement in a Template
You can also use branching logic in your templates.
Underneath our list of bands, let’s add the following code in our template:
<p>
    I have
    {% if bands|length < 5 %}
        a few
    {% elif bands|length < 10 %}
        some
    {% else %}
        many
    {% endif %}
        favourite bands.
</p>
if , elif , and else statements are also similar to Python - but again, omit the trailing colon (: ).
Here’s what those last two examples would look like in the browser:

Now that you’ve followed along, you can check your understanding by watching this screencast, which goes through the whole process of creating a template.
Now You Try! Create Django Templates for Your Pages
 Now that you understand the importance of templates and you’ve seen some of the useful things you can do in them, it’s time for you to create some templates of your own.
Create templates for the listings view, the about view, and the contact view that you created in the last chapter. Your templates should be full HTML pages, including <html> , <head> , <title> , and <body> tags. And for the listings view, you should inject your Listing objects into the template.
Remember that you’ll need to do the following for each template you create:
Create a template file in listings/templates/listings/’ and give it the ‘.html’ extension.
Move your HTML out of the view and into the template.
Change the view’s return statement to call the
rendermethod and pass it the path of your template file.Also pass a context dictionary to the
rendermethod.Use template variables to inject data into your template.
Use template tags to use looping in your template where appropriate.
Before we move onto the next chapter, I want you to take a look at the two template files you’ve created. Do you see any repeated code in them?
Let’s Recap!
Templates are where you define all the presentational elements of a page - in a web app, that’s the HTML.
This leaves the view to focus on logic - including fetching the correct data to inject into the page.
Inject data into a template using template variables.
Use template tags for looping, branching, and formatting in templates.
Now we have our templates - the ‘T’ in MVT architecture - how can we avoid repeating code between templates? The answer is a base template, and we’ll look at that in the next chapter.
