Connect to the Internet and Manage Your Apps

You now have an Ubuntu distro installed – congratulations!
The first thing you’ll probably want to do is to connect to the internet.
Well, you’re in luck, because in this chapter we’re going to look at networks in Ubuntu.
Set Up a Simplified Network Configuration
In the following video, you’ll learn how to open the control panel to connect to the internet. You’ll see that there are two possible configuration modes: automatic or manual.
Automatic configuration is easy – all you have to do is follow the instructions in the control panel.
For manual configuration, you just need to have the following information to hand:
IP address
A mask
A gateway
A DNS
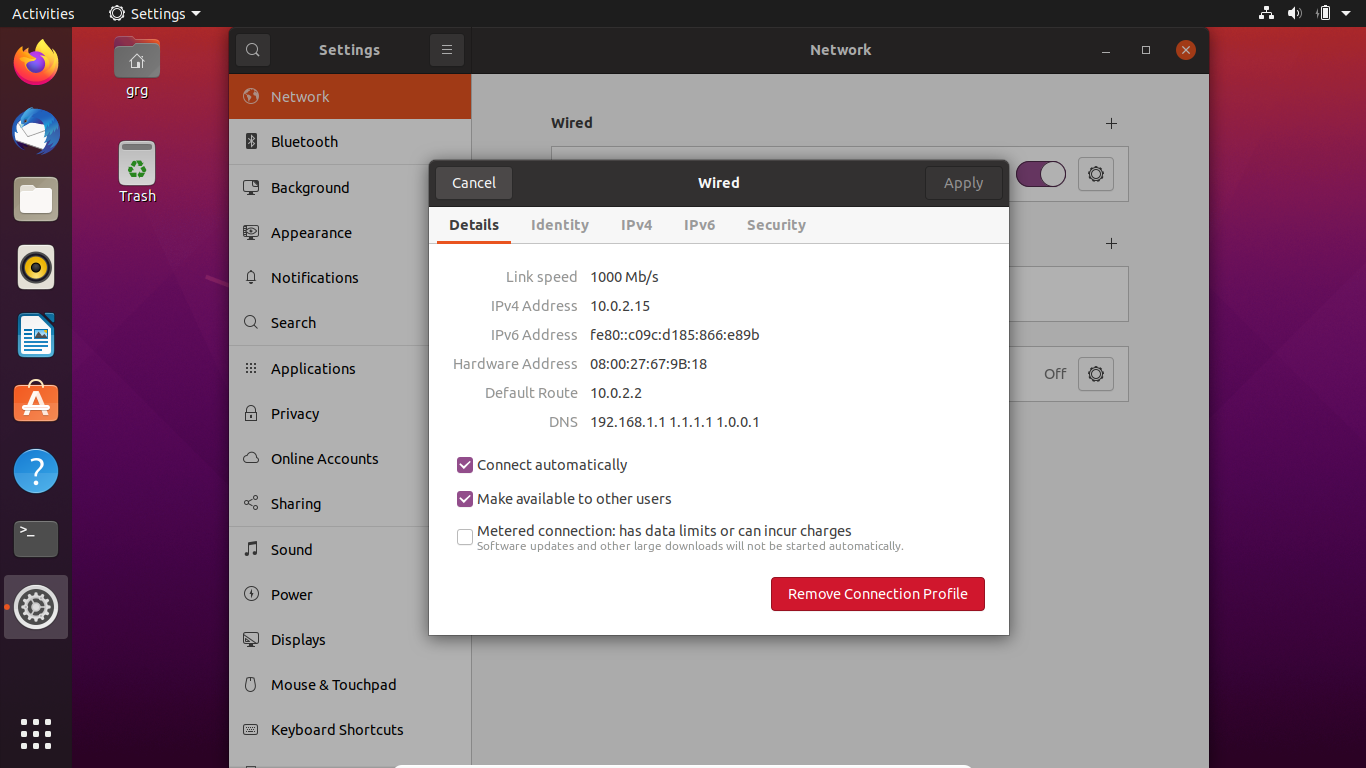
But where can I find all this information?
Don’t worry! We’ll explain where to find it in the video demo.
And of course, you can always use automatic configuration if you want to keep things simple. 😉.
Use the Software Manager
You’re now connected to the internet with Ubuntu! Great news!
As if this distribution wasn’t already interesting enough, we’re now going to start on the software part. These are the ready-to-use packages mentioned in the first section.
You’ll find them in the software manager, a bit like in Windows, so there are no surprises in terms of the interface.
In this section, you’ll learn to use this package manager. It’s incredibly practical, as it allows you to install and update software very easily.
Talking of updates, that’s what we’re going to start with: you're about to see two ways of updating software:
Using the control panel.
Using the command terminal.
Update Software Using the Control Panel
This first method of updating software is the simplest, as it uses a graphic interface you’re already familiar with.
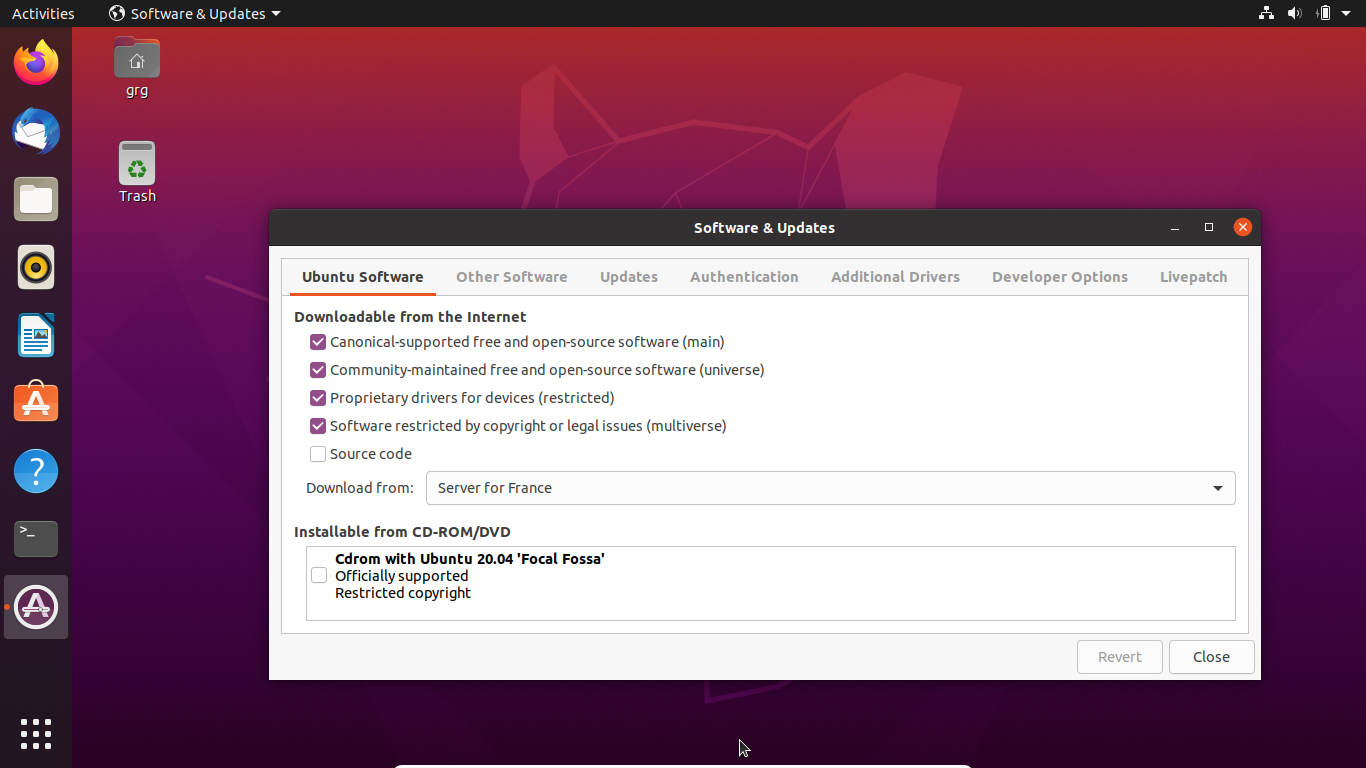
Watch how it's done in the following video.
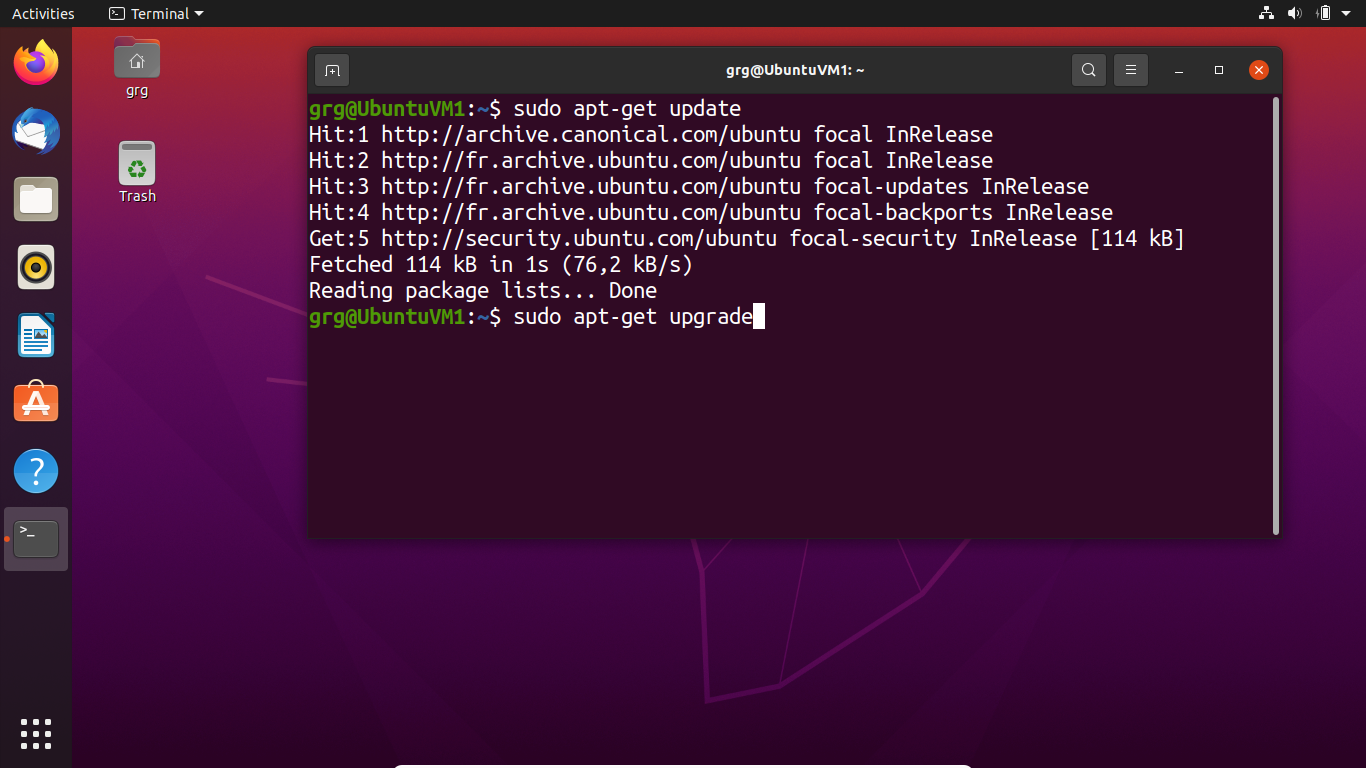
Update Software Using the Terminal
This second method of updating software is more technical!
It involves opening the terminal to manually enter the command lines to launch an update.
😱 But how? I don’t know how to do that!
You will soon, and what’s more, you’ll see that it’s actually fun to do! By the end of this course, you’ll wonder how you managed without it!
Watch the video to see how to do it, then try it out yourself.
Drumroll, please – this is a very important moment for you – you’re about to launch your first command terminal! And it’s all going to go smoothly, as we’ll be guiding you through each step.
Let’s get started!
You will have noticed that you have to use the sudo command for certain terminal actions.
It’s a bit like when Windows asks you to enter the administrator password, except that sudo is based on your own password, not the administrator one. When you use sudo, you don’t have to change accounts, or become the system administrator. All you do is temporarily escalate your privileges during the execution of the task. This is a very important security principle.
Install Your First Software Using Packages
Your distribution is now up to date!
Now let’s take a look at how to add new software. There are two methods for this.
Two methods? Again?
Yes, that’s right – we like to show you all the possibilities! 🤩
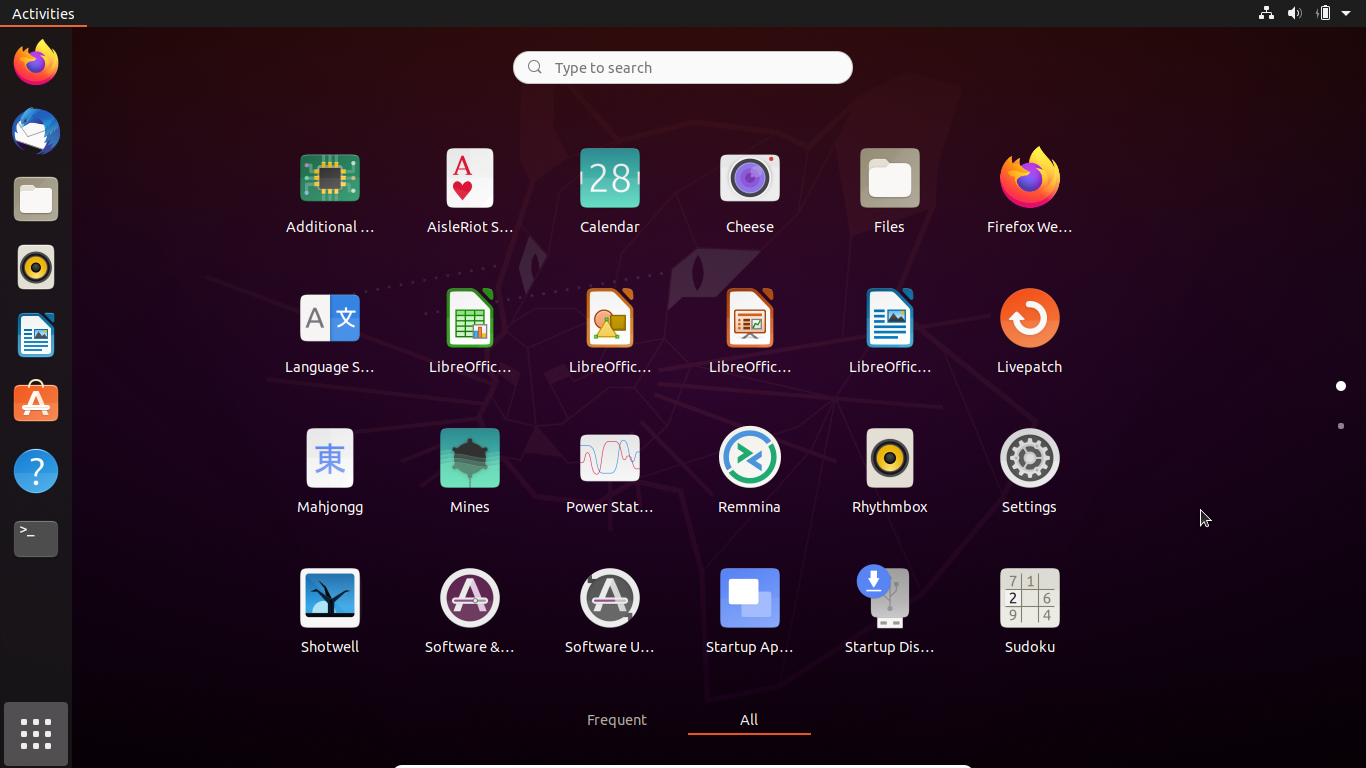
The first method is the easiest for a beginner. It uses the Ubuntu store application, a catalog of available apps displayed in graphical format. You simply shop, click confirm, and it takes care of the rest!
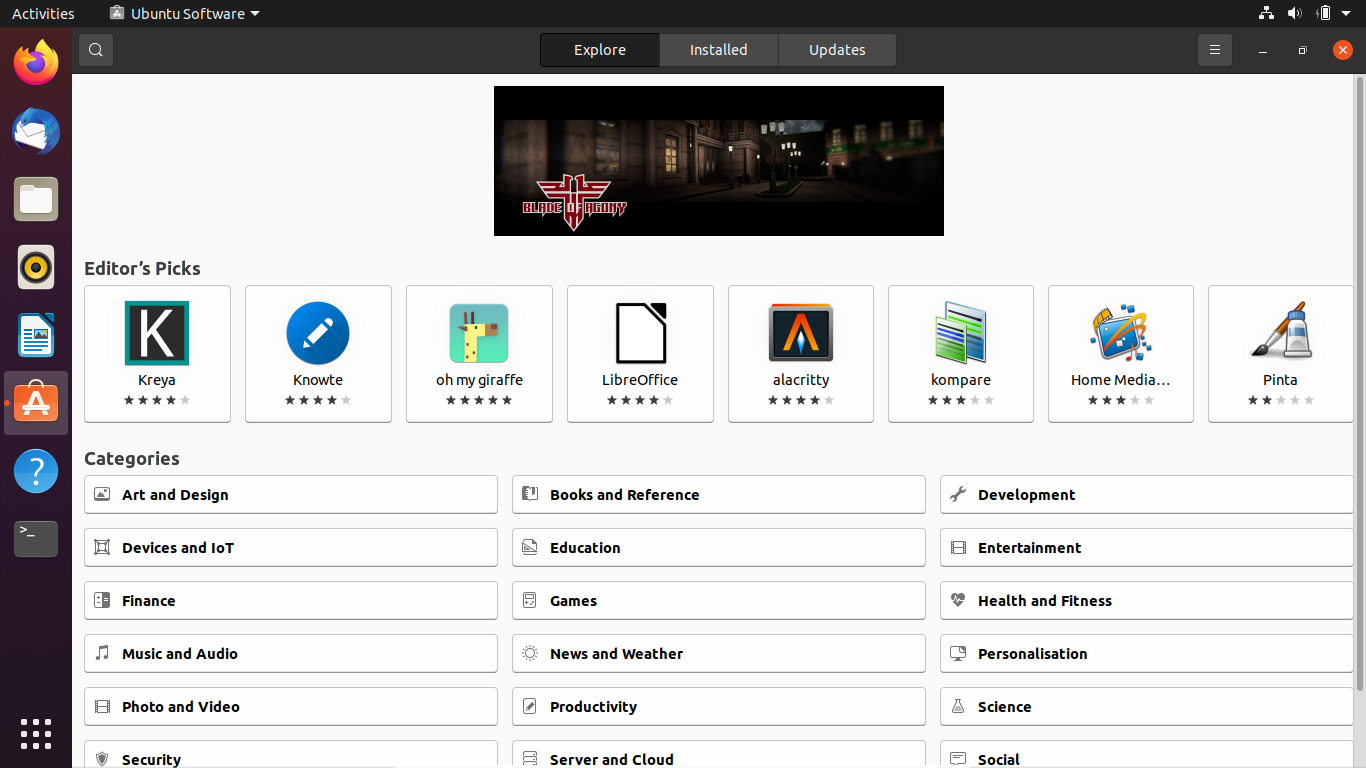
Watch this video to see how to install your first software using packages.
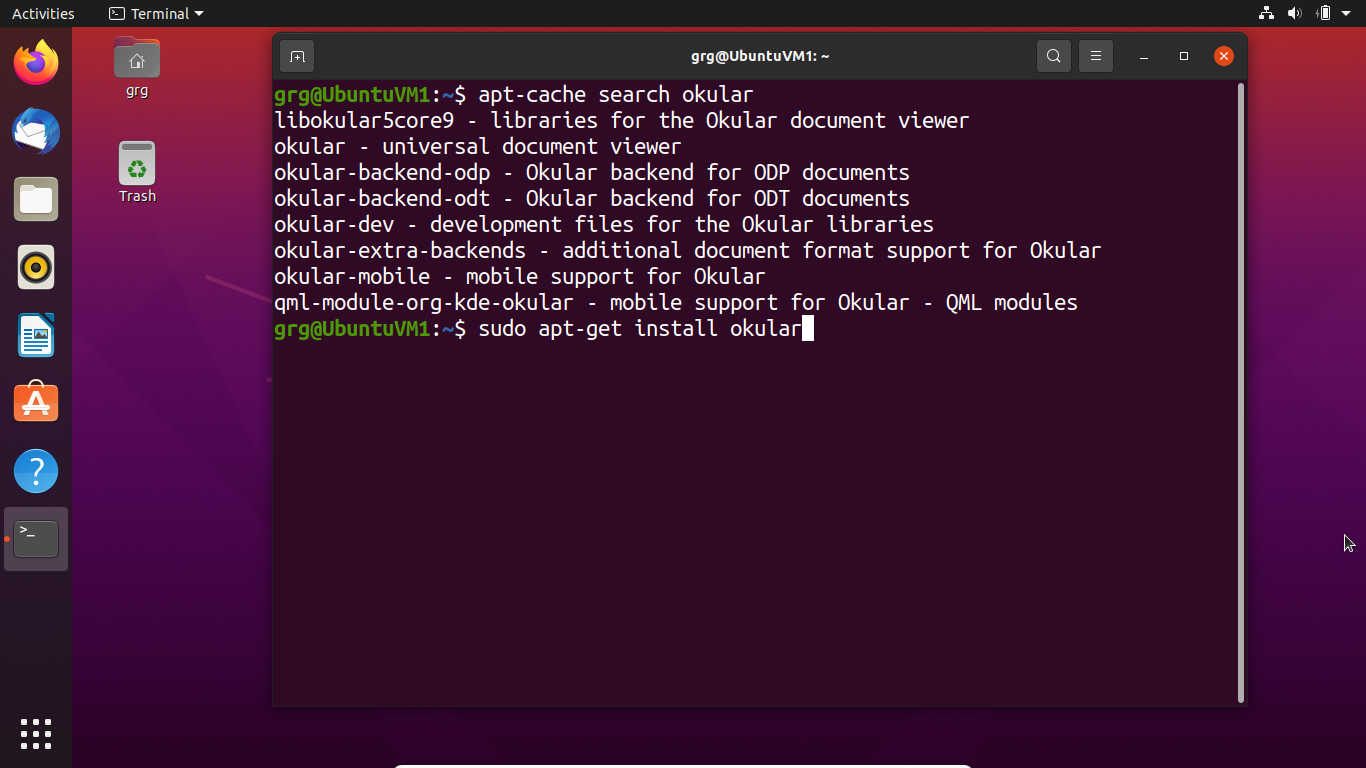
The second follows exactly the same principle, except it uses the terminal, and there are a few commands to learn. 🤓
But why bother with the terminal, when I could just use the graphic interface?
Simply because by the end of this course, the Linux terminal will be your best friend! ❤️ Well, we hope so anyway!
The terminal provides many advantages – for example, it allows you to automate all of these commands.
Still not convinced? Watch the following video to see how to do it!
Let's Recap!
You can configure a network and update your distribution using graphical tools.
Linux distributions have a store you can use to install new software.
The terminal is your best friend in Linux. 😊 Learn to master it – you won’t be disappointed.
The sudo command allows you to escalate your privileges in Linux.
Now that you know how to install software from the official repositories, let’s move on to Internet browsing.
