Work With a Remote Repository
Access a Remote Repository
Now that you know how to work on a local project, and have mastered the branch system, let’s look at how to access a remote repository and make a local copy of it.
I’ll explain how to do this in the video below. Try out the different steps under the video for yourself!
Imagine you’re working on a project with some friends. They’ve created a repository in GitHub. It’s now time for you to review the code and make some changes:
First, you need the URL of the remote repository. To access this, go to GitHub.
Access the remote repository you want to work on.
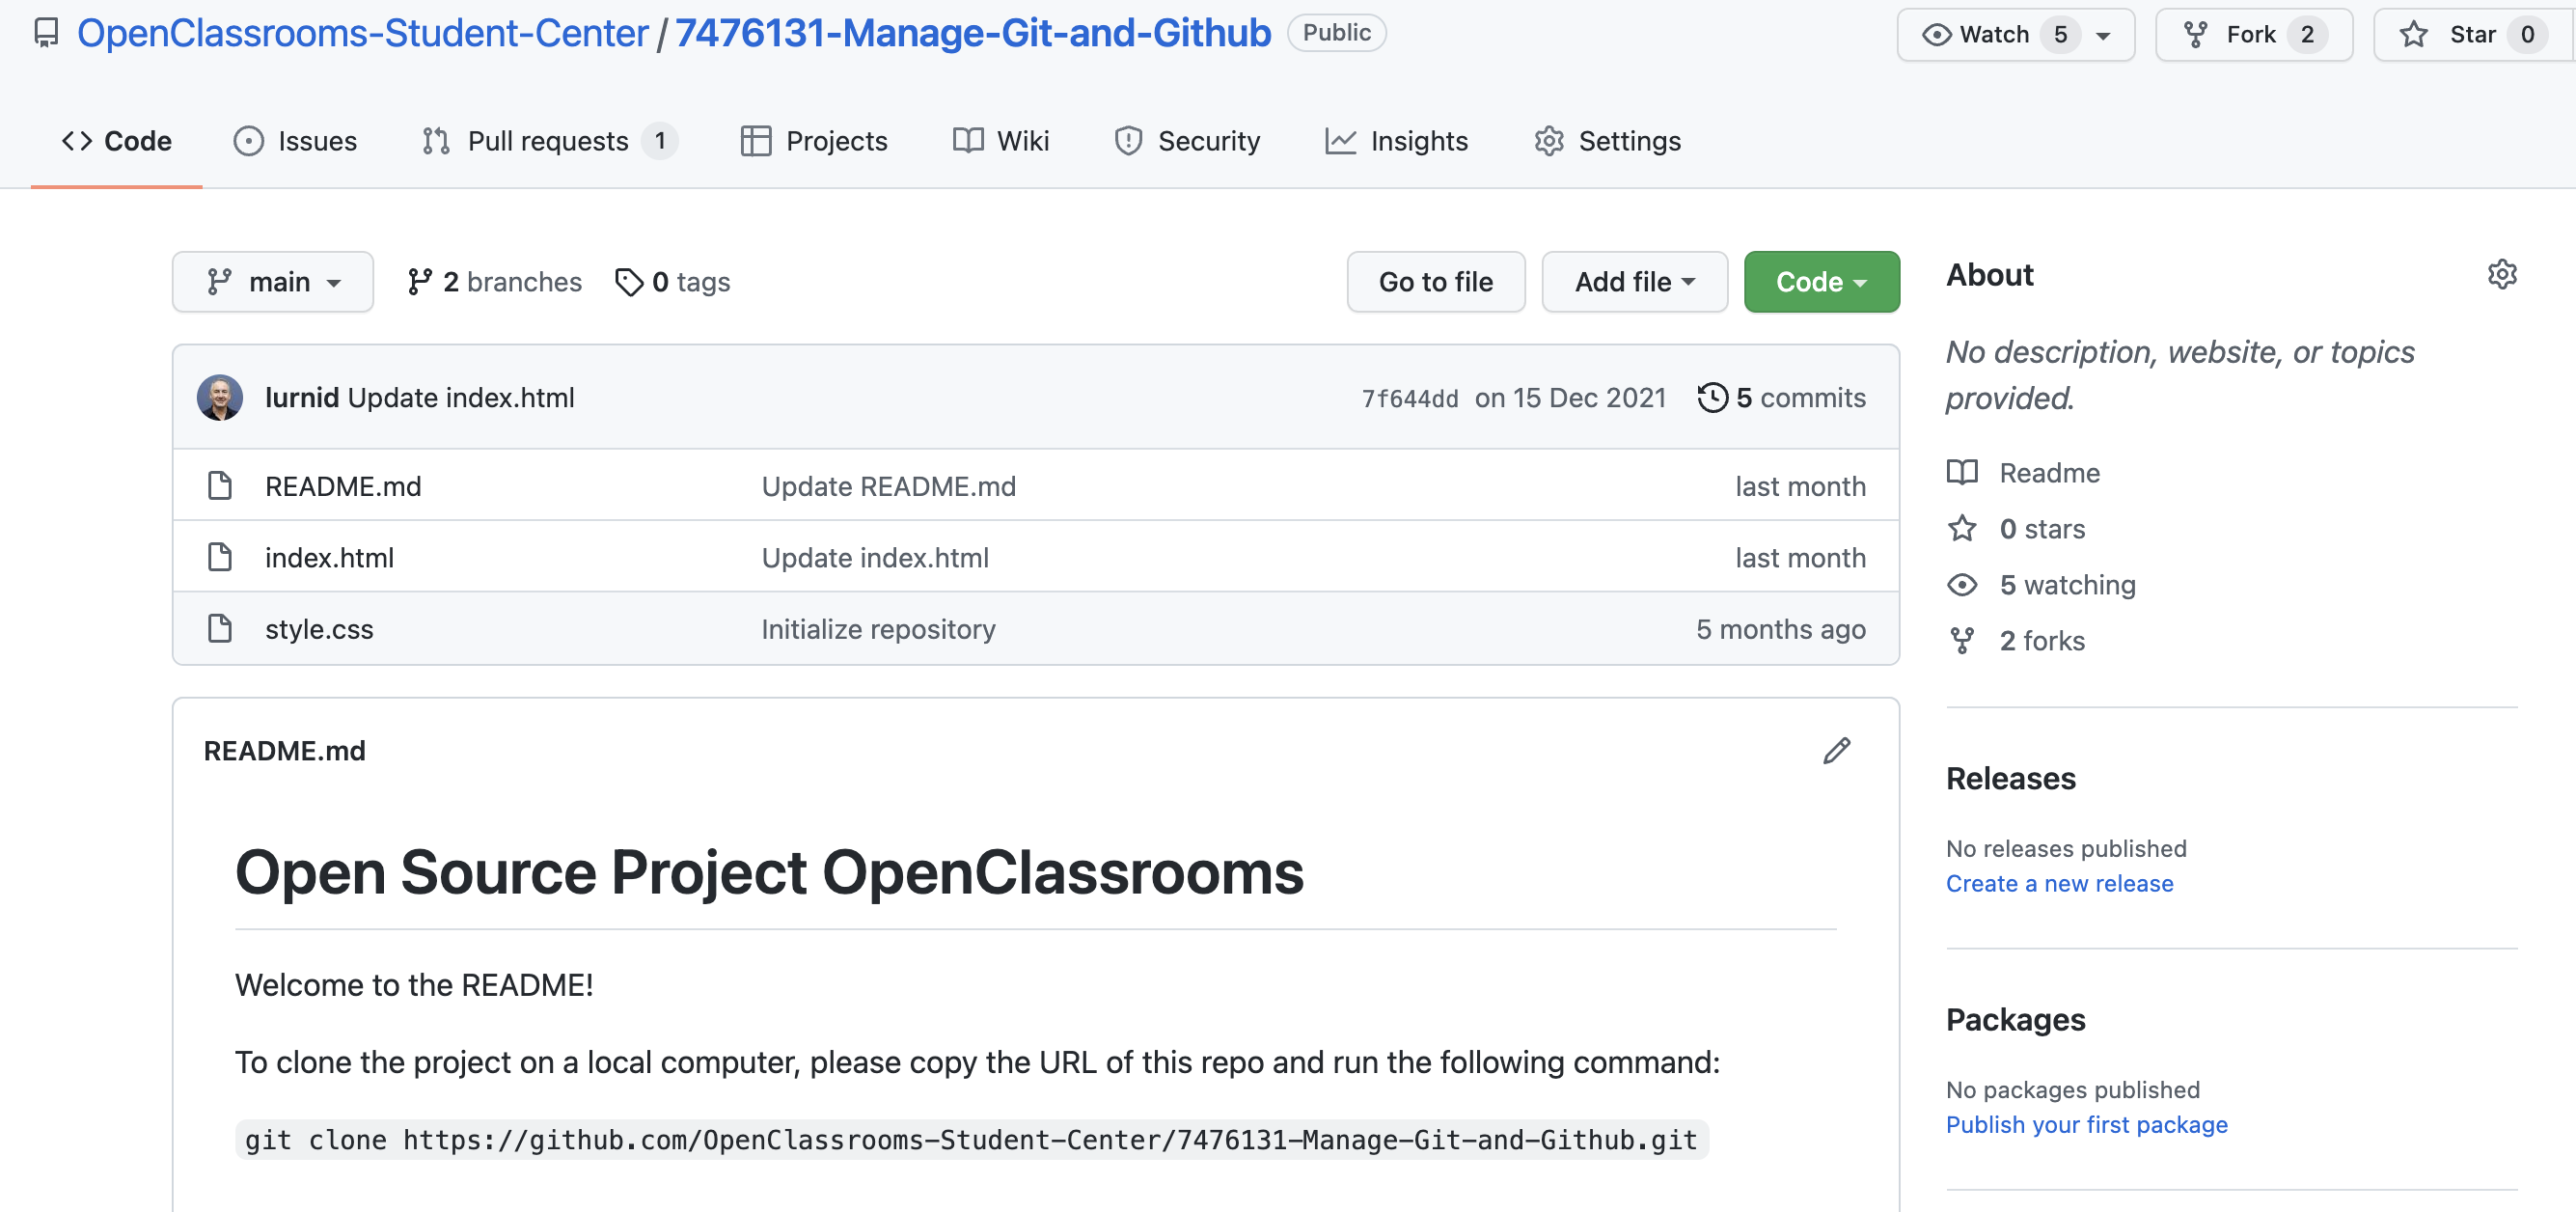
Click on the “Code” button to copy the repository, then on the HTTPS section.

And there’s the URL you need! Copy it to the clipboard.
Now go back to Git Bash and type in the following command:
git clone https://github.com/OpenClassrooms-Student-Center/7162856-G-rez-Git-and-GitHub.git
This repository name is far too long! I’d recommend creating a shortcut to save time.
Run the following command:
git remote add OC https://github.com/OpenClassrooms-Student-Center/7162856-G-rez-Git-and-GitHub.git
This command doesn’t copy the repository but tells the repository about the shortcut to the remote repository.
It’s as simple as that! Now you can go to the folder on your computer and access the code.
Update Your Local Repository
What if one of your friends adds changes to the main branch during the week, and you want to incorporate them into your local repository? You can use the command git pull :
git pull OC main
You should see something like this:

If so, that means the magic worked! 
All the files and folders in the repository should now be up to date in your current directory. The duplication takes place very quickly, as the files are compressed before transfer. This means you’ll receive them at the speed of light! Well, quickly, anyway!
You can now get to work on your developments without worrying about making mistakes. But first, let’s check a few details and have a look round our new repository.
Work on a Team With GitHub
I mentioned in previous chapters that GitHub is an excellent tool for working in a team. But how exactly does GitHub help developers work together?
GitHub is first and foremost an interface, and its role is to make it easy for developers to work together, which it does via its easy-to-use, fun, and simple design. So far, we’ve been looking at changes made to branches via command lines. If several people are working together on a project, it would be much more practical to be able to access the changes made without using the command line, wouldn’t it?
Check Your Project’s Branches
Let’s start by checking the different branches of the project—your colleagues might be working on new features. To see if they are, launch the command git branch -a .
The-a option will list all branches, including those on the remote repository. You should see this:
* main
new-version-css
update-readme
In the previous chapters, you used git merge to merge changes in your branch with the main branch.
But in a professional context, it’s a bit more complicated! 😀 When you’re working on a repository as part of a team, the main branch is often locked. You can’t push your code without it being checked. This means that you can’t merge your changes yourself!
What!? But what do I do then? I don’t have to ask for permission, do I?
Well, almost—you need to do what’s known as a pull request!
Make a Pull Request
A pull request is a GitHub feature you can use to ask the owners of a repository for permission to merge your changes with the main branch or any other branch you want to change.
If you’re creating a pull request, it means that you’ve first:
Created a new branch.
Sent your code to this same branch.
When these two conditions are met, a banner appears across the screen suggesting that you create a pull request:
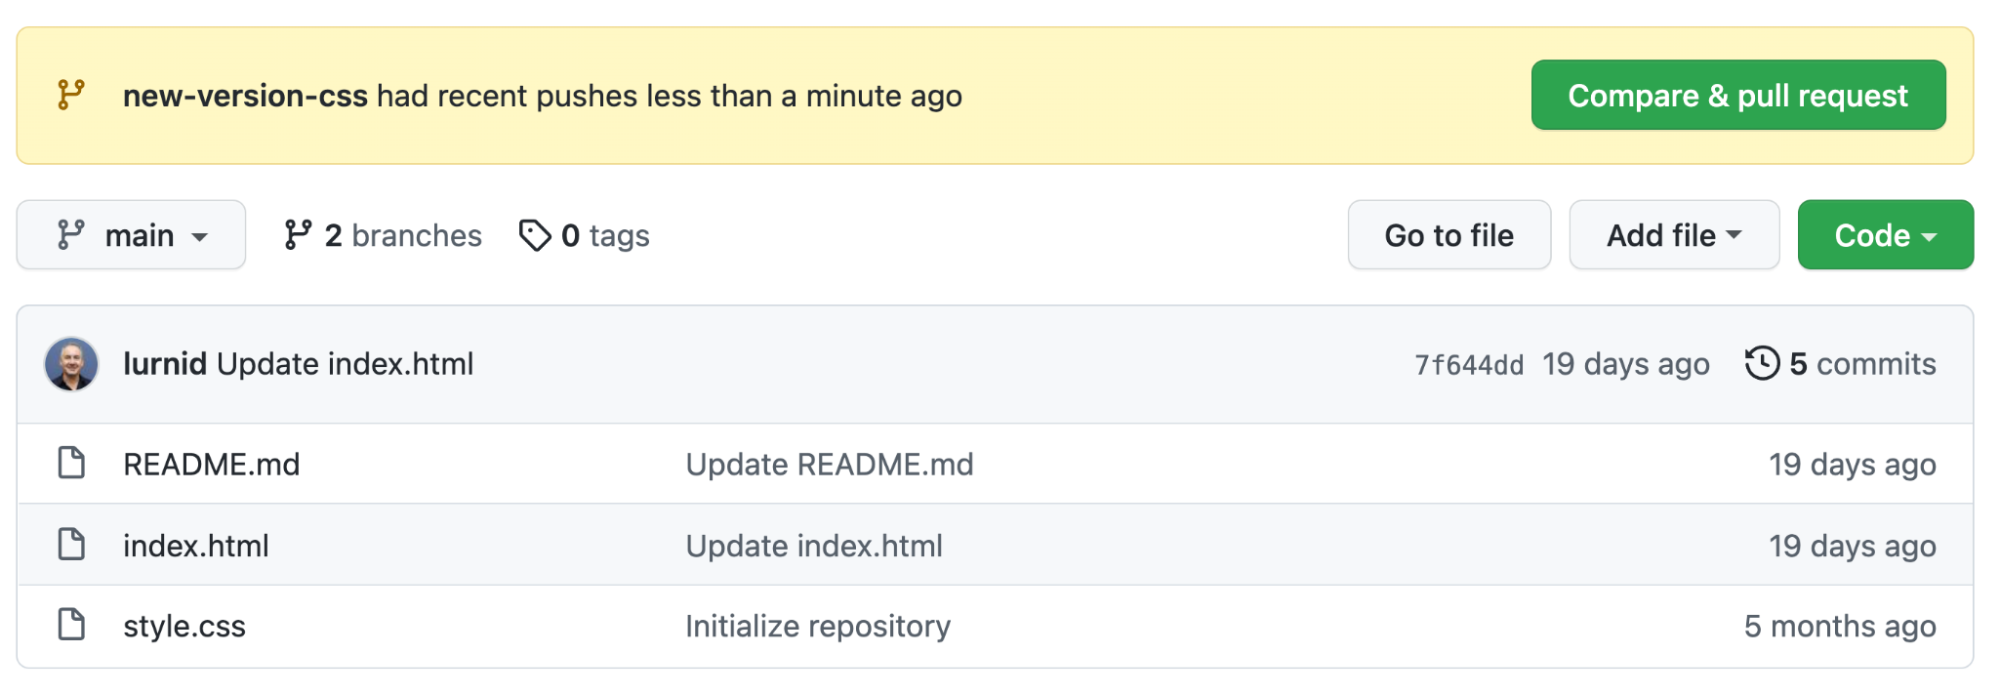
Perfect!
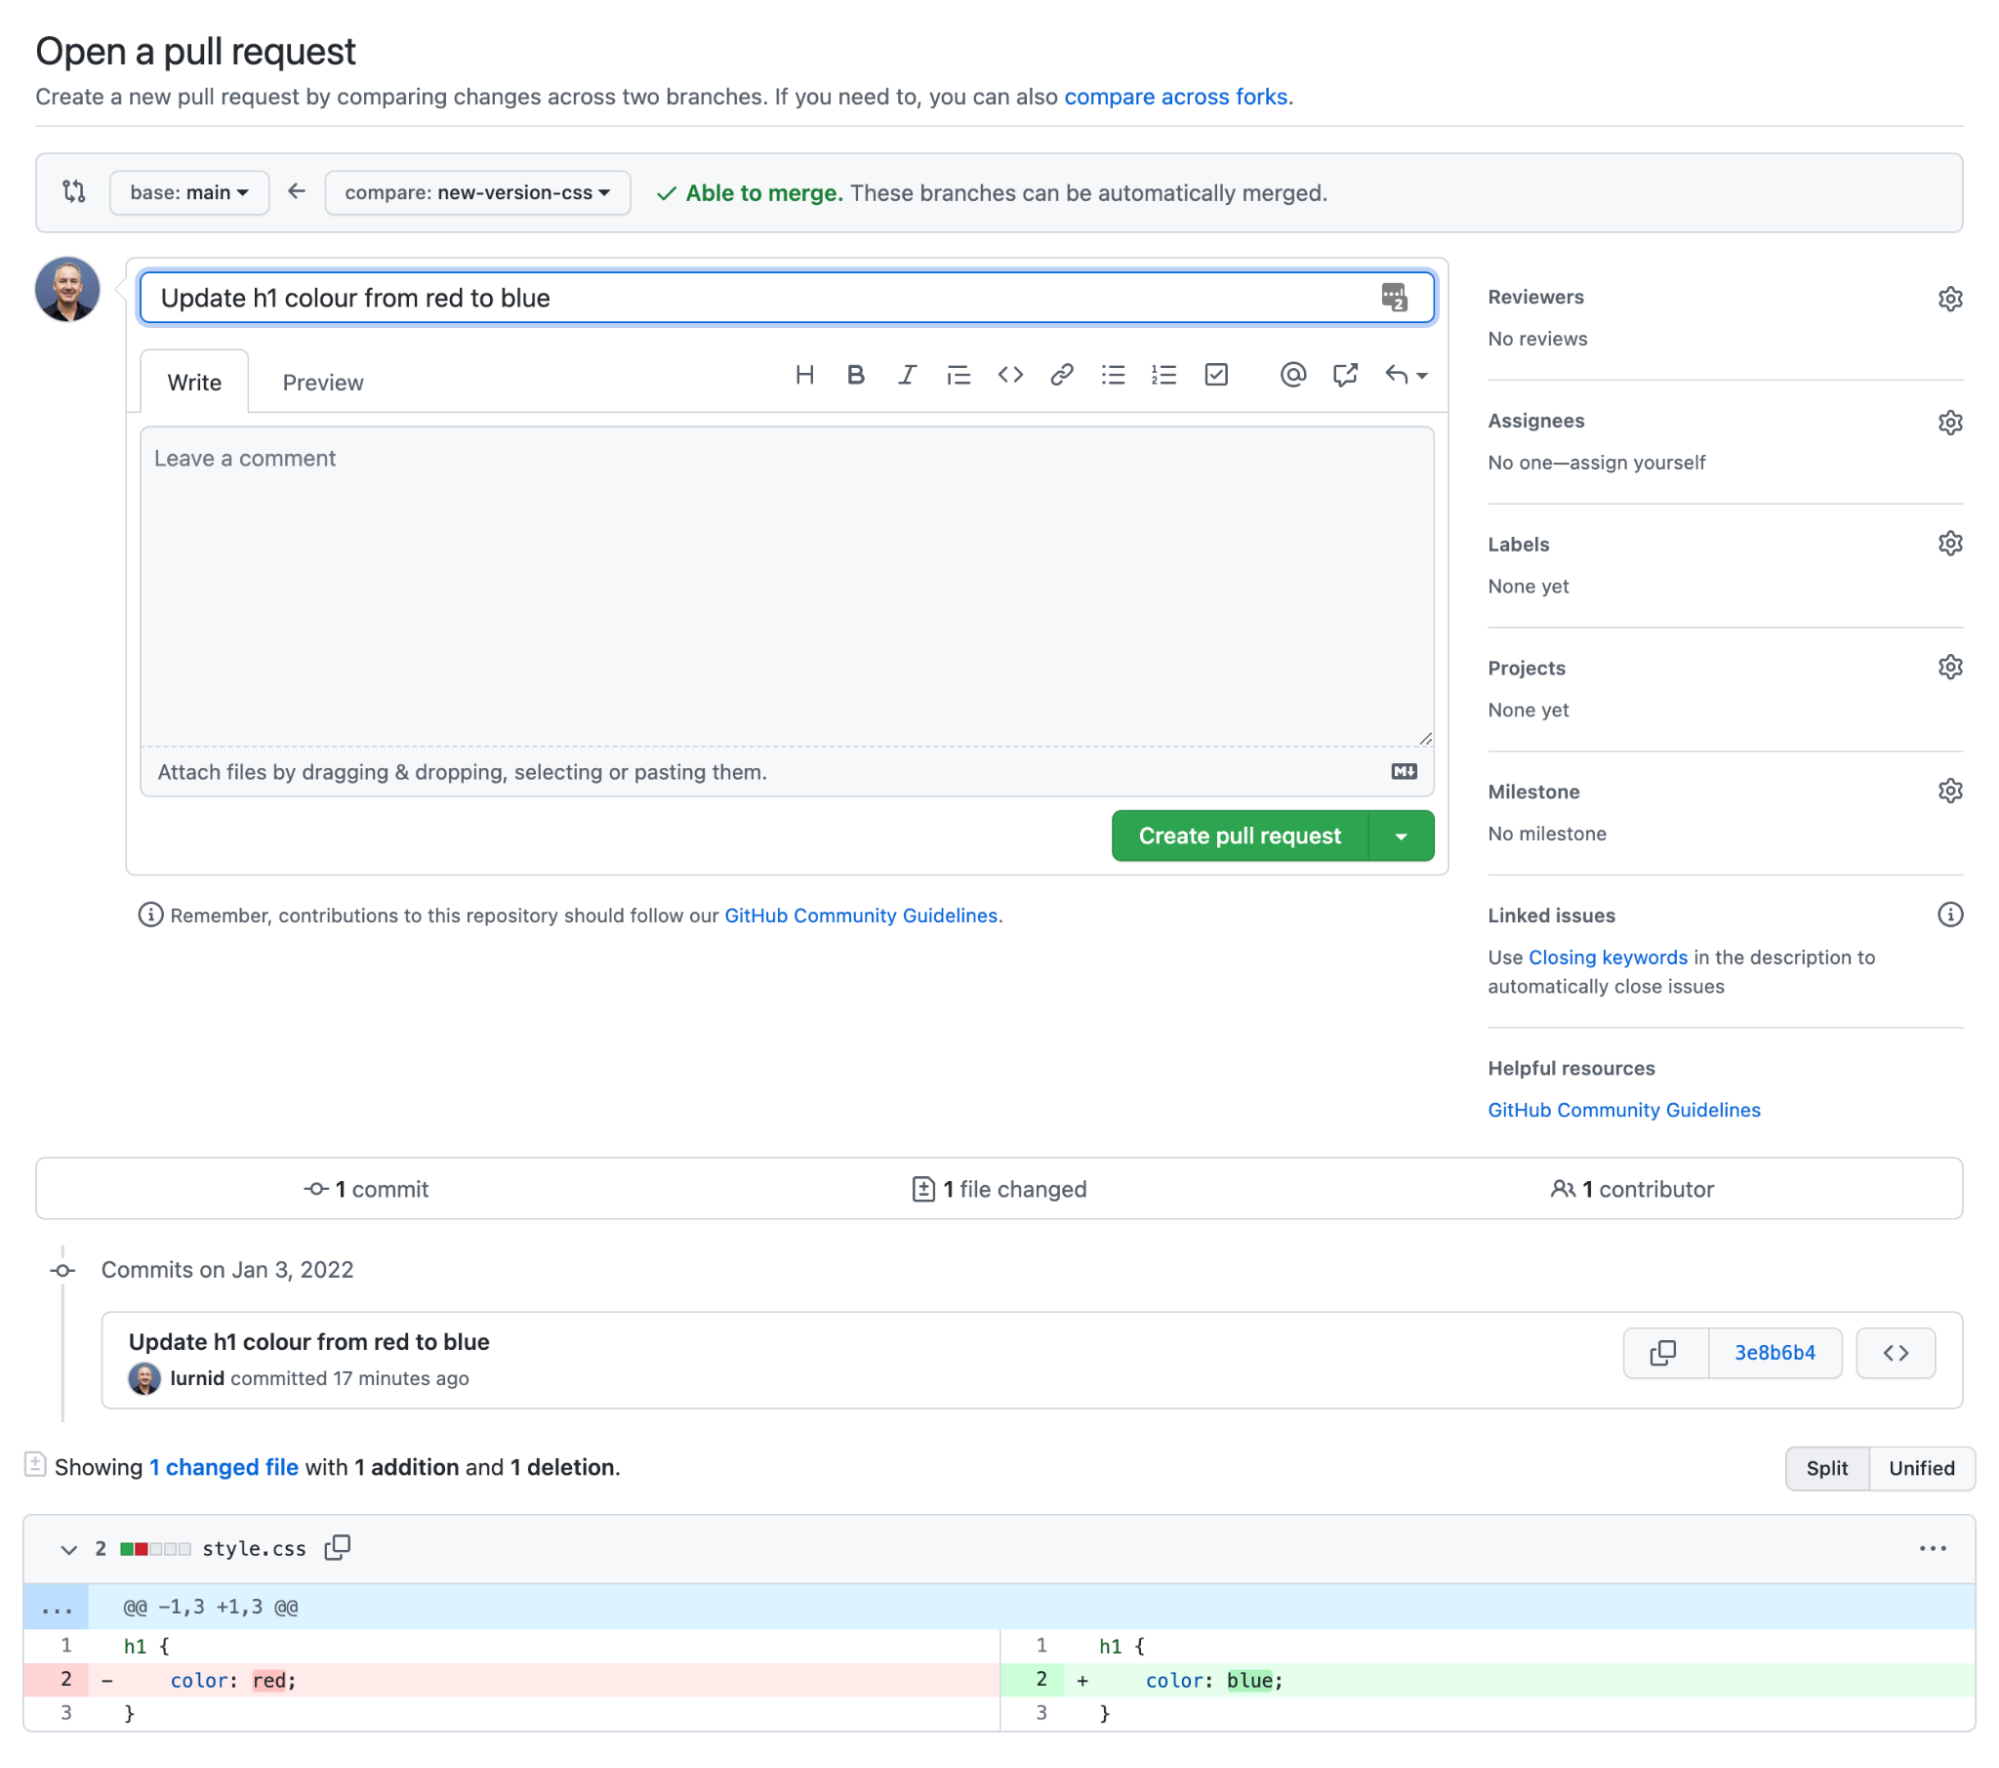
Add a comment to explain the reasons for your changes.
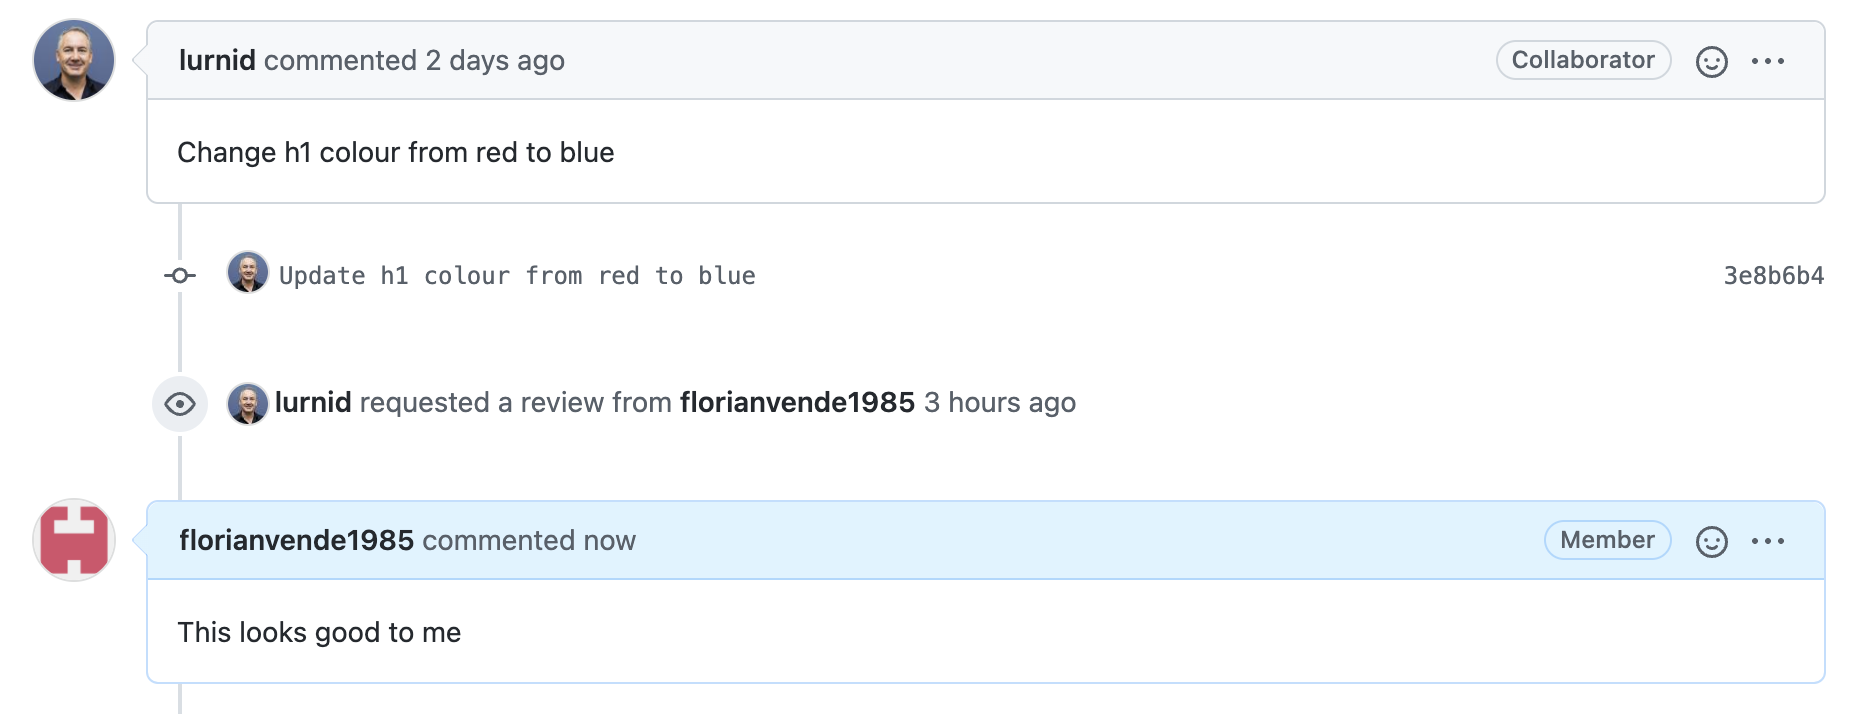
In this case, you want to change the color of a tag. Therefore, you can add a comment: “Change h1 color from red to blue.”
GitHub uses a color code to show the changes made. Red lines mean something has been deleted, and green lines mean something has been added. Here, you can see that there has been a change on one line—red has been deleted and replaced by blue.
Click on Create pull request to validate the pull request.
Now you have a ready-to-use pull request!
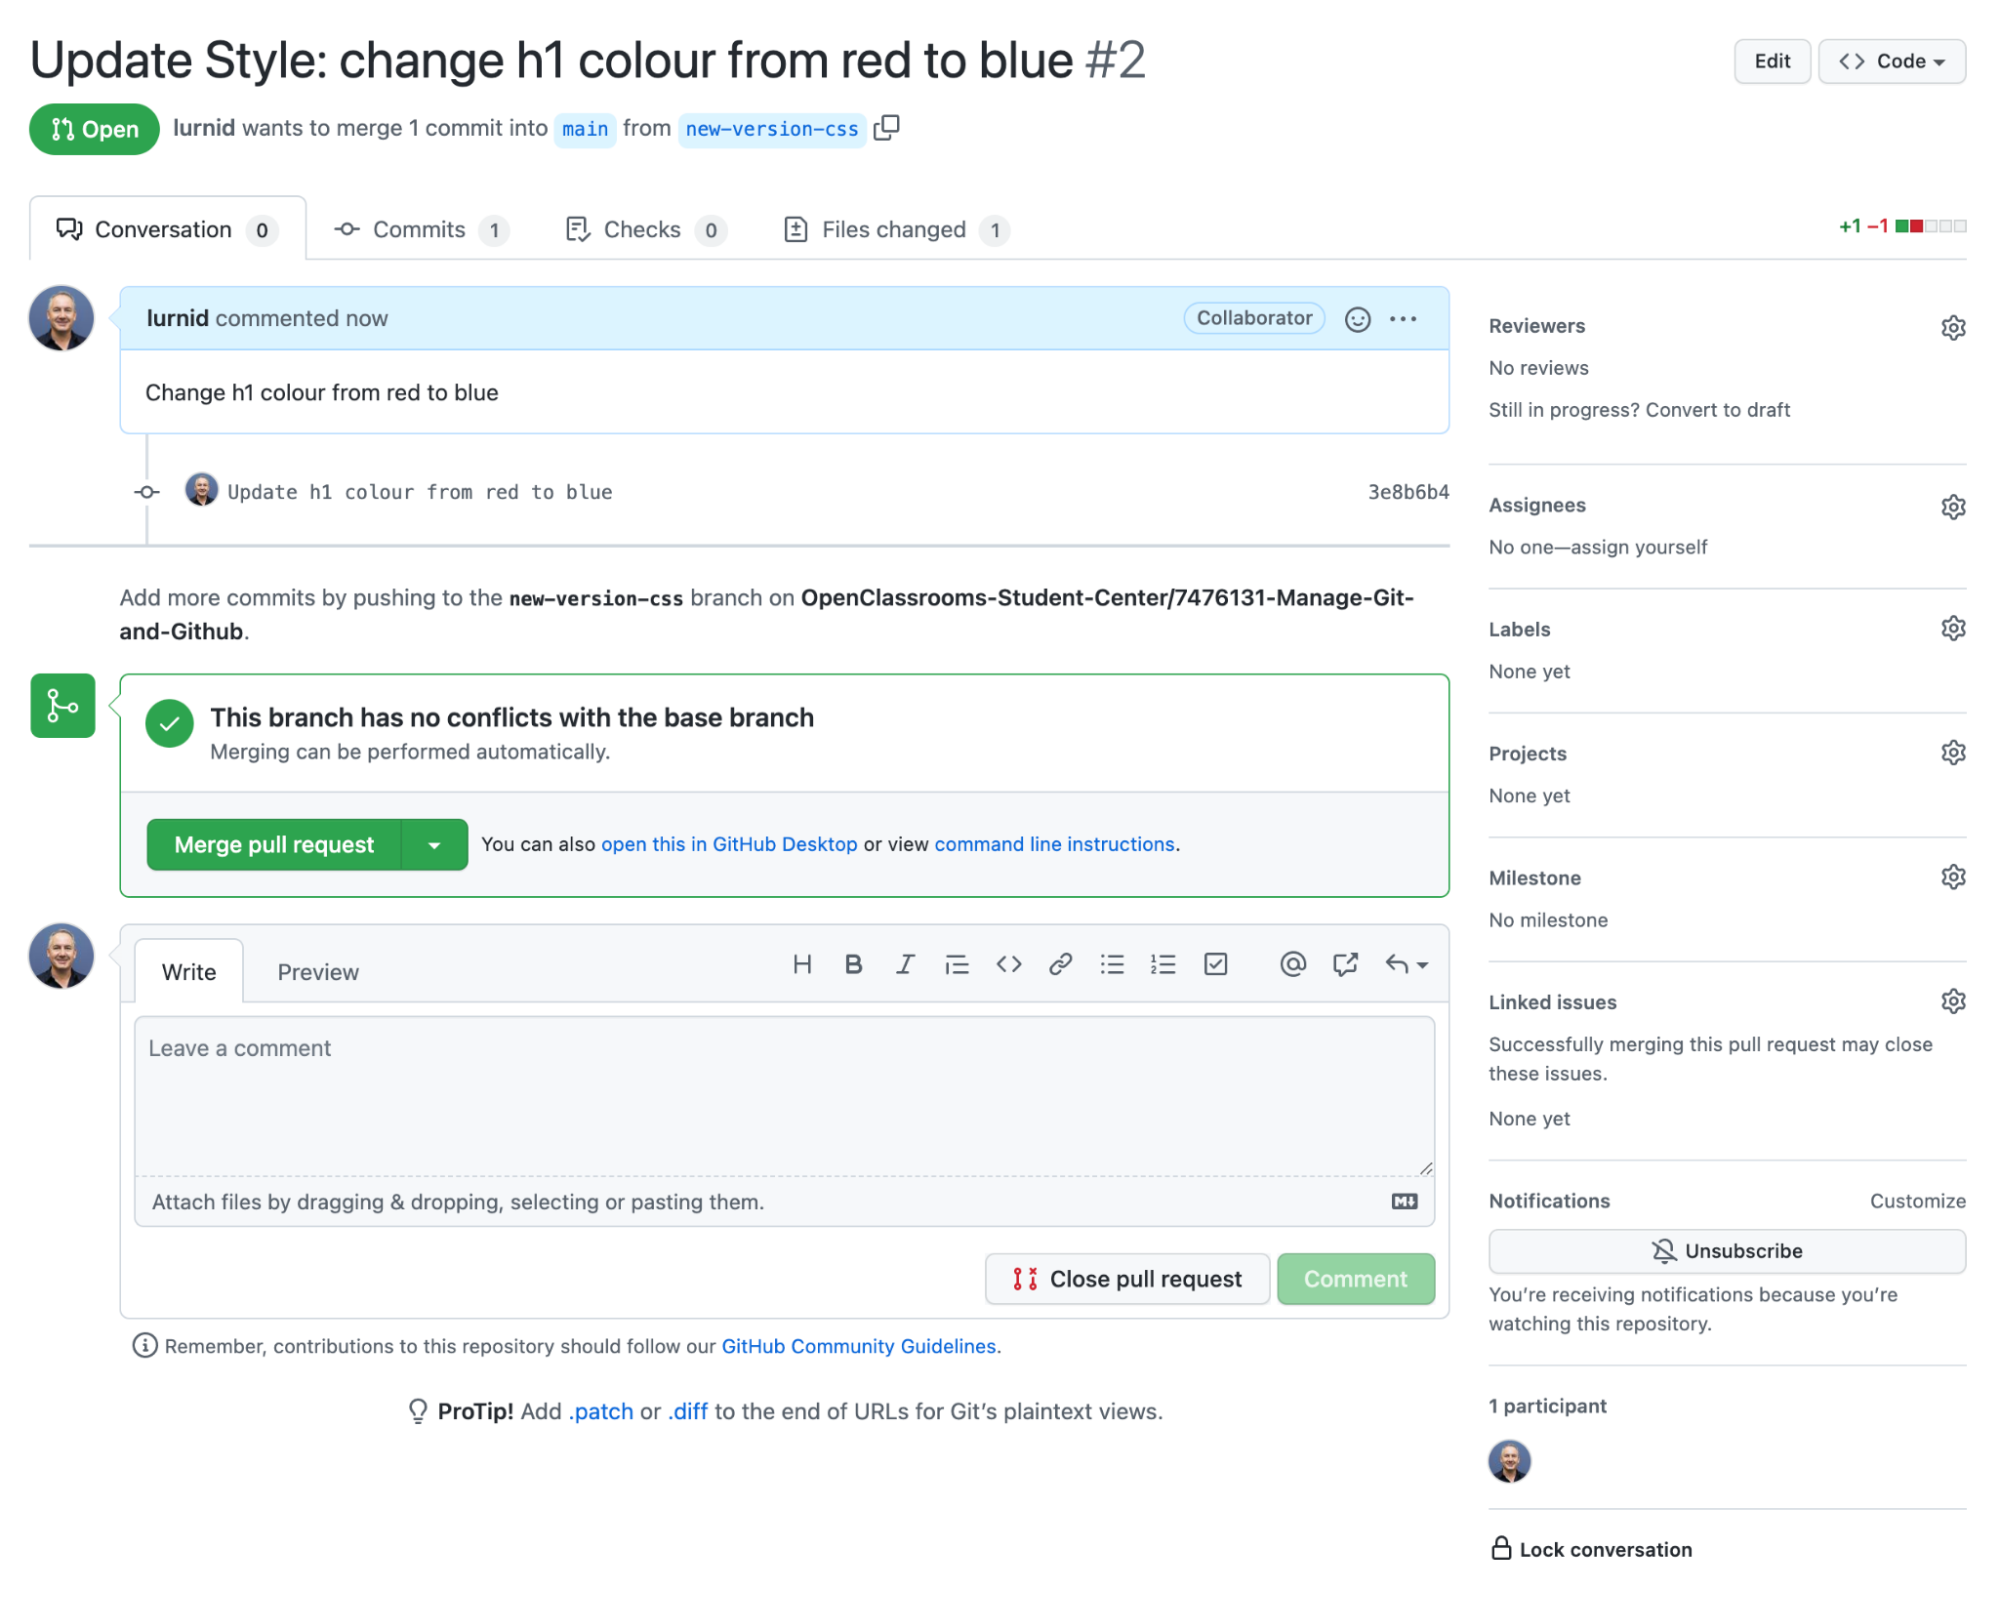
Your pull request has been created and can be merged with the main branch. You can access it using this link.
Request a Code Review
In large projects, your code might need to be reviewed and approved by other people working on the project before being merged with the main branch. This is called a code review. It helps pick up any errors and allows you to discuss choices and decisions or ask questions.
Now you know how to use GitHub for teamwork!
Watch the video below to go back over the different steps:
Let’s Recap!
In GitHub, you can access the URL of a remote repository.
Using git clone, you can make a local copy of a remote repository.
Using git remote add, you can give a repository a short name to make it easier to use.
Using git pull, you can duplicate a GitHub repository locally.
You can make a pull request to ask to merge your code with the main branch.
In this part, you discovered version management for development, and learned Git! Of course, sometimes you’ll make mistakes, but don’t worry—in the next part you’ll see how to fix them!
But first, a quiz!
