Deploy Windows 11 to a New Machine
It is now time to deploy Windows 11 🥳
In this chapter, we will see how to deploy a turnkey machine using the preparation completed in MDT. You will also learn to identify the different stages of deployment and the role of Lite Touch.
Before you start, create a new empty virtual machine intended for Windows 11 in your hypervisor, without using an ISO file, because installation will happen over the network.
Find all the deployment steps in this video:
Start the deployment
When you are ready, start the virtual machine where you want to perform the deployment.
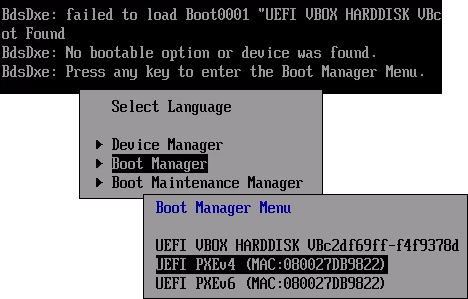
Because VirtualBox does not handle UEFI network boot very well, you may need to force it. When you see the message Press any key to enter the Boot Manager Menu, press a key.
Use the arrow keys to move to Boot Manager and press "Enter". Then move to UEFI PXEv4 and press "Enter" to start network boot.
The new machine will contact the deployment server, which will automatically provide it with an IP address through DHCP. Remember that we configured WDS to keep the PXE boot going automatically unless someone presses Esc, so do not touch anything here.
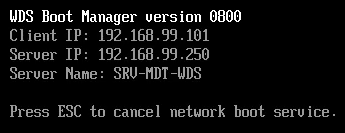
Once connected to the server, the Lite Touch PE boot image added to WDS will load into memory.

You will reach the MDT welcome screen through the Lite Touch boot image. In the lower "Keyboard Layout" field, select the layout that matches your keyboard.
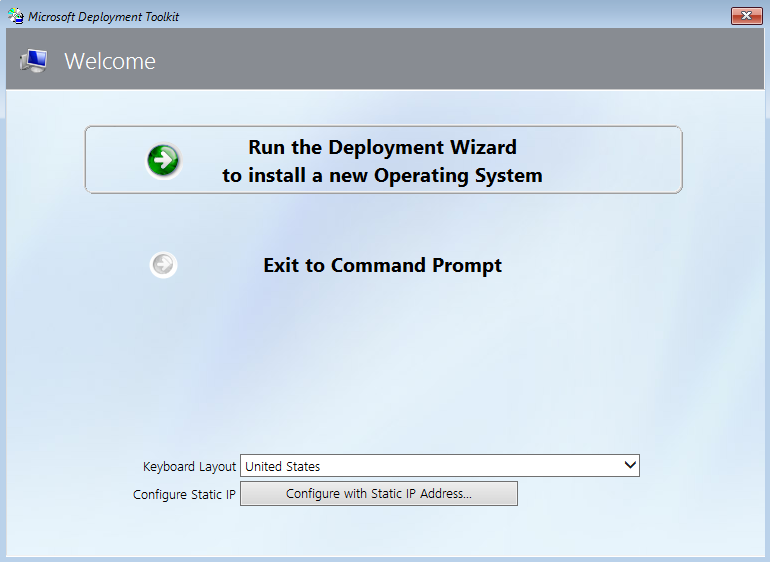
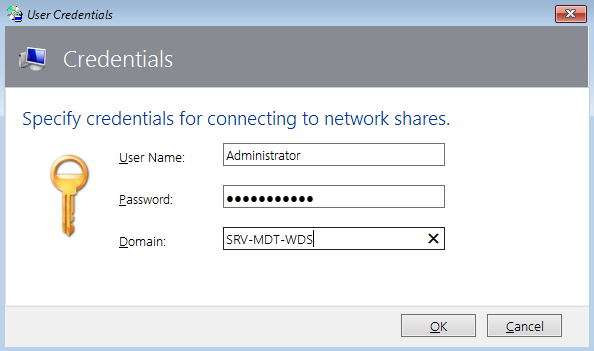
Authenticate with an account authorized to access the MDT share, for example the deployment server administrator, enter its password, then enter the deployment server name or IP address.
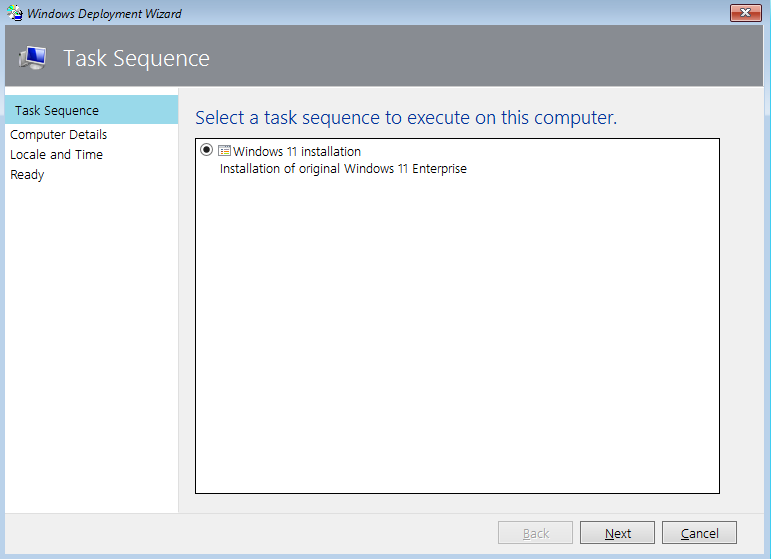
Select the task sequence that should run on the machine. In our case, we only have one and it will install Windows 11.
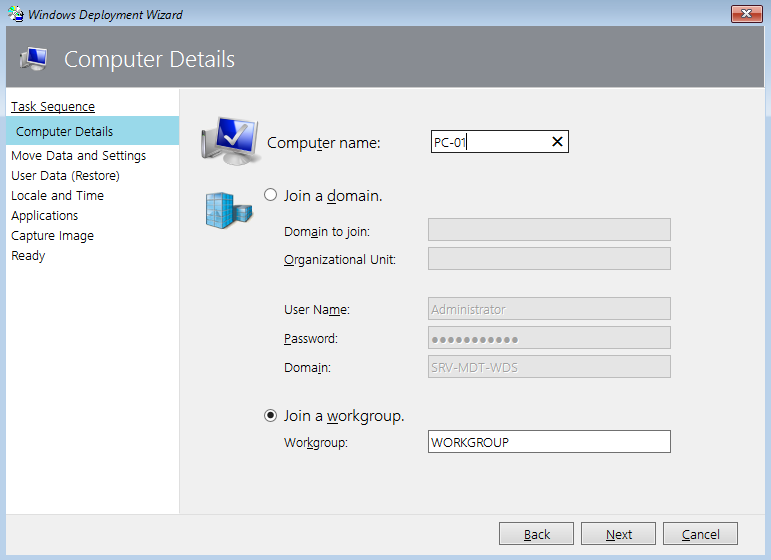
You can give the machine a name and join a domain if you want. If you do not have a domain, select the "Join a workgroup" option and continue.
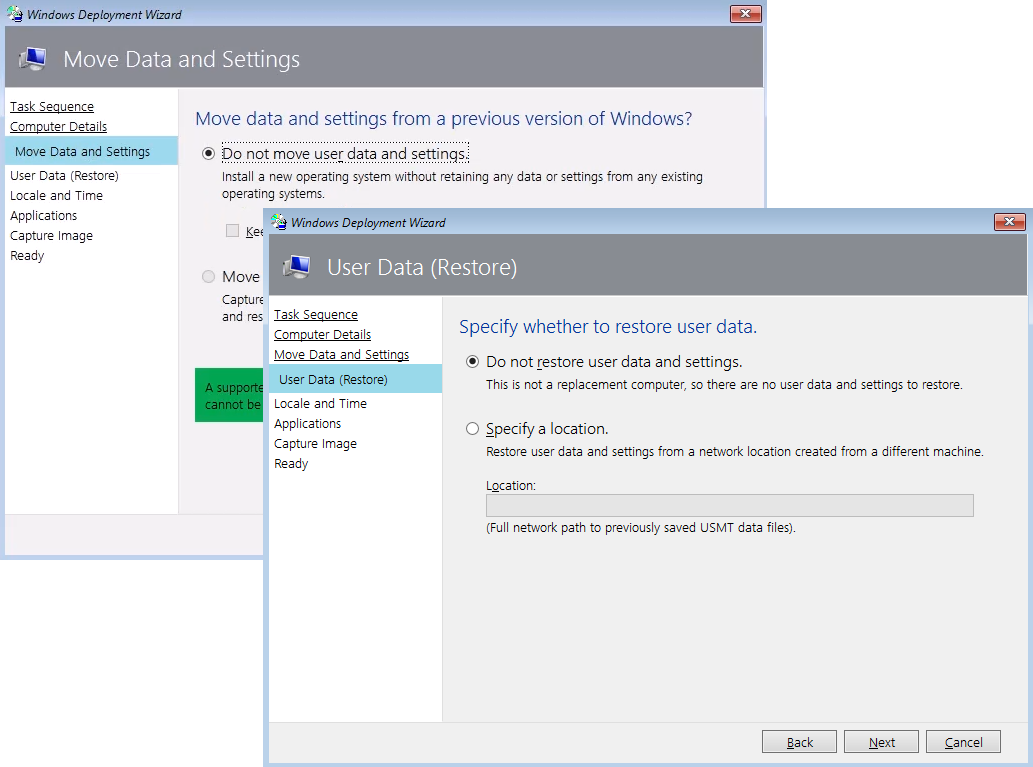
On the next screen, leave the default option "Do not move user data and settings" selected. This is a new VM, so there is no data to transfer.
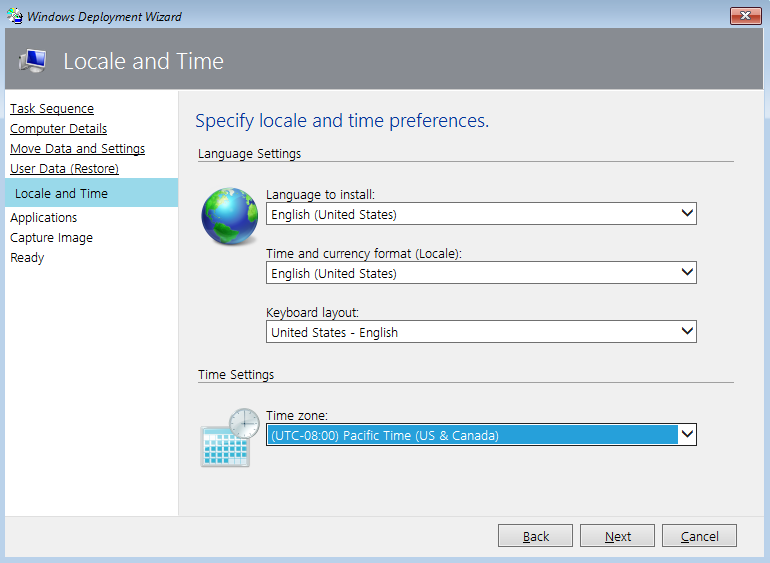
Configure the language options and time to your zone.
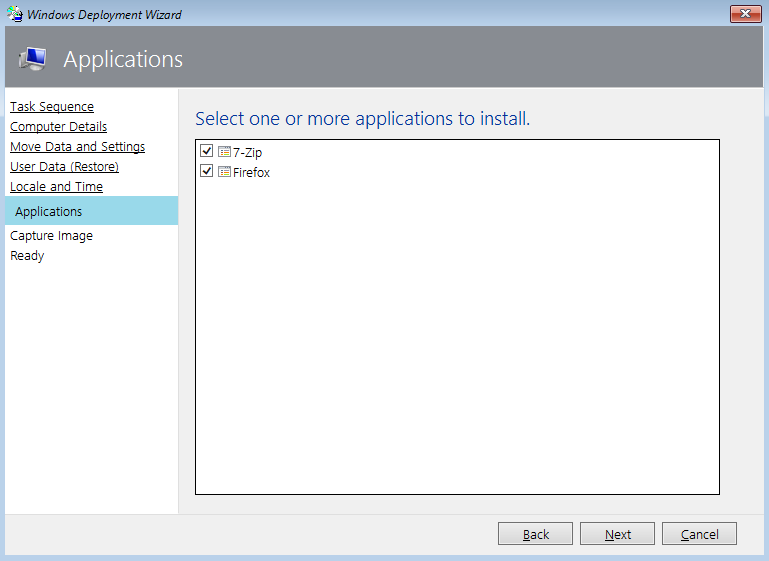
Select the checkbox next to each application you want to install. In our case, we are going to install both.
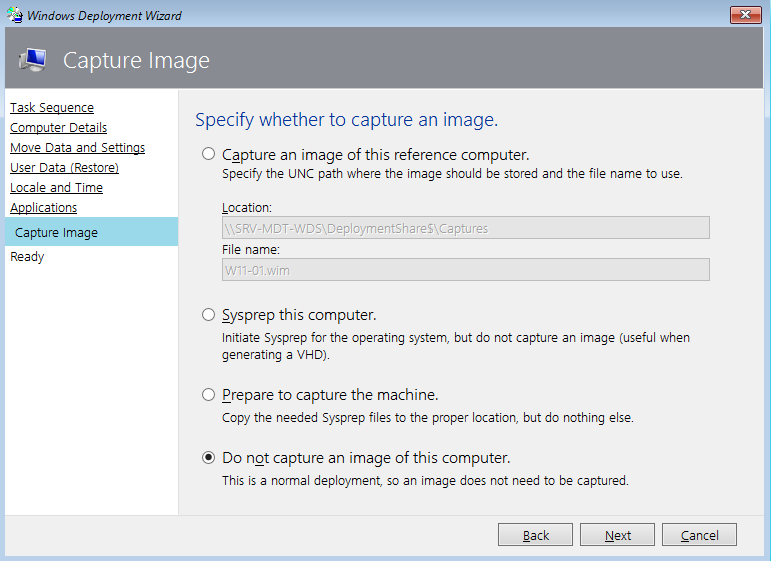
Select the "Do not capture an image of this computer" option. We will cover that in the next chapter, but no spoilers! 🤫
Check the information on the summary page and click Begin to finish.
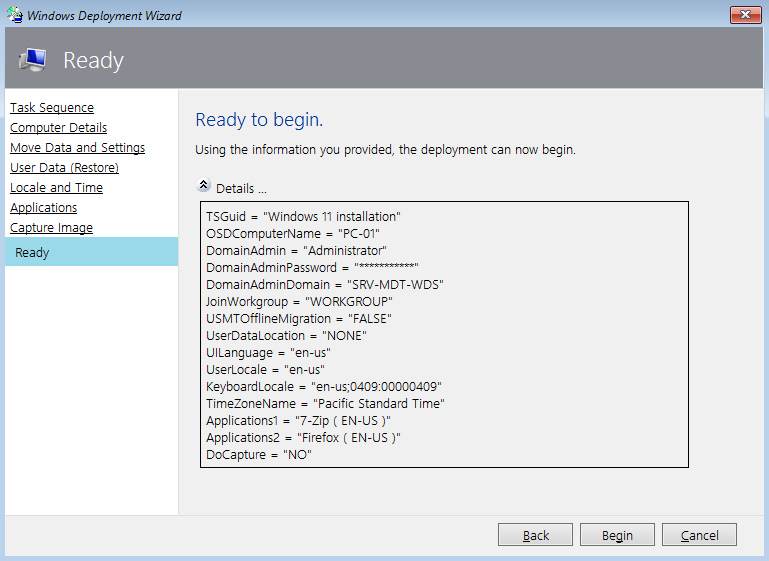
From this point on, the task sequence will start immediately.
All that is left now is to grab a quick coffee while the machine gets ready. Just kidding, come back here! 😨
Monitor the deployment process
Once deployment is started by MDT, Lite Touch will run the installation by following the actions defined in the task sequence. Each step is identified by a progress bar and a status message.
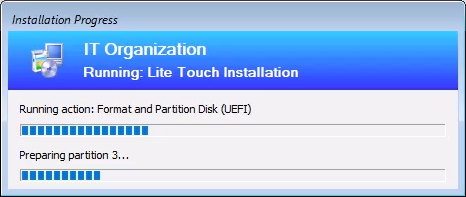
One of the first actions will be formatting and partitioning the storage disk of the new machine.
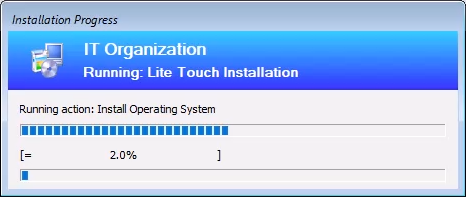
You will then see a progress bar for installation of the operating system defined in the task sequence, here our Windows 11 Enterprise.
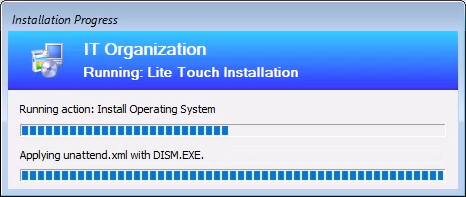
You may also see a running action applying the unattend.xml answer file used by default in MDT. It has been partially filled in with the answers we provided earlier, such as the system language. Among other things, this answer file lets the deployment skip the entire initial OOBE phase automatically.
Once the Windows 11 installation is complete, the machine will restart automatically. Because the initial OOBE setup is automated, the local administrator account will sign in automatically, with or without a password depending on how the task sequence is configured. In this course, we did not define a password.
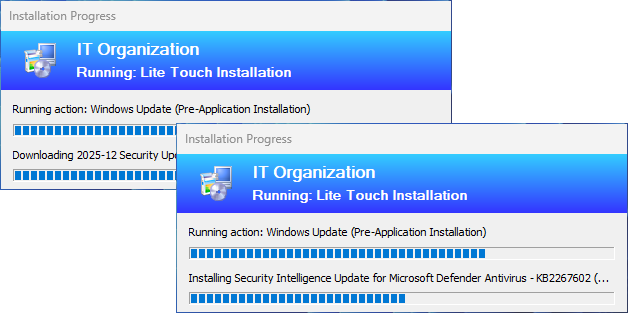
Deployment is not finished yet, and Lite Touch will continue running the remaining actions. For example, because we enabled system updates, the available updates will be downloaded and installed automatically.
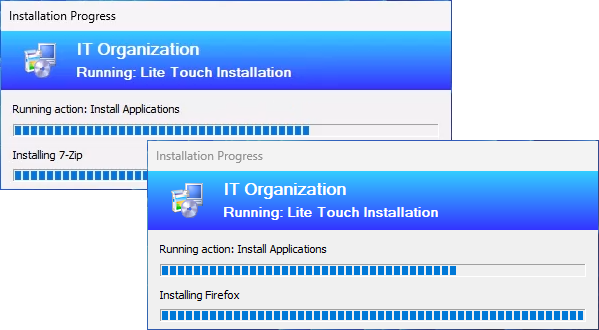
Next comes the running action for installation of the selected applications. Depending on the application, it will be available from the Start menu or through a desktop shortcut.
Once everything is complete, the Lite Touch wizard will display a status page telling you that deployment succeeded.
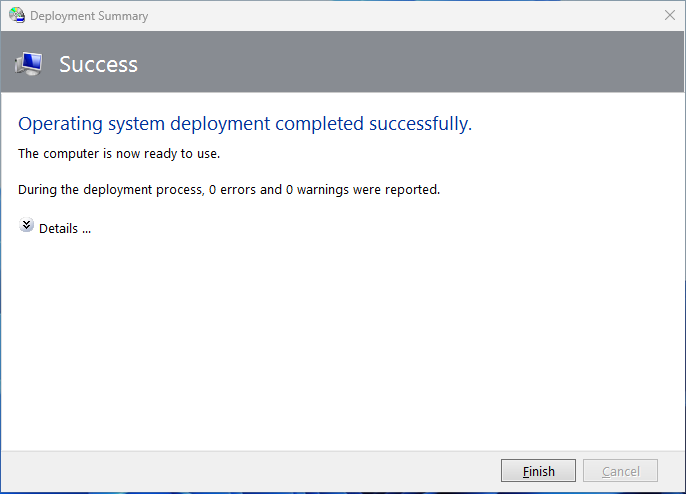
That is it. You now have a new machine running Windows 11 Enterprise, fully updated, with the required applications installed.
Let's Recap!
The machine where Windows will be deployed must be on the same network as the server, and the server must stay powered on for the entire deployment.
Deployment happens over the network through WDS, which sends the Lite Touch PE boot image to the machine.
The MDT Lite Touch wizard lets you customize deployment, for example:
Select a specific task sequence
Name the computer
Join a domain
Keep user data from an existing system on the machine
Define the system language, keyboard, and time zone
Select applications to install
Once deployment starts, the running actions are executed according to the selected task sequence, for example:
Disk partitioning Operating system installation
Answer file application
System update
Application installation
Congratulations. You have just deployed a complete turnkey machine. Let us go one step further and learn how to capture your own Windows 11 reference image to gain even more efficiency.
