Capture a Windows 11 Reference Image

In the previous chapters, we saw that MDT is a very complete tool that lets you customize deployment from end to end to produce a new turnkey machine.
However, some organizations prefer to deploy their own reference image, especially when business applications cannot be installed and configured in a fully automated way.
In this final chapter, I will show you how to capture a Windows 11 reference image with MDT.
Create a dedicated task sequence
To capture a reference image, MDT handles everything for us!
We are going to configure a task sequence specifically for this capture. Since you are very serious students who have followed the course all the way through, you already know the process 😉
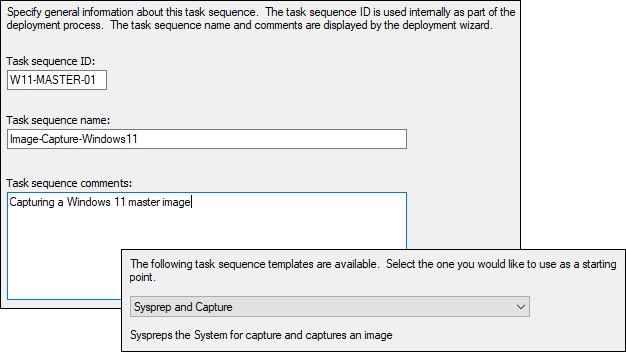
In the "Deployment Workbench" console, create a new Task Sequence. Define an ID and a name that make it easy to identify this task sequence. In the drop-down menu, select the "Sysprep and Capture" template.
For the rest, the settings are the same as for the task sequence created earlier:
Select an operating system
Do not specify a product key
Define the organization name
Do not define a password for the local administrator
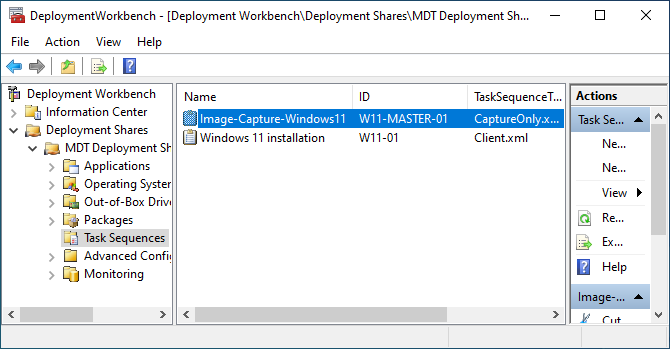
The sequence will be visible in the MDT console.
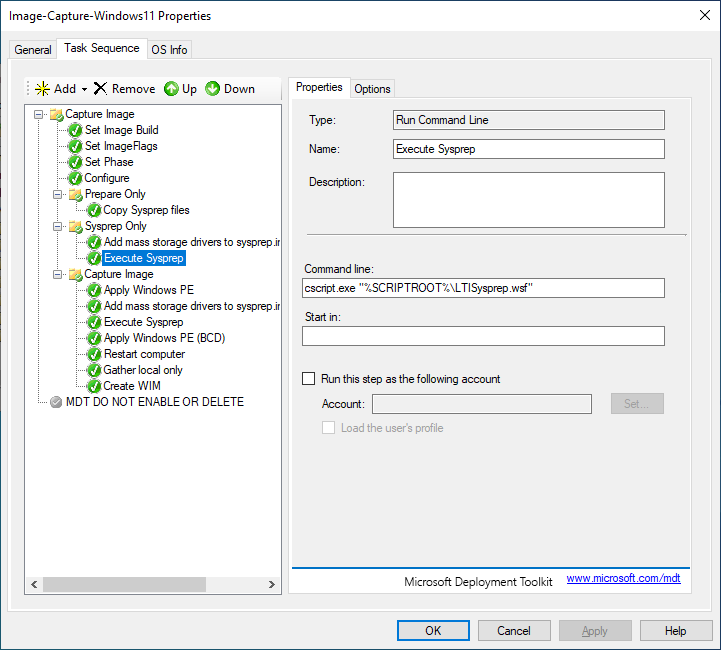
If you look at the contents of this task sequence, you will see far fewer actions than in a full deployment.
That is all on the MDT side. Now let us move on to the steps you need to perform directly on the Windows 11 reference machine.
Start the capture
Find the steps in this video:
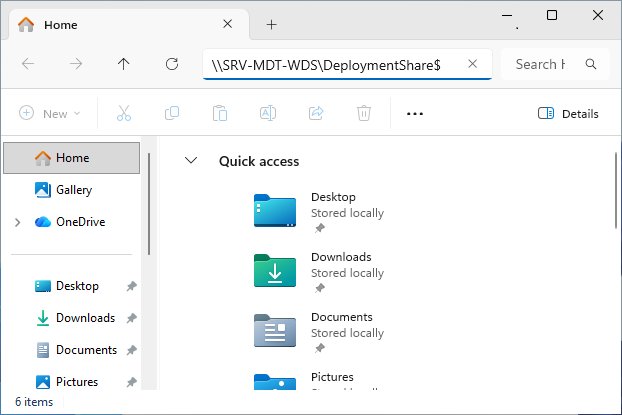
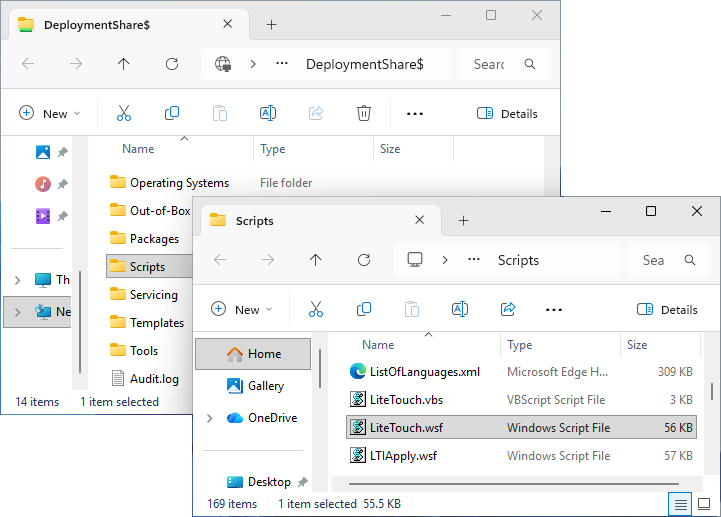
On your reference machine, which has already been customized but not yet generalized with Sysprep, open File Explorer. In the address bar at the top, manually enter the UNC path that gives remote access to the MDT Deployment Share hosted on the deployment server: \\SRV-MDT-WDS\DeploymentShare$.
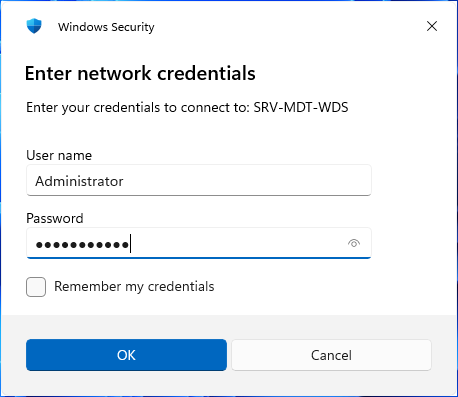
A window will prompt you to enter network credentials. Use the credentials of an account authorized to access the share. You can use the deployment server administrator account.
Go to the Scripts folder, then double-click one of the two script files named LiteTouch.
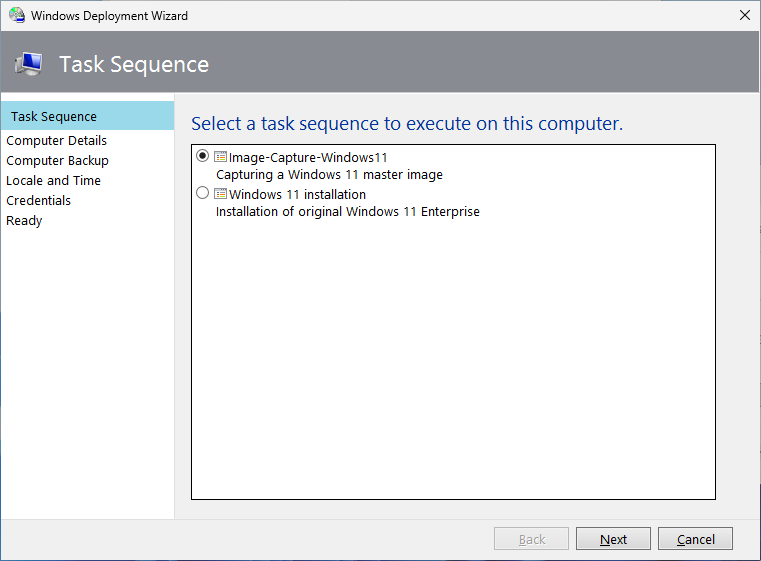
Select the task sequence you created earlier to capture a reference image.
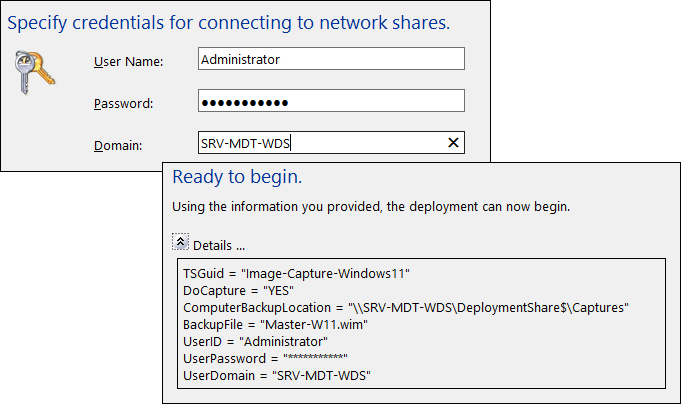
Select the "Capture an image of this reference computer" option. Leave the file destination set to the "Captures" folder of the Deployment Share, and give the .wim file a name that clearly identifies it.

Enter the deployment server name and the credentials of a user account authorized to write to the "Deployment Share", for example the server administrator again. Then check the summary information and click Begin.
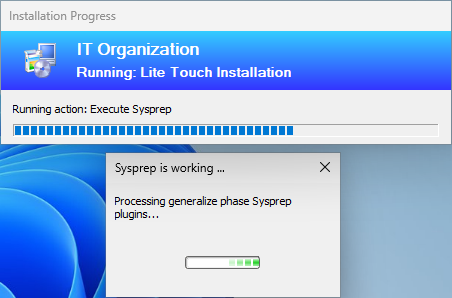
Lite Touch will run Sysprep to generalize the reference image.
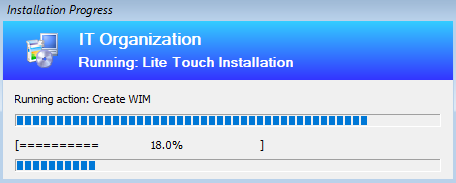
After generalization, the reference machine will restart over the network and the capture will begin automatically. The system image of the reference machine will be stored as a WIM file, a Microsoft disk image format.
Once the process is complete, the WIM file representing the reference image will be available on the deployment server in the destination you specified, usually the "Captures" folder of the "Deployment Share".

You can use this file as an operating system in MDT by adding it under "Operating Systems" in the "Deployment Workbench" console, just as we saw earlier in the course.
You now know how to use Microsoft deployment tools WDS and MDT to capture or deploy Windows 11 to new ready-to-use workstations.
Let's Recap!
A new task sequence dedicated to using Sysprep and capturing the reference image can be created in MDT.
The task sequence is started remotely directly from the reference image by running a script stored in the MDT share.
The share is accessible through its UNC path, for example \\SRV-MDT-WDS\DeploymentShare$
After you start the capture, MDT automatically handles generalizing the reference image with Sysprep and capturing it.
A WIM system image of the reference machine will be generated and made available in the MDT share under the Captures folder.
The generated WIM file can be used directly in MDT as an operating system.
It is time to validate what you have learned. Launch the quiz to test your knowledge and prove that you are ready to automate your deployments!
