Create Your First Image

Thanks to the technical insights you shared—and the fact that you already proved you can launch a container—Liam has successfully convinced the investors of the project’s value. It’s now time to start integrating the Libra application into a container!
Integrate Your Own Service
Although many services and applications are already available on Docker Hub (and often even maintained by the official project teams), it’s common to need to build your own image to containerize an in-house application.
In this chapter, you’ll learn how images are structured and, more importantly, how to create them yourself!
Anatomy of a Container Image
Docker images are built in layers, where each layer represents a modification applied to the image.
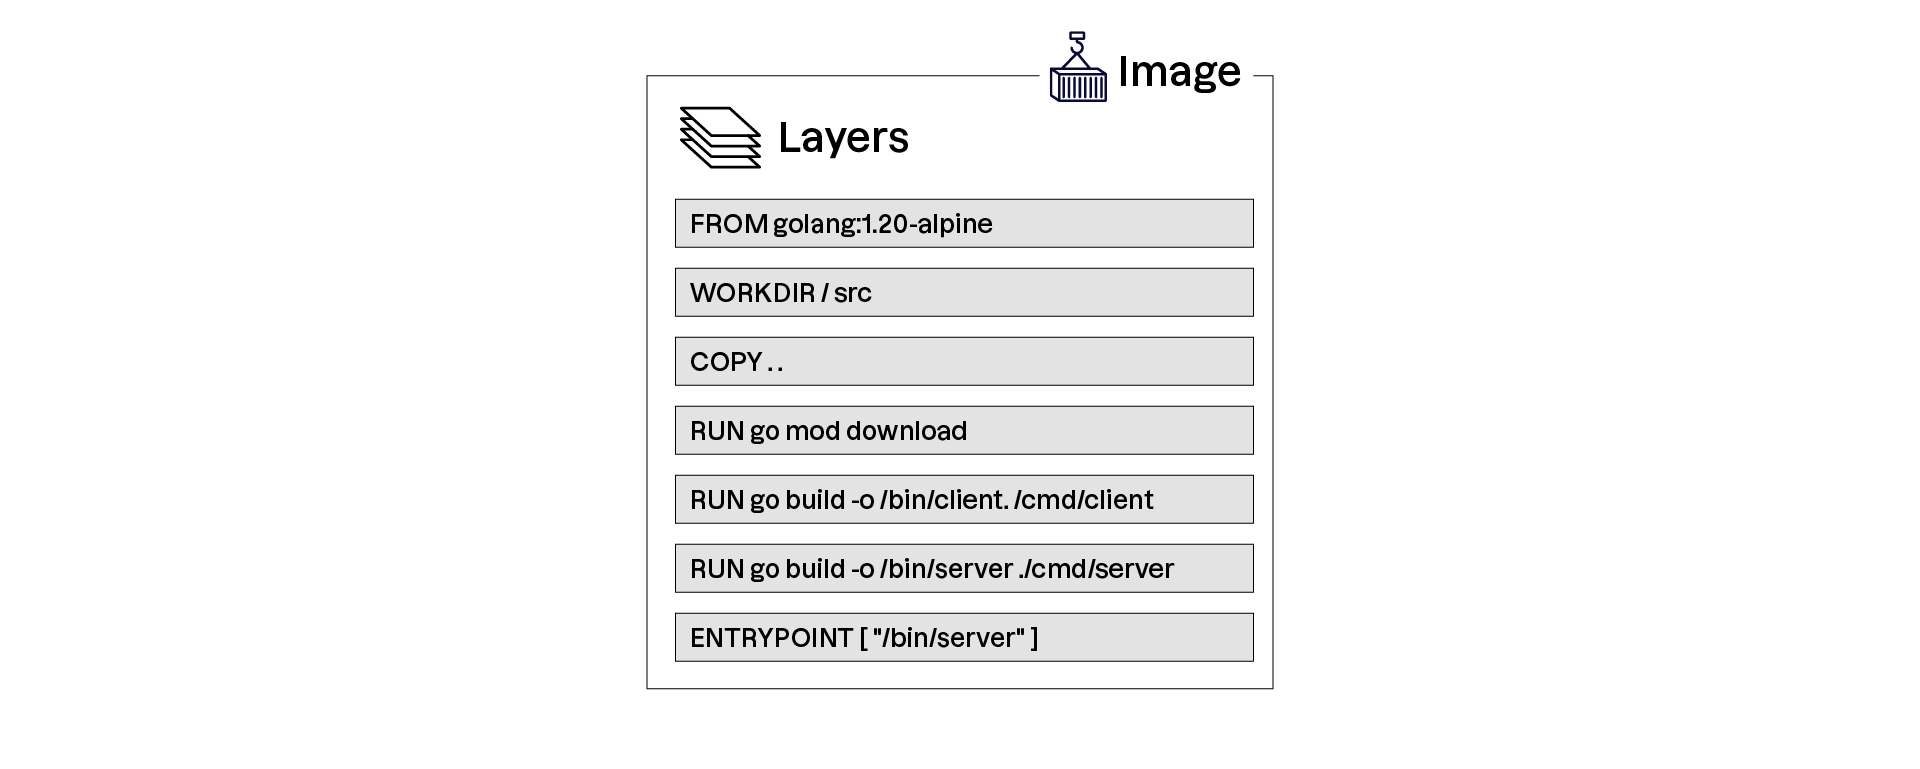
Why this layered structure?
Docker images use layers to optimize data reuse and accelerate builds through caching. This means only modified layers need to be rebuilt. This modular structure helps:
simplify image maintenance and updates;
improve security and isolation by separating build steps;
streamline deployment by enabling efficient sharing and transport of images across environments.
Understanding this layered design is essential for optimizing Docker image builds and deployments.
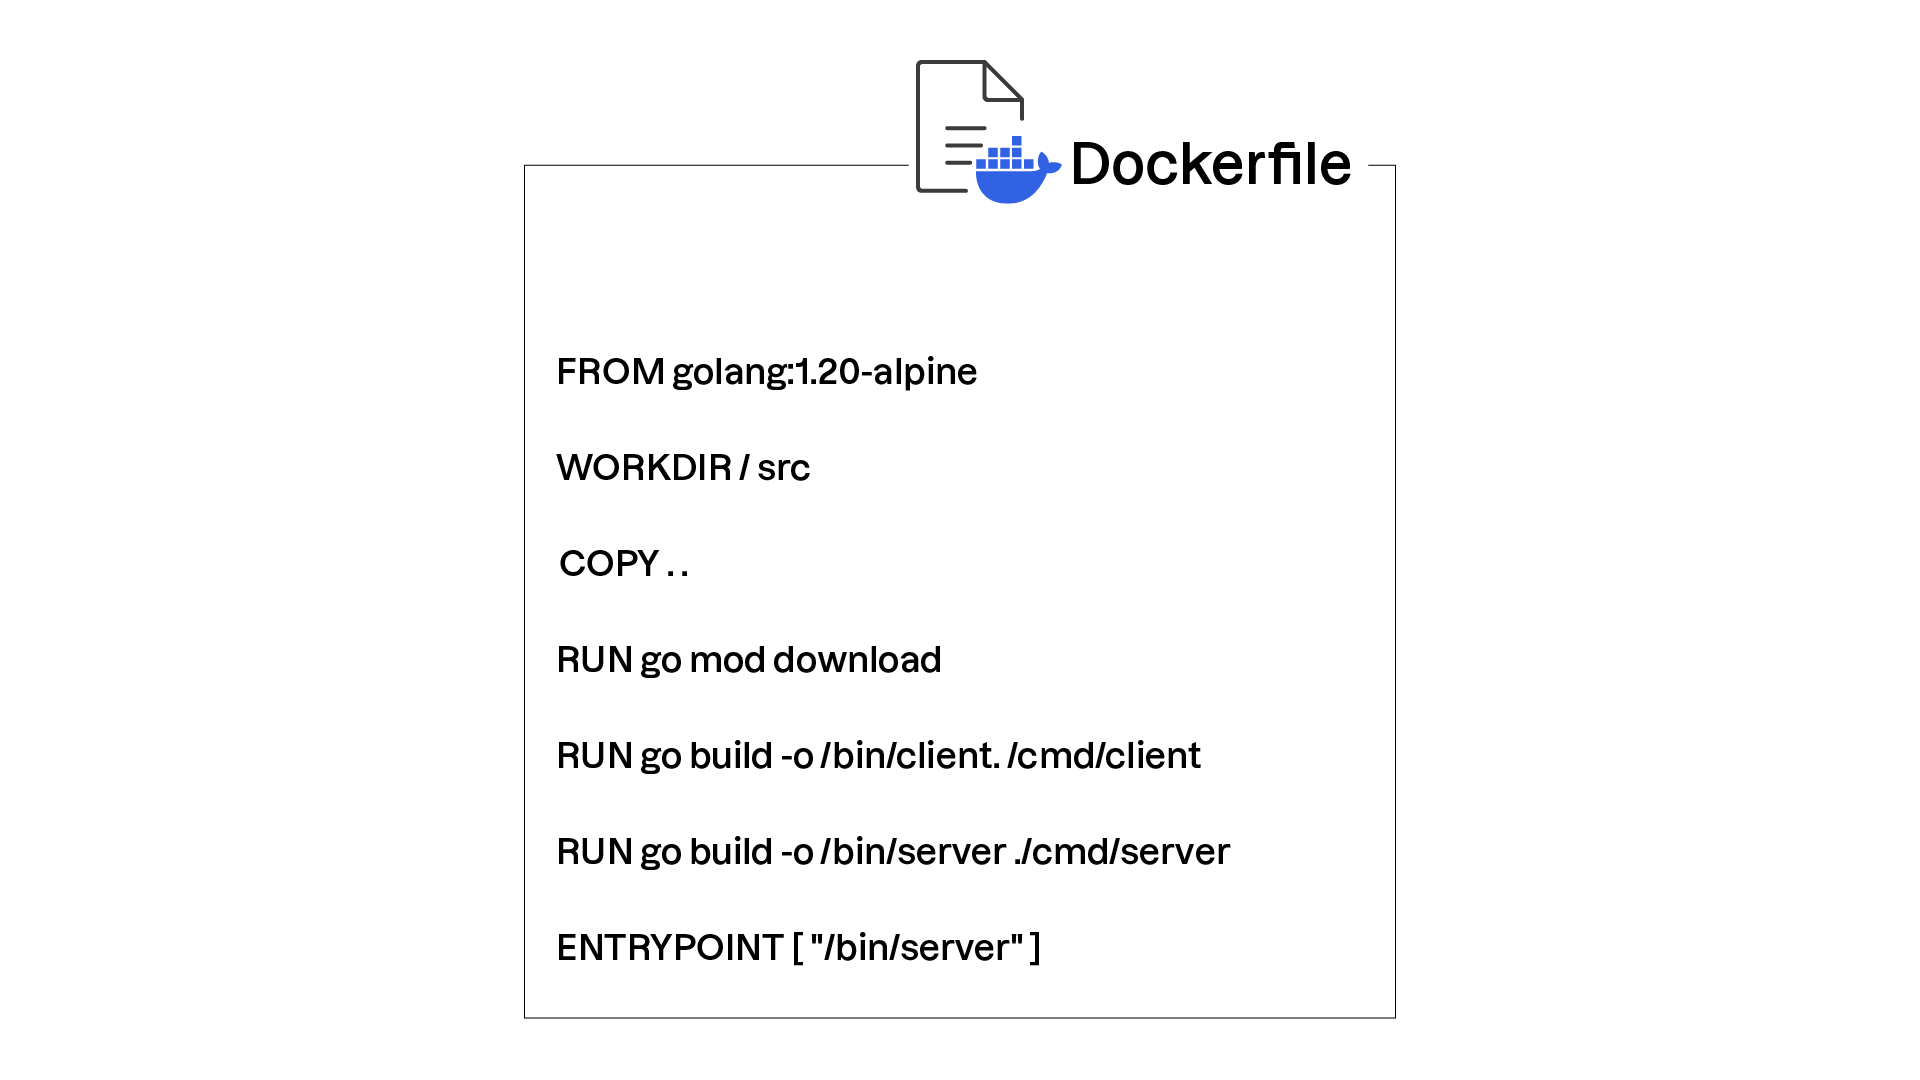
An image is generally (but not always) generated from a file called a Dockerfile, which contains the instructions needed to build the image.
Instructions fall into two main categories:
Layering instructions: Commands like
RUNorCOPYcreate new layers and perform file-system operations or command execution.Metadata instructions: Commands such as
EXPOSE,ENV, orMAINTAINERdefine metadata associated with the image, such as authors, exposed ports, or environment variables.
Can I generate an image from a simple archive?
Absolutely! You can also create an image directly from an archive file (e.g., TAR.GZ). The resulting image will then consist of a single layer.
Now that you know the theory behind Docker image structure and how images are created, it’s time to put it into practice!
Write a Dockerfile
A Dockerfile is a plain text file made up of a sequence of statements. These instructions fall under two broad categories:
Build instructions: Define, directly or indirectly, the contents of the container’s file system.
Metadata instructions: Provide additional information associated with your image that container engines will use when creating or running containers.
Let’s look at an example Dockerfile and break down its instructions:
# We're using the ubuntu:24.04 image
FROM ubuntu:24.04

# Our working directory will be the root of the container file system
WORKDIR /

# Our image doesn't particularly require copying a file.
# However, the following instruction would copy the ./messages
# directory from the host into /data inside the container.
# COPY ./messages /data

RUN apt-get update && apt-get install -y cowsay dumb-init

# Define an environment variable "MESSAGE" with a default value
ENV MESSAGE="Mooo !!!"

# Use the "dumb-init" utility as our container entry point
ENTRYPOINT ["/usr/bin/dumb-init", "--"]

# Define our default command
CMD ["/bin/bash", "-c", "/usr/games/cowsay $MESSAGE"]

# Our container does not expose a network service,
# so EXPOSE and VOLUME are not useful here.
# EXPOSE 80
# VOLUME /data

# Add an arbitrary label
LABEL description="A container for displaying humorous messages."
Instruction | Description | Example |
| Defines the base image. You can also use | |
| Sets the working directory for subsequent instructions and for the running container. There is also a | |
| Copies files from the host machine into the future container filesystem. Relative paths are resolved from the Dockerfile’s location. | |
| Executes a command using the current state of the file system, often used to install packages. | |
| Define environment variables (runtime) or build-time variables. | |
| Often used together. | |
| Declare ports and mount points. These declarations are informational only. | |
| Adds arbitrary metadata in key/value form. | |
Dockerfiles are a pain!
I get it—the syntax can be frustrating. Fortunately, there are many other tools for building Docker (or more precisely, OCI) images. Some adopt a very different approach! For example, Buildah
lets you generate images in a way that feels very similar to writing shell scripts.
Now that we’ve reviewed all these instructions and our freshly written Dockerfile, we can finally build our image!
Build Your Image
Now that your Dockerfile is ready, let’s see how to feed it to Docker so it can build your image. That’s what this video demonstrates:
In this video, we learned how to:
build a Docker image from a Dockerfile using
docker buildand assign a name using the-tflag;apply tags to differentiate image versions with
docker tag;manage our local image registry and disk usage with
docker images ...
You now have everything you need to build a custom image—so let’s begin integrating the Libra application.
Over to You!

Context
This morning, when you arrive at your desk, you find a USB stick and a post-it on your keyboard:
"PoC Libra."
Neil, the developer assigned to the project, has wasted no time—you already know what your day will look like!
The Libra application is a simple executable written in Go and available on this GitHub repository.
Your goal is to create a Docker image that contains and runs the application so it can be deployed via Docker.
Instructions
Write the Dockerfile that integrates and executes the Libra application in a container.
Base your image on
ubuntu:nobleInstall the dependencies needed to build the image (
wgetfor downloading the executable)Download the archive corresponding to your architecture via this link using
wgetUse the
CMDinstruction to execute the Libra application
Summary
Docker images are built in layers, enabling efficient reuse and caching.
The Dockerfile defines instructions for building an image, including commands such as
FROM,COPY,RUN, andCMD.The
docker buildcommand creates an image from a Dockerfile, with options for customizing the build and applying labels.
You’ve reached the end of the first part. Before moving on to the application deployment section, take a moment to test your knowledge with the quiz below.
