Work With Docker

Docker is now installed. Liam appreciates how quickly you completed the setup, and he’d like you to give him a brief overview of Docker’s features so he can use these technical insights during his next meeting with investors…
Discover Docker Commands
In this section, we’ll take a tour of the main Docker commands and their roles.
This will help connect Docker terminology to concrete operations and introduce two new logical entities that play a central role in a Docker environment:
Volumes: Used to store data persistently or to share data between multiple containers.
Networks: Enable communication between containers and with the outside world. Each network has a type, creating different network topologies.
Let’s look at how to work with these elements using the Docker client.
Work With Docker Commands
Docker provides many commands for managing images, containers, volumes, and networks.
Here’s an overview of the main categories:
In this video, we explored the four major categories of commands:
Image commands, such as:
List images:
docker imagesDownload an image:
docker pull <image>Delete an image:
docker rmi <image>
Container commands.
Volume commands, such as:
List volumes:
docker volume lsCreate a volume:
docker volume create <volume_name>Delete a volume:
docker volume rm <volume_name>
Network commands, such as:
List networks:
docker network lsCreate a network:
docker network create <network_name>Delete a network:
docker network rm <network_name>
Launch Your First Container
Now that you're familiar with the command categories, it’s time to launch your first container!
In this video, we saw:
How to download an image using
docker pull <image>How to start a container using the downloaded image:
Interactively:
docker run -it <image>In the background:
docker run -d <image>With a volume:
docker run -v <volume_name>:/path/to/dir -it <image>By exposing a port:
docker run -p <host_port>:<container_port> -it <image>
What does “exposing a port” mean?
Depending on the type of network used by your container, you may need to expose a port so Docker can map it to the host machine. This allows an application listening on a container port to be accessible via a port on the host while still remaining isolated from a network standpoint.

Now you know how to launch a Docker container. As we saw, you can even let it run in the background.
How do I manage a background container afterward?
That’s exactly what we’re going to explore now.
Follow a Container’s Lifecycle
A large portion of the Docker CLI is dedicated to container lifecycle operations.
Indeed, a container is a persistent entity within a Docker environment. A container can be started, inspected, stopped, restarted, or deleted.
Here are some key commands:
Operation | Goal | Example |
Inspect a container’s processes | View running processes inside the container |
|
View container logs | Display logs for debugging or monitoring |
|
Stop a container | Gracefully stop the container |
|
Kill a container | Forcefully stop the container |
|
Delete a container | Remove a stopped container to free resources |
|
Copy files to/from a container | Transfer files between the host and the container |
|
With these commands, you now know how to start and fully manage the lifecycle of a Docker container. Let’s put this into practice with the Libra project!
Over to You!

Context
At the coffee machine, you run into Sarah, the company’s CTO. You take the opportunity to give her a quick update on your progress. She immediately challenges you with a practical request:
You know what? While we’re waiting for Libra’s Proof of Concept, I’d like you to spin up something similar so we can get a more concrete feel for how everything behaves!
To demonstrate that a web application can be deployed inside a Docker container, you’ll retrieve the official image of the well-known HTTP server, Nginx, and run it on your Docker installation.
Instructions
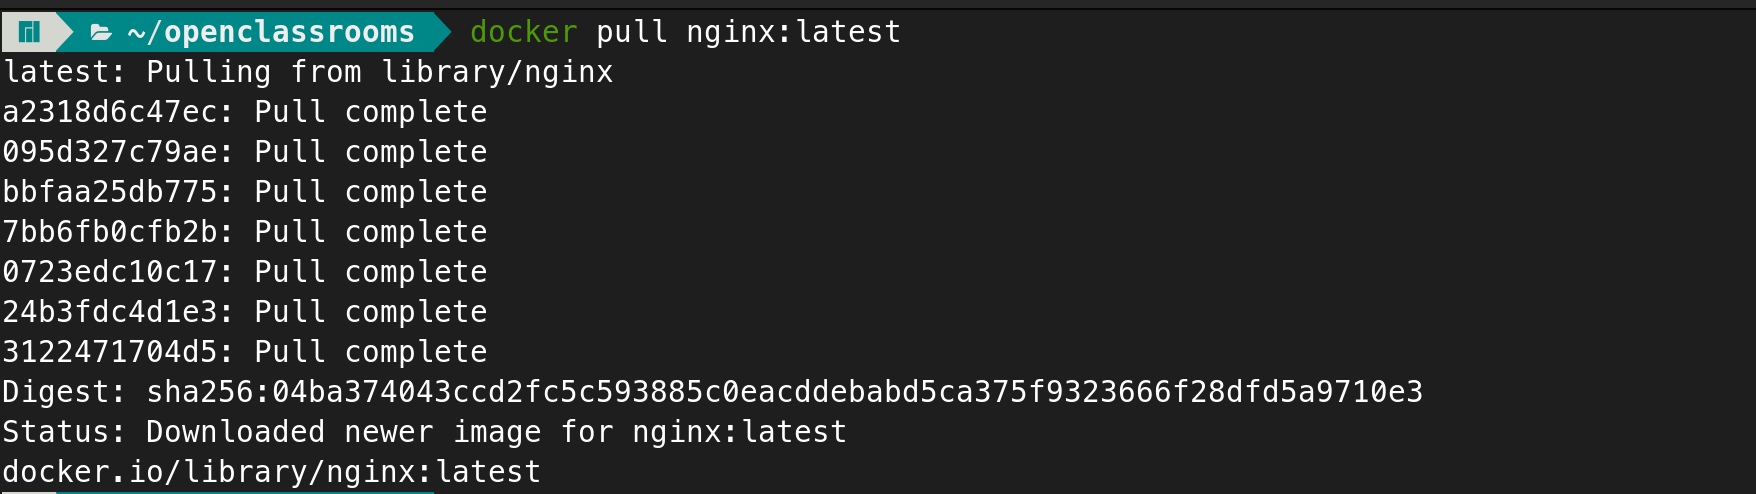
Retrieve the official
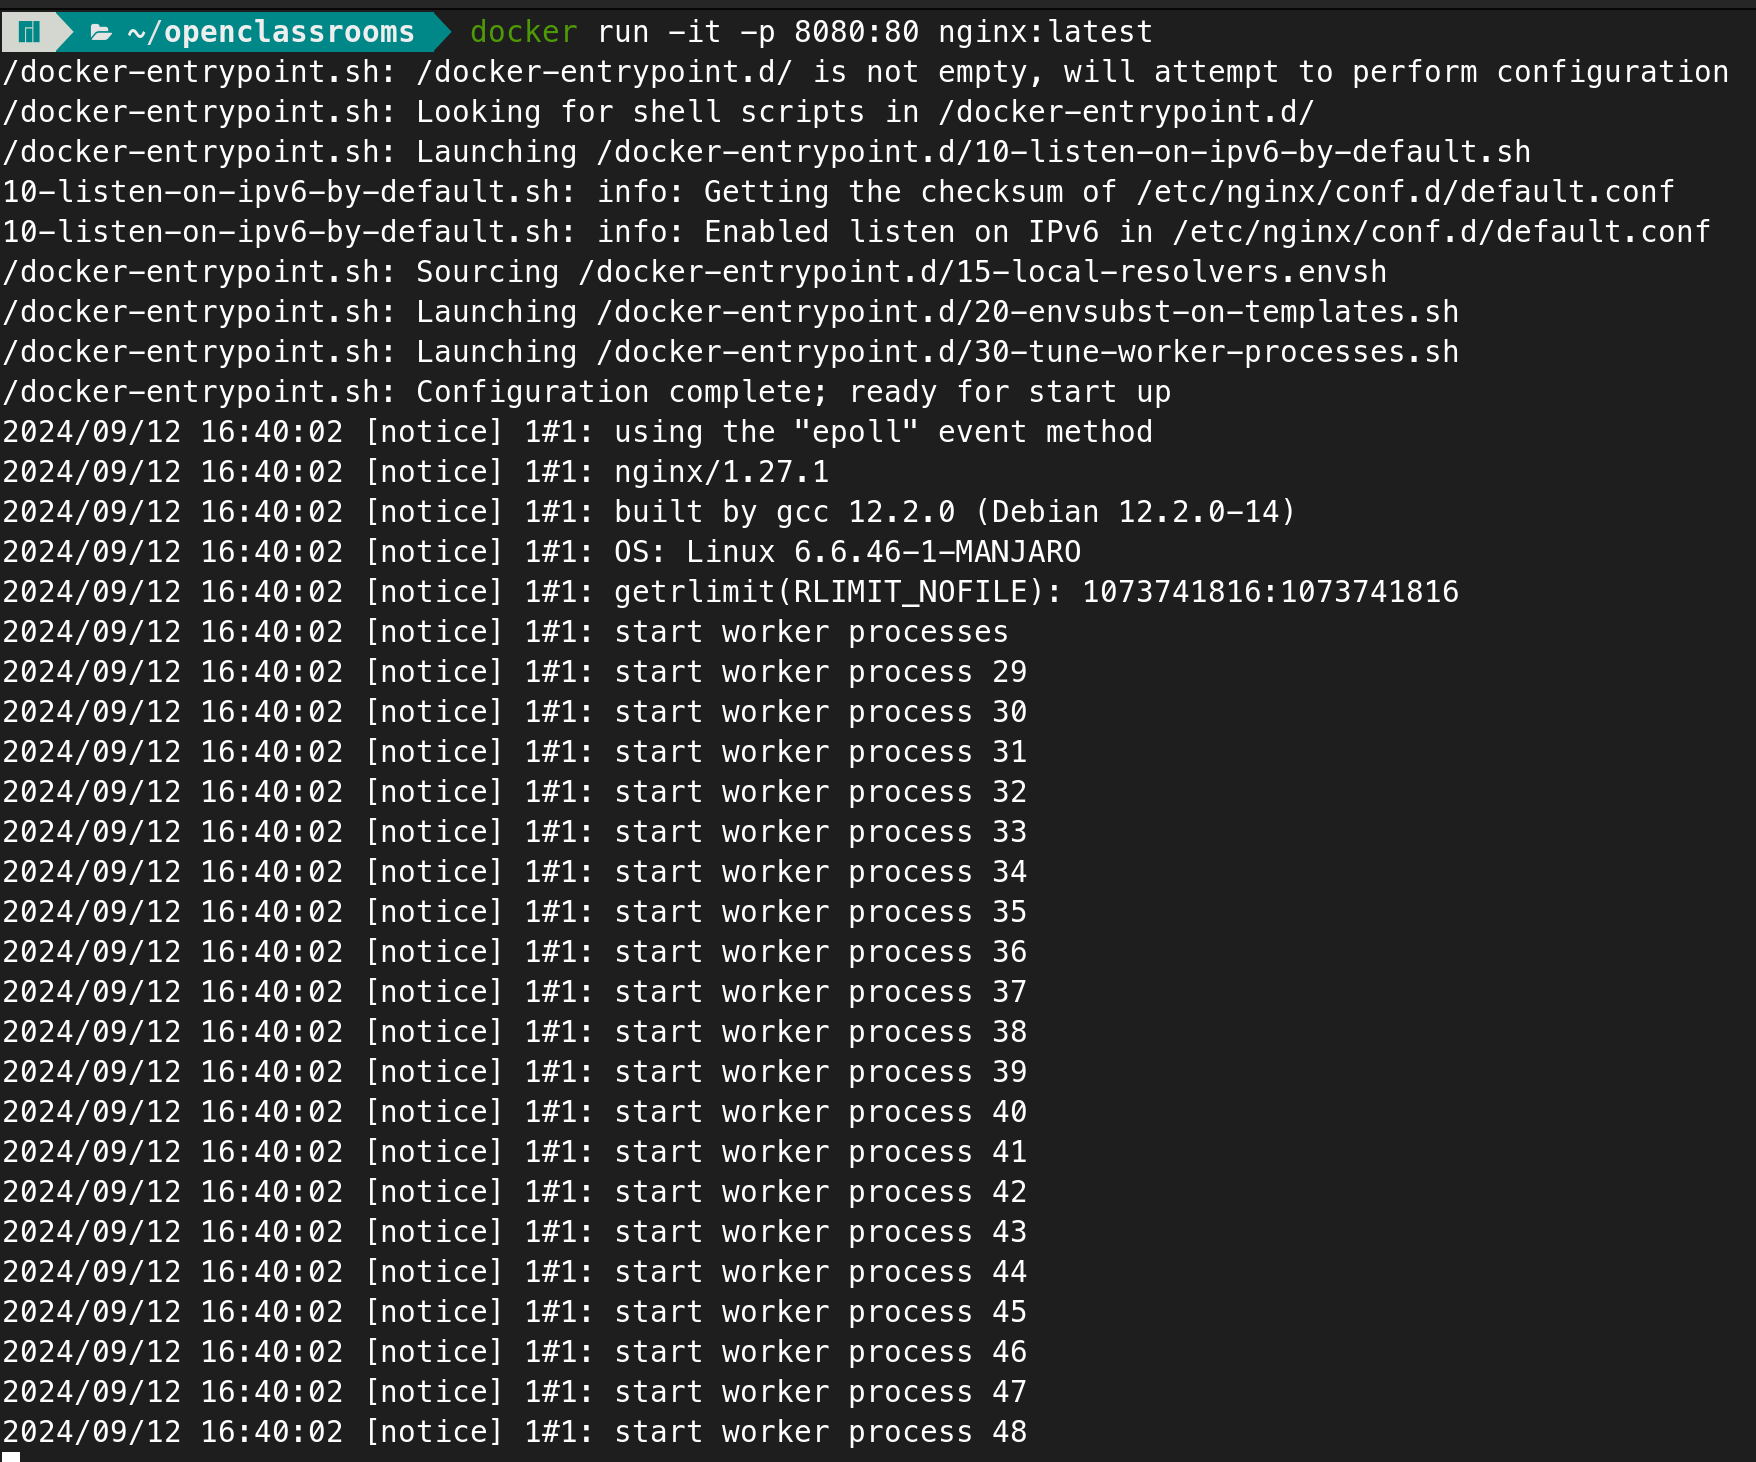
nginx:latestDocker image on your machine usingdocker pull.Start a container from this image by exposing container port 80 on local port 8080.
Confirm that Nginx is accessible locally by navigating to http://localhost:8080.
Check Your Work With This Example
Here are the commands to run:
# Get the latest version of the official Nginx image
docker pull nginx:latest

# Start your container in interactive mode (Ctrl+C to stop it)
# by exposing container port 80 on docker host port 8080
docker run -it -p 8080:80 nginx:latest

# Once stopped, list the containers including those stopped
docker ps -a

# Delete the container (where <container_id> is to be replaced by the identifier found with the previous command)
docker rm <container_id>.
```


Summary
Docker volumes provide persistent storage for container data.
Docker networks define how containers communicate with each other and the outside world.
Docker commands fall into four main categories:
Container lifecycle commands (e.g.,
docker run)Image management commands (e.g.,
docker pull)Volume management commands (e.g.,
docker volume create)Network management commands (e.g.,
docker network ls)
Now it's time to learn how to build your own images to deploy customized applications—our next chapter!
