Publish Your Image on Docker Hub

Your plan seems to satisfy Liam. Sarah, the CTO, gives you the credentials to access the demo environment so you can make your first delivery. There’s just one final step before the big moment: publishing your image on an OCI registry!
Discover OCI Registries
OCI (Open Container Initiative) registries are repositories where container images are stored and shared. The OCI specification defines standards for distributing container images, ensuring interoperability across tools and platforms.
Practically speaking, an OCI registry exposes an API that allows a client to perform the following operations:
Push: Upload an image to the registry.
Pull: Download an image from the registry.
Tag: Assign metadata to an image for versioning.
Delete: Remove obsolete or unnecessary images.

Can I interact with this API without using Docker?
Yes! In addition to the Docker client, several tools can interact with OCI registries. For example:
Skopeo: a CLI tool for inspecting and copying container images.
Crane: a lightweight utility built on the google/go-containerregistry, Go library, allowing programmatic interaction with registries.
Just as there are many tools to work with OCI registries, there are also many registry implementations. Let’s now explore the main one: Docker Hub!
Publish an Image on Docker Hub
Docker Hub is Docker’s default public registry. It allows you to store and share container images with the community or within your organization. It offers:
Personal accounts: Create a free account for public images or subscribe for private repositories.
Repositories: Images are organized into repositories, each containing multiple tags.
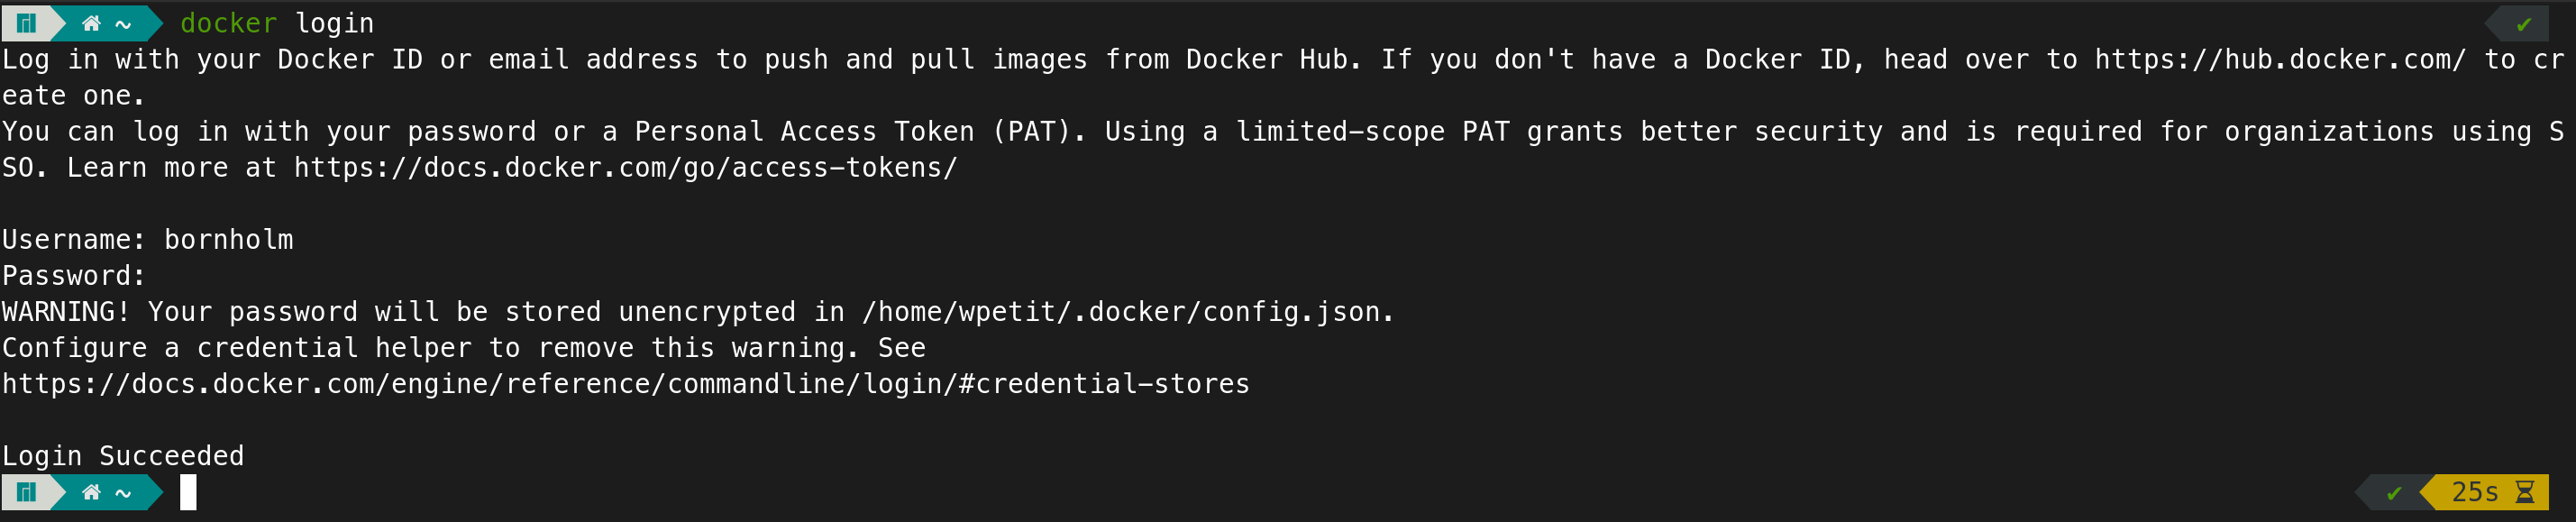
Log In to Docker Hub
To publish an image, you must first authenticate with the Docker client. Run:
docker login
Then enter your Docker Hub credentials:
docker login
Enter your Docker credentials when prompted:
Rename the Image for Your Docker Hub Repository
Suppose you have a local image namedlibra:latest. To publish it, tag it with your Docker Hub username and target repository name:
docker tag libra:latest yourusername/libra:latest
Push the Image to Docker Hub
Now that the image is properly named, publish it using:
docker push yourusername/libra:latest

Anyone can now retrieve your image by running:
docker pull yourusername/libra:latest

And if I don’t want my images to be public?
If you're working on private projects and want to keep your images confidential, you have several options:
Upgrade to a paid Docker Hub plan.
Use another OCI-compatible service that supports private repositories—for example, GitLab’s container registry.
A third option is to host your own private OCI registry—which, lucky for you, is exactly what we’ll explore next!
Use a Private Registry for Your Organization
There are several reasons to use a private registry:
Security: You control access and permissions, and can integrate mechanisms like TLS certificate authentication.
Confidentiality: Protect sensitive or proprietary container images.
Performance: Hosting a registry close to your infrastructure reduces latency during image retrieval.
Autonomy: A locally hosted registry makes your infrastructure independent from the Internet and resilient to service outages.
Let’s now see—in video—how to create and use a private registry!
In this video, we learned how to:
1/ Start a private registry using the official Docker image:
docker run -d -p 5000 --name registry registry:2
2/ Tag the image so it targets our private registry:
docker tag libra:latest localhost:5000/libra:latest
3/ Push the image to the private registry:
docker push localhost:5000/libra:latest
4/ Pull the image back from the private registry:
docker pull localhost:5000/libra:latest
Over to You!

Context
Liam, the CEO, has decided that for this proof of concept, the Libra project will use Docker Hub to distribute the Libra image. After all, the company has such a technological lead that competitors aren’t a concern…
It’s up to you to create the Docker Hub account and publish the Libra image so it can finally be deployed on the demo environment!
Instructions
Create a free personal account on Docker Hub.
Authenticate using
docker loginwith your new credentials.Rename your Libra image with
docker tagso it can be published to your personal repository.Publish the image with
docker push.
Check Your Work With This Answer Example
# Step 1 - Authenticate on Docker Hub
docker login

# Step 2 - Rename the Libra image so it can be published
docker tag libra:latest yourusername/libra:latest

# Step 3 - Publish the image
docker push yourusername/libra:latest
Summary
OCI registries store and distribute container images using open standards.
Docker Hub is Docker’s official OCI registry and the default registry on most installations.
Image tagging controls which registry an image targets during distribution.
Private registries improve security, confidentiality, performance, and autonomy for your organization.
In the next chapter, we’ll learn how to integrate our application into a more complex environment that includes its dependencies.
