Integrate Your Container Into an Ecosystem With Docker Compose

One morning, Sarah, the CTO, calls you:
I just received the projected number of users expected for the application. We’ll need to seriously consider moving file storage to an external service if we want to meet Liam’s expectations…
An application is rarely self-contained; it typically depends on several external services. Databases, storage systems, authentication services—each contributes to a coherent application ecosystem with its own lifecycle.
Containerization does not escape this reality. In fact, it offers several tools that make it easier to build and maintain this type of architecture.
Multi-tier applications
Most application environments involve more than a single service. The classic "3-tier" a specific case of multi-tier architectures divides an environment into three layers:
Presentation
Processing
Data
These three layers may, for example, map to three distinct services:
A "Single Page App": provides the interface between the user and the data model.
A REST API: applies business rules to the application’s data (processing, access rights, etc.).
A database: persists data and ensures consistency.
To respect the principe de responsabilité unique, these three services should ideally run in three separate containers. This approach improves:
Maintainability: Fewer dependencies per image make build recipes easier to create and update.
Scalability: Splitting responsibilities makes it easier to distribute load by running multiple instances of the same image when a service becomes overloaded.
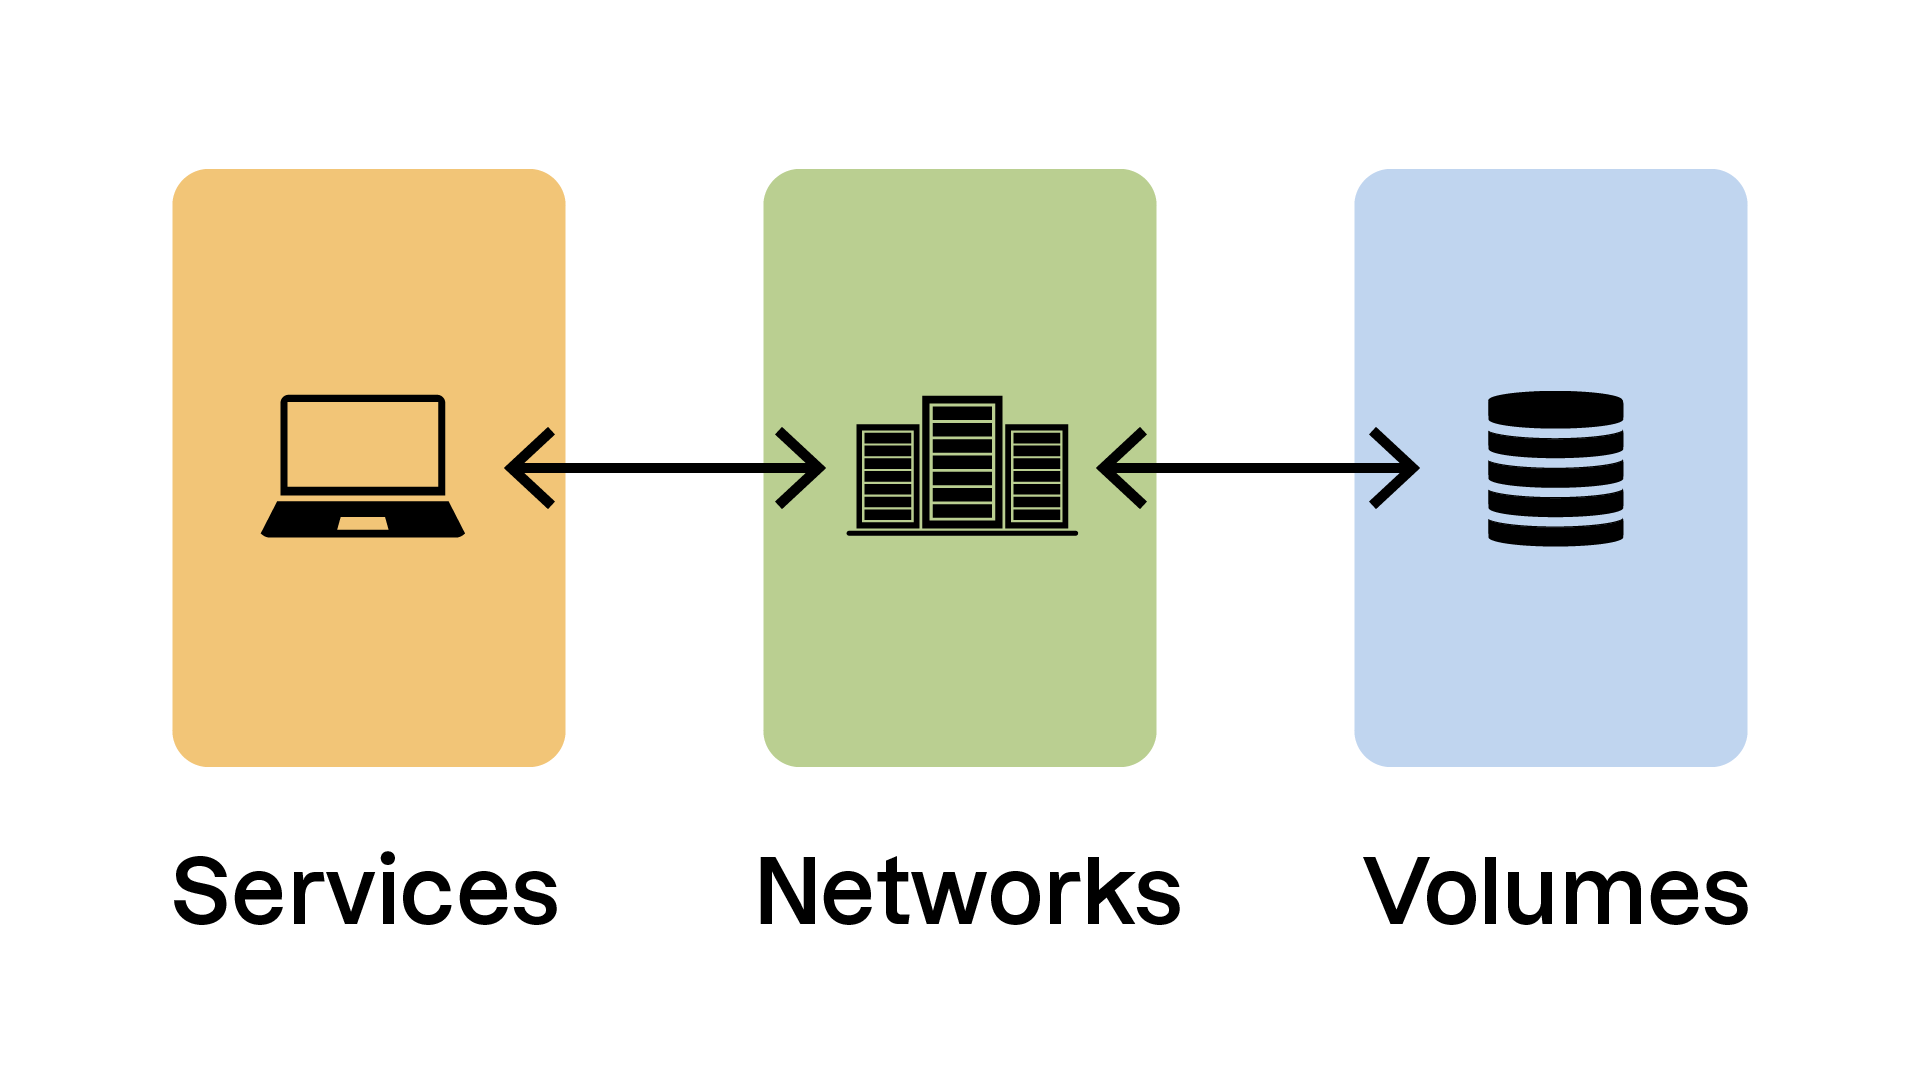
services: # Section defining the "services" that make up the
# application environment
volumes: # Section defining the "volumes" (storage media) used
# by the application environment
networks: # Section defining the "networks" (virtual networks and interfaces)
# used by the application environment.Let’s go through these sections in detail.
“services” Section
# The “services” section declares all containers
# that make up our application environment.
services:

  # Declare a “web” service
  web:
    # The "web" service uses an image built
    # from the Dockerfile in the current directory
    build: ./

    # Environment variables for our container
    environment:
      - NODE_ENV=production

    # Declare volumes to be used by the container
    # Here we mount ./web from the host onto /usr/src/app in the container
    volumes:
      - ./web:/usr/src/app

    networks:
      - my-network

    # Expose container port 3000 on host port 3000
    ports:
      - "3000:3000"

  # Declare a “database” service
  database:
    image: mysql:5.7

    # Environment variables
    environment:
      MYSQL_ROOT_PASSWORD: example

    # Declare volumes used by this container
    volumes:
      - db-data:/var/lib/mysql

    networks:
      - my-network

    # Expose MySQL port
    ports:
      - "3306:3306"
This section defines the services that make up your application. It may include:
imageandbuild: specify an image or build one from a Dockerfile.environment: define environment variables for the container.volumes: mount host directories or files inside the container.ports: map container ports to the host.
“volumes” Section
# Declare named volumes usable by services
volumes:
  db-data:
This section defines volumes that are shared between containers or persist on the host system.
In this example, thedb-datavolume is used by thedatabaseservice.
“networks” Section
# Declare named networks used by our services
networks:
  my-network:
    driver: bridge
In this example, the networkmy-networkis used by both thewebanddatabaseservices.
Thedriverattribute defines the network driver. Thebridgedriver—Docker’s default—creates a private network for containers.
Let’s continue with a practical demonstration in this video:
In the video, we reviewed:
Using existing images
Using locally built images
Declaring dependencies between containers
Declaring environment variables
Declaring networks
Using named volumes or local directories
Exposing ports
Now that we've written ourdocker-compose.ymlfile, let’s see how to start and manage our new environment!
Manage Your Compose Environment
You manage a Docker Compose environment usingdocker composesubcommands integrated into the Docker client. Watch the following video:
In this video, we explored the following commands:
docker compose build: builds images for the services defined in the Compose file.docker compose up: starts containers, creates networks and volumes.docker compose down: stops and removes containers, networks, and volumes created byup.docker compose ps: lists running containers.docker compose logs: displays container logs.docker compose top/stats: shows running processes and resource usage.
By mastering these commands, you can effectively manage the full lifecycle of your containerized environment—from build to performance monitoring.
Over to You!

Context
This morning, you’re welcomed by an email from Neil, the Libra project developer:
Sarah told me she mentioned the file-storage problem… Here’s the new version of the application that can connect to an S3-like service for external storage. It’s configured via an environment variable!
As Sarah explained, Libra will need an external storage system for its files. The team decided to use an S3-type service, meaning any system that implements a storage API compatible with Amazon S3.
The chosen solution is Minio, an open-source application that fulfills exactly this purpose.
Your task is to write thedocker-compose.ymlfile that integrates the new version of Libra with this service!
Instructions
Write a
docker-compose.ymlfile that creates:A
libraservice using the imagelibra:latest:Exposing port 8080 on your machine
Using the environment variable
LIBRA_STORE_DSN=s3://minio/libra
A
minioservice using theimage: minio/minio:Exposing ports 9000 and 9001 on your machine
Verify that the Docker Compose environment starts correctly with
docker compose upand that the application is available at http://localhost:8080
Summary
Docker Compose is essential for defining and managing multi-container applications through a centralized
docker-compose.ymlfile.The Compose file is structured around key sections such as
services,volumes, andnetworks.The
docker compose …subcommands let you manage the entire lifecycle of your environment—from startup to shutdown and monitoring.
You can now build complete containerized environments. Next, we’ll look at deploying them across multiple machines to scale up!
