Encrypt Your Hard Drive Data
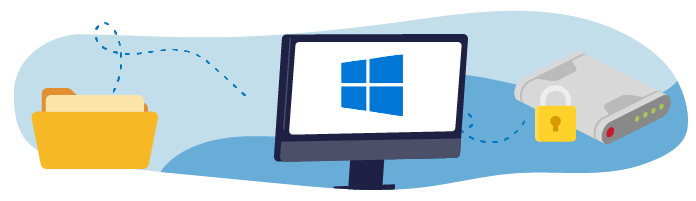
IT administrators manage both desktop computers and laptops. Laptops can be lost or stolen, leaving confidential files potentially exposed to thieves. In this chapter, we’ll look at how to encrypt your entire hard drive so that it can only be read by its owner.
Activate Hard Drive Encryption
BitLocker is a software developed by Microsoft which encrypts a partition. Once the hard drive is encrypted, it is impossible to read without the decryption key.
When you activate BitLocker on your hard drive, you’ll be given a choice of two options.
If your computer has a TPM chip (trusted platform module), the key will be saved on this chip.
If your computer does not have a TPM chip, you’ll need to enter a password when you start your computer or enter the key provided by Windows.
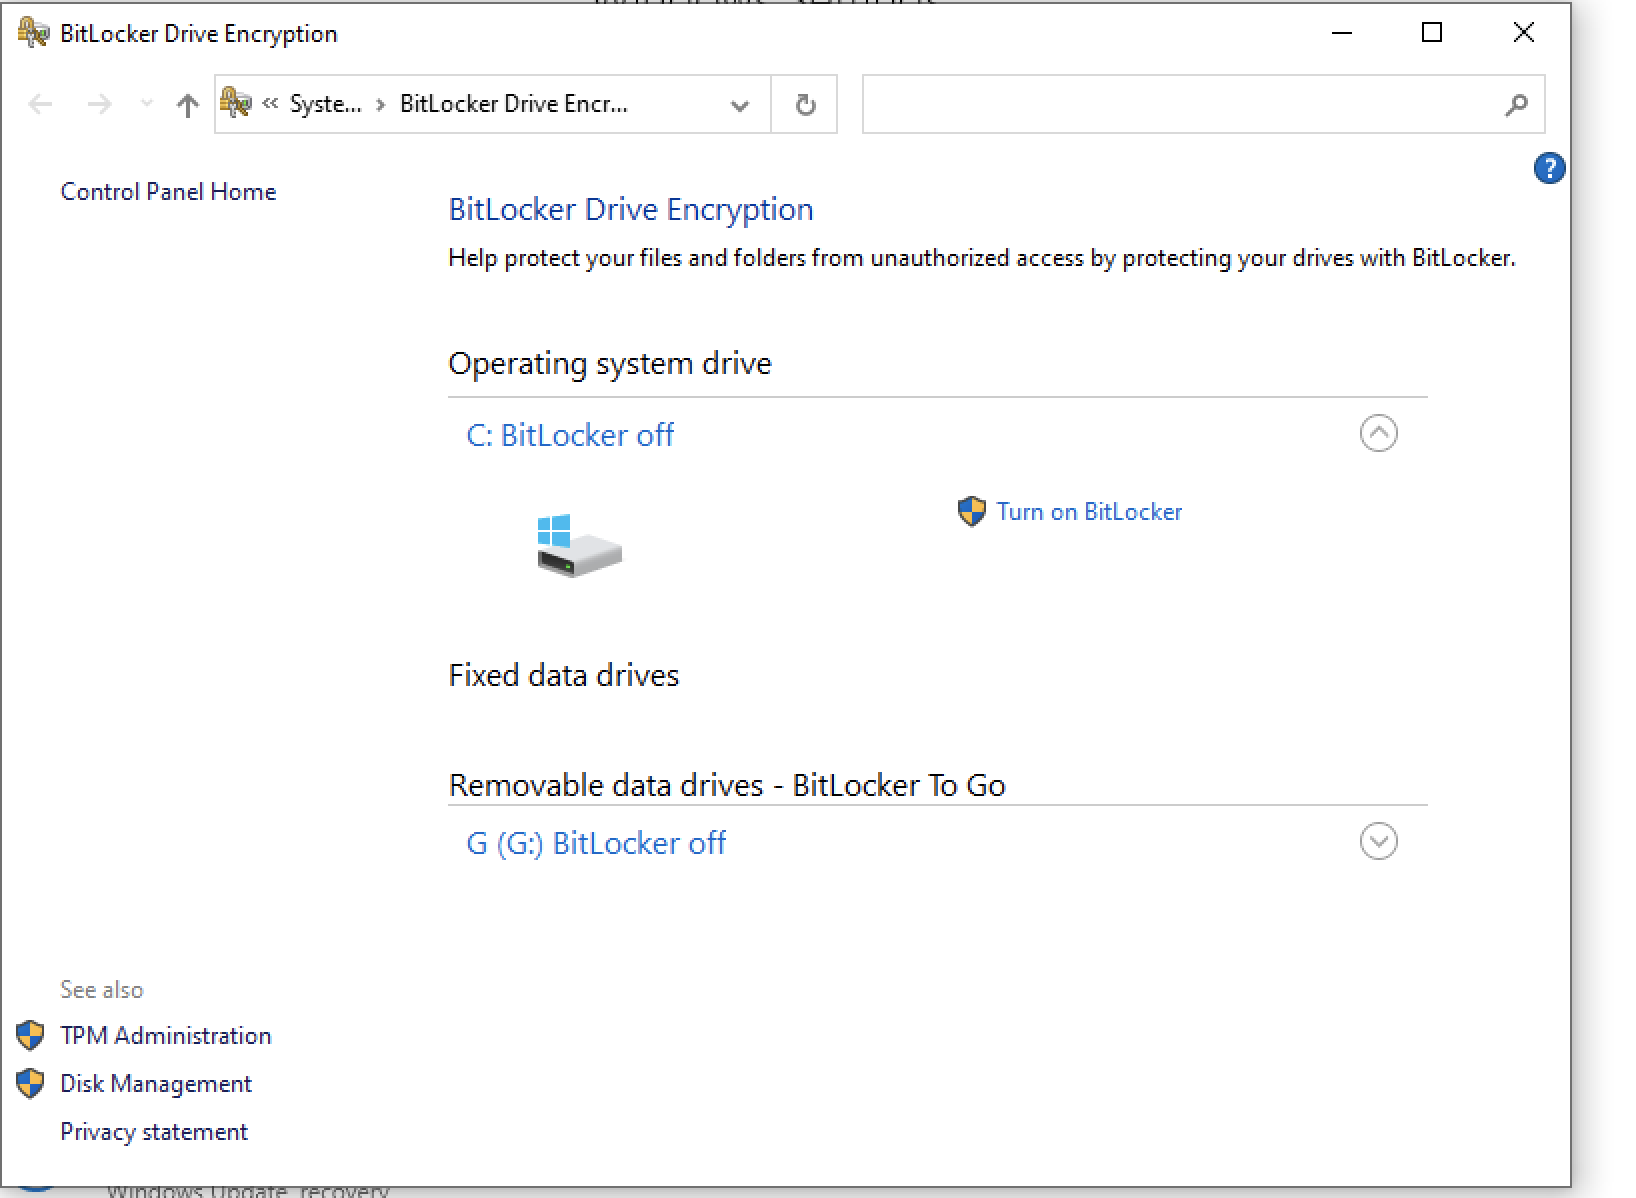
Turn on BitLocker
To switch on BitLocker, go to "Control Panel > View by Small Icons > BitLocker drive encryption", or right-click on the partition you want to encrypt and click on "Turn on BitLocker".
Encryption can take several hours, depending on:
The size of your hard drive.
Your hard drive type (SSD or otherwise).
The power of your processor.
Follow the video below to see how to encrypt your hard drive:
Don’t forget to keep the encryption key in a safe place, whether you have a TPM chip or not. To do this, right-click on the encrypted partition and click on “Manage BitLocker”:
Click on “Save your recovery key”
Save it on a USB stick (you can then put it on the cloud - you can’t carry out this operation directly as these folders are encrypted) or save it to your Microsoft account.
Change the encryption settings
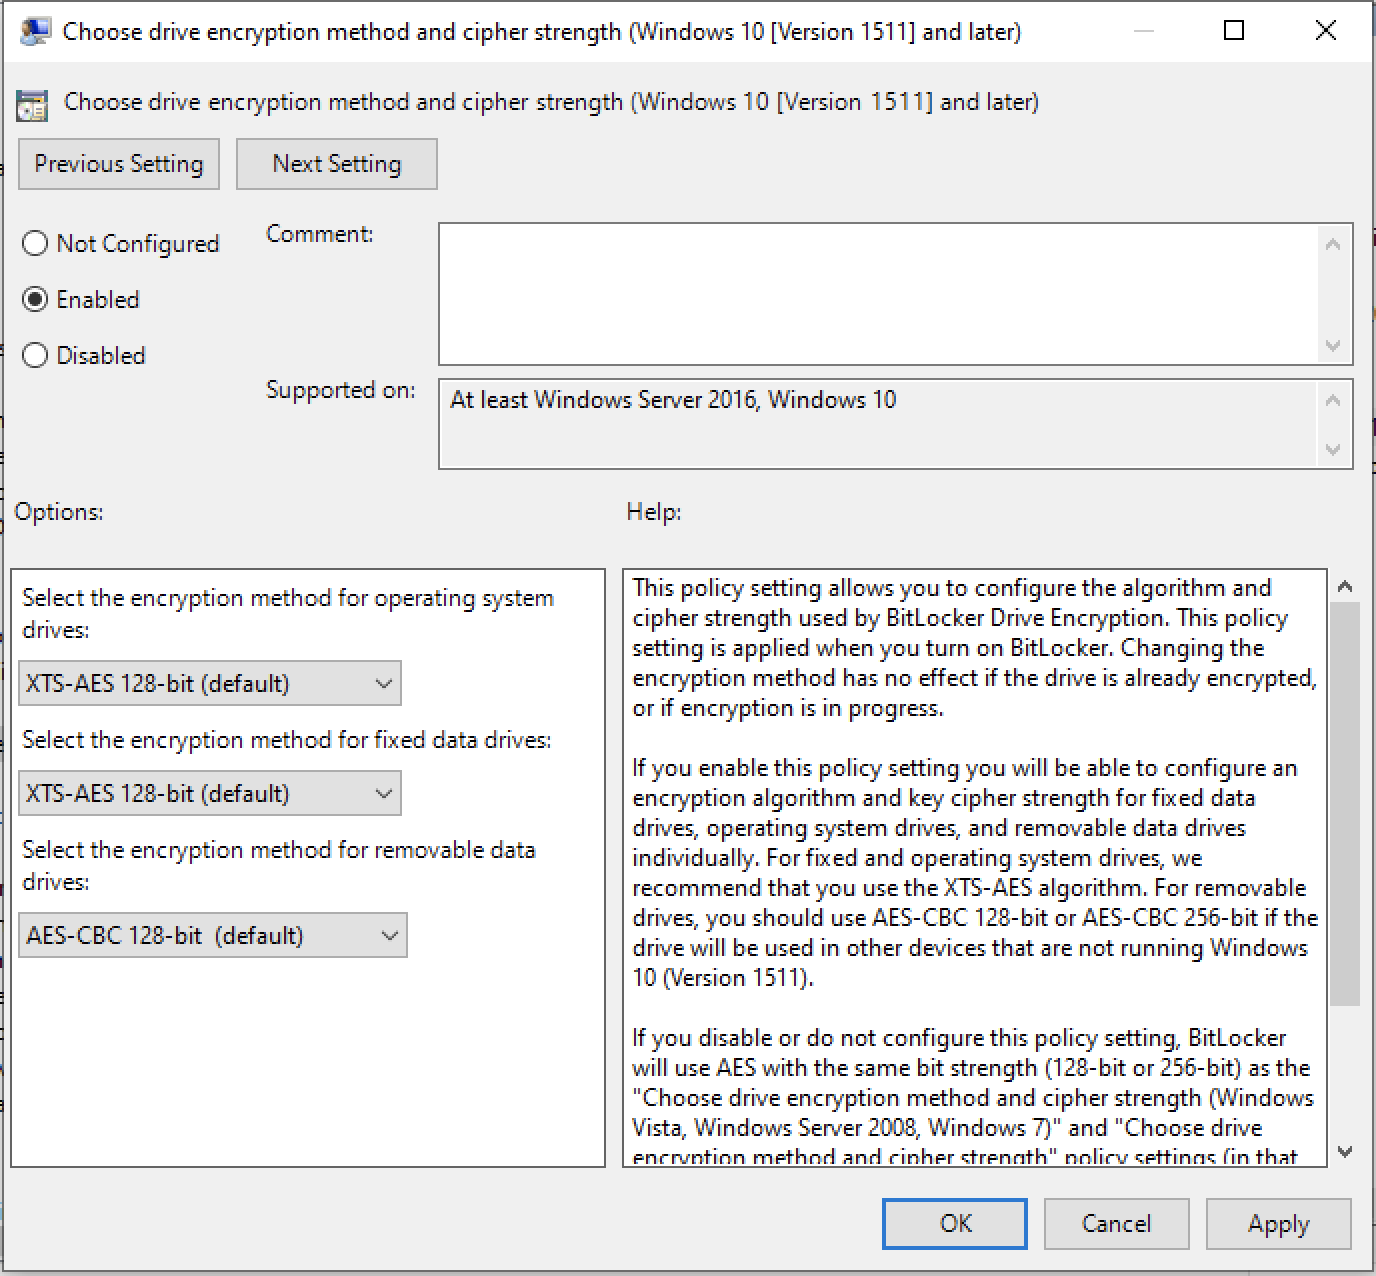
Windows uses an AES 128-bit key to encrypt your hard drive. If you want to use an AES 256-bit key and make it even harder to decrypt your hard drive, you’ll need to change your Bitlocker settings.
To change your Settings, type “gpedit.msc” into the search bar.
Then go into the section "Computer Configuration> Administrative Templates > Windows Components > BitLocker Drive Encryption".

Then select “Choose drive encryption method and cipher strength (Windows 10)”.
Make sure you choose the correct version of Windows 10.
Select “Enabled”, then enter the encryption method you want to apply to the drives. Then, click “Apply” and “OK”.
Your hard drive is now protected from theft. In this section, which concludes this course on using Windows 10, you’ve mastered several tools to help protect your computer.
Your Turn!

🎯 Today's mission at CleanFuture: Your CEO has contacted you directly via email:
Hi,
I want to make sure my laptop is protected - I have a lot of confidential documents saved that must be inaccessible if they fall into the wrong hands.
Can you let me know what I need to do?
BitLocker will help give the CEO the protection he needs by encrypting the hard drive, meaning anyone without the laptop password will be unable to access the documents.
⚙️ The actions you need to take: Before running BitLocker on his laptop, you decide to test the process on your own computer.
Encrypt your own local drive using BitLocker.
✅ Double-check your work: You’ll know you’ve succeeded when you see “Turn off BitLocker” on your operating system drive in the BitLocker control panel.
Let's Recap!
BitLocker is a software program developed by Microsoft to encrypt your hard drive and protect your data from theft.
A 256-bit encryption key makes it harder to decrypt your hard drive than a 128-bit key.
You’ve now completed the final chapter of the course and should have a good understanding of how BitLocker can encrypt your hard drives, making the content stored on them inaccessible to anyone without the password to the device. You’ve just got one final quiz to complete and the course is finished. I hope you have learned a lot and hope to see you again soon for another OpenClassrooms course! Bye for now!
