Collect More Information with Active Reconnaissance

After several hours of research into your target, you come up with nothing very interesting. At most, you have a few employee names, email addresses, and mailing addresses. It’s not enough just yet to walk into the bank and then leave with the contents of its vault. And there’s still one big question: Does this bank really own just one building?
This is where active reconnaissance comes in!
Sticking with our bank robbery metaphor, you’ll try the following actions:
Go door-to-door asking whether a particular building is connected with the bank (and hoping you get a positive answer).
Look in dumpsters to see if there are any useful documents in them.
Try to pick up on conversations between employees, etc.
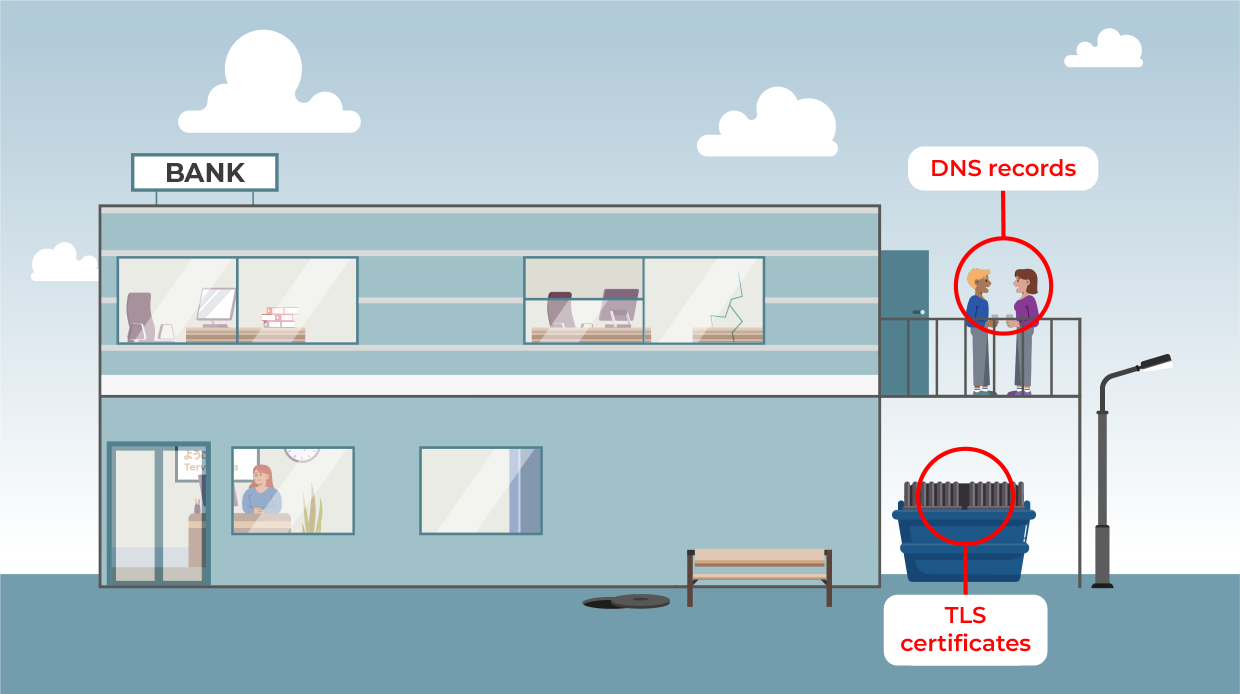
For the purposes of our penetration test, this means asking whether such and such a DNS record exists, for example.
And that’s what we’re going to look at right now!
Find Associated Targets
There are several techniques for finding information and expanding the attack surface (which is the accepted term), including:
selecting the domain and subdomain names from a list you’ve drawn up.
scraping the main target to find any references to subdomains in the target’s content.
looking at TLS (Transport Layer Security) certificates, which sometimes cover several sites.
checking the WHOIS registers.
viewing the DNS history, etc.
These techniques are very interesting, and reconnaissance of the attack surface is its own specialist field within penetration testing. For complicated targets with an extensive attack surface, you’ll want to have a domain expert on the team for this phase, for example.
Let’s head over to root-me.org and take a look at how easy it is to use amass:
For the purposes of our pentest, we’ll need to do this exercise on example.com, of course. :)
As with all tools, the default configuration may not give you the most complete results. You’ll need to take some time to configure it by searching for your API keys in the various data sources, finding the most complete list available for selecting subdomains, and so on.
Consult Your Client Before Expanding the Attack Surface
In the scoping phase, I suggested to the client that we carry out a mapping exercise, especially as this is their first pentest. The scope they gave us was *.example.com .
This means that if we come across domains like the following:
dev.example.compreprod.example.comapp.dev.example.com
we have permission to test them!
Following the mapping exercise, and for the rest of the course, we have the following three environments:
*.dev.example.com(development)*.preprod.example.com(preproduction)*.example.com(production)
And for each of these environments, we have the following subdomains that correspond to various modules in the application:
api.*.example.comapp.*.example.comadmin.*.example.com
After a quick look at these environments and applications, it turns out that the development versions are all the same. The client then tells us to conduct the penetration tests in preproduction only. For the rest of the test, we’ll be working on the *.preprod.example.com environment. In the report, we’ll point out that the other environments can be identified on the internet.
Here’s a short anecdote to illustrate the point here: We were auditing the Minimum Viable Product (MVP) of an application for a fintech company, a startup in the financial sector. The scope of an MVP audit is generally small, so we didn’t have much to get our teeth into. What’s more, the developers had really paid attention to security in this part of the application. The upshot was that we didn’t find a single vulnerability. How frustrating!
So, we asked the client if we could expand our mapping a little, and he agreed.
And that’s when we came across the subdomain gitlab.client.tld, the code repository, where we were able to:
create an account.
log in.
browse the application’s source code.
retrieve login information from the configuration files.
By being able to create an account on this exposed code repository, we’d found a significant vulnerability in their ecosystem! So, in this particular case, expanding the attack surface led us to the discovery of a major vulnerability that we wouldn’t have otherwise seen.
Before wrapping up this chapter, I’ll let you listen to what our two pentesters have to say about changing the attack surface and how they handle this with their clients:
Let’s Recap!
Several mapping techniques are available to expand the attack surface, including creating a list of domain names and scraping the target’s web pages.
Getting to grips with all the techniques will take a little time, but there are tools to help you, such as amass. Mapping is a specialist field in its own right.
Before spending time expanding the attack surface, check with your client—and the project manager, if you have one—to confirm that they’re okay with you doing so! If it wasn’t part of the original scope, there’s nothing to stop you from discussing it with the client and updating the scoping document.
In the next chapter, we’ll start actively interacting with our target to identify which services are open on the server.
