Familiarize Yourself With Interception Proxies
In part 2, we learned how to obtain information about the target, its ecosystem, the exposed services, the encryption quality, and so on. But we still haven’t looked at how the application actually works!
Understand the Benefits of a Web Interception Proxy
I strongly advise taking 30 minutes to one hour (depending on its complexity) to familiarize yourself with the application, before you start testing and performing malicious actions on it. This will help you to:
understand how it works overall and determine which of its features are interesting or sensitive.
consider what an attacker’s goals might be in relation to this application.
look at URLs/URIs to get ideas, etc.
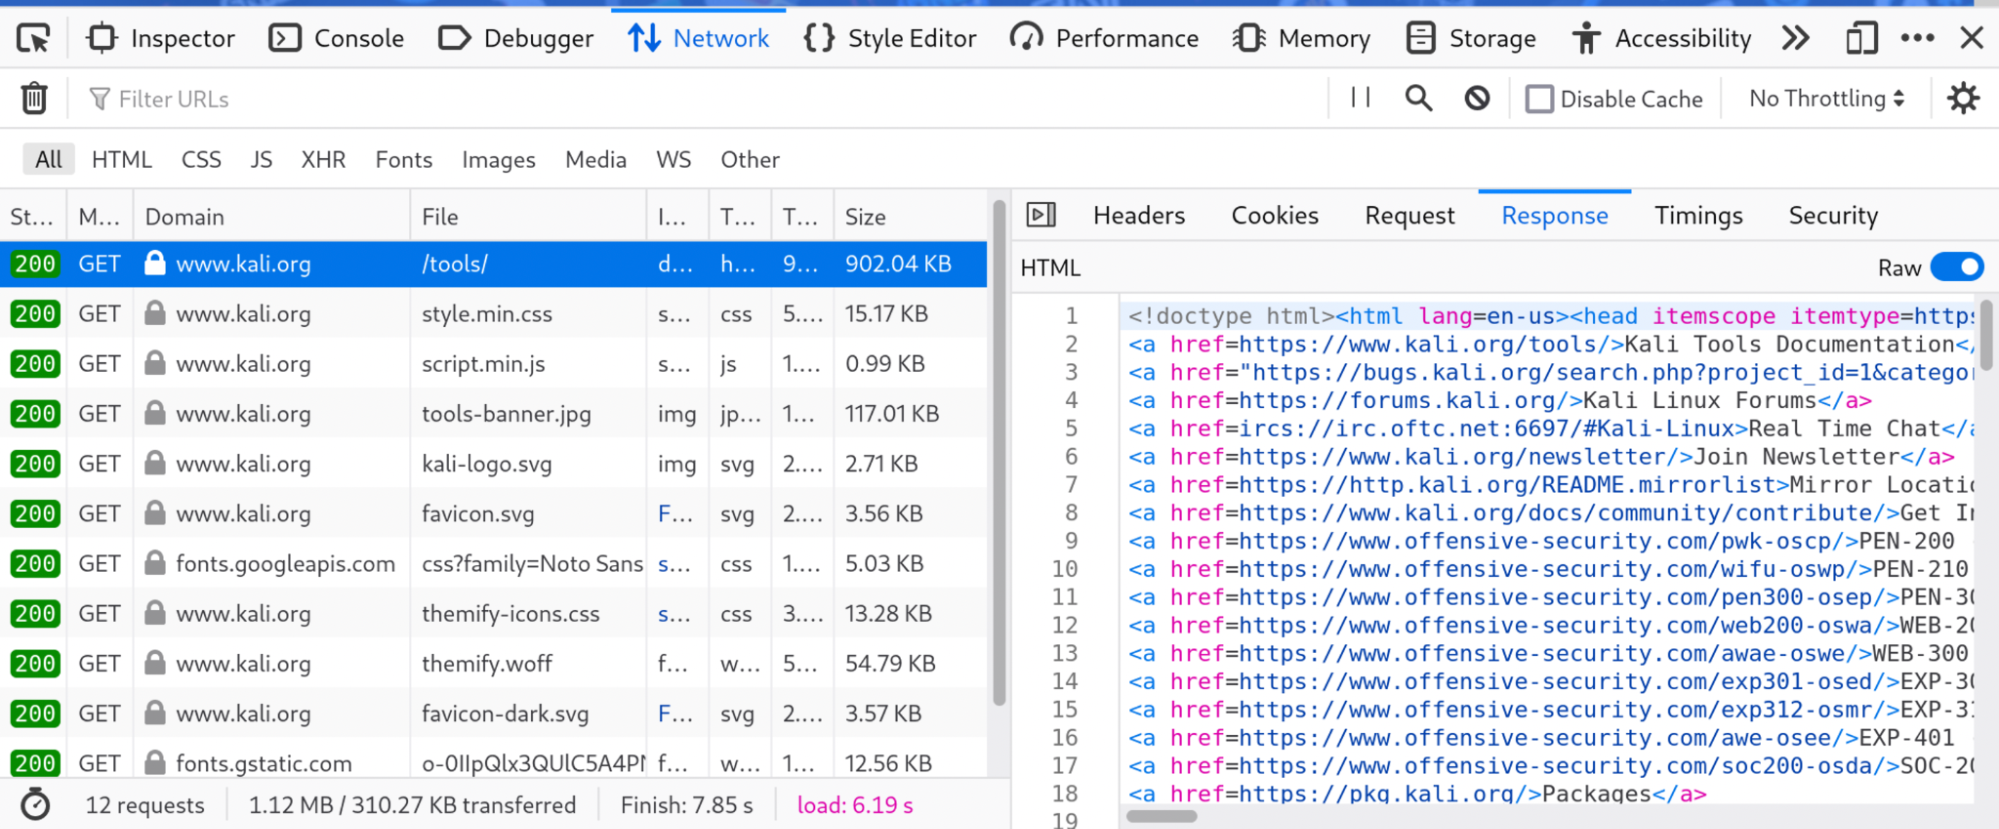
To view the data exchanged between you and the application, you can use your browser’s debugging console (usually by pressing the F12 key):
But between you and me, this isn’t a very practical solution, for the following reasons:
The history search is not particularly user-friendly.
It’s difficult to modify and rerun requests.
It’s not always possible to modify queries on the fly.
Its automation capabilities leave a lot to be desired!
It will address all the needs listed above, and much more. Let’s look at how it works.
Control Your Requests With a Web Interception Proxy
How does an interception proxy work for our purposes?
Technically, almost exactly the same as a “normal” enterprise proxy such as Cisco, Zscaler, or Squid. But be careful not to confuse them with reverse proxies like NGINX!
We’ll configure our PC so that the web data flows are sent to this proxy. The proxy will then send them on to the web servers. The key advantage over an enterprise proxy is that we have control over the proxy to intercept, modify, and rerun requests.
The main products on the market today are:
Burp Suite, which has a free Community version.
Here’s the command to install Burp Suite if it’s not installed by default on Kali:
sudo apt update
sudo apt install burpsuite -y
Let’s watch the video below to see how to:
start Burp.
configure the proxy.
configure the certificate store.
In the case of encrypted data flows, the proxy is forced to perform what is known as SSL termination. This means it must decrypt the flows and then re-encrypt them with its own certification authority, before sending them to the browser. The proxy will therefore generate an SSL certificate for each HTTPS site we visit. Without this, it’s impossible for the proxy to do its job of intercepting and modifying data!
Now you’re ready to intercept even HTTPS data flows without getting any certificate error messages!
Understand Burp’s Essential Functions
Let’s take a look at Burp’s main features. You’re bound to use them at some point, whether in this course or later in your pentesting career.
In the video above, we talked about the Intruder tab, which automates a number of tasks, including brute-force attacks and dictionary attacks.
The SecLists project is a great starting point for dictionary attacks and content discovery. In Kali, you can install it via the APT package manager:
sudo apt install seclists
The lists will be in the /usr/share/seclists/ directory. Go ahead and install it.
I’ll sometimes use “dictionary attack” in this course to refer to testing a very large number of possibilities.
Over to You!

Challenge
The aim here is to perform the following actions using Burp:
Set the scope to the challenge URL and the challenge folder in question.
In the Proxy tab, filter the results to display only those for the scope.
Repeat the authentication request from the repeater, changing the
usernameandpasswordparameters.Use the Intruder tab to load the list of words found here and run it over the challenge’s base URL.
Find the flag in the intruder results.
You’ll have successfully completed the exercise once you’ve validated the flag on the Root Me site!
Solution
Let’s Recap!
An interception proxy lets pentesters intercept and modify exchanges between the pentester’s browser and the web server, to test the application’s behavior.
The Burp Suite Community proxy we’ll be using does many other things, including logging requests, rerunning them, and automating a number of pentest-related tasks.
Burp Suite is a customizable tool that lets you add and even build extensions to suit your particular needs.
Some of these are developed in-house by PortSwigger, the software company behind Burp Suite, but most are developed by the user community.
In the next chapter, we’re going to learn how to identify the technical environment underpinning our target so we can collect even more information about it.
