Manage Your Backups End-to-End with Veeam Backup

Discover the Main Players in the Backup Market
You have successfully demonstrated your expertise in backup policy management and the associated backup plan to Coffecao.
As a natural continuation of your mission, you’ve been asked to support Gwenaelle, Coffecao’s IT technician, in putting the backup plan into practice.
You’ll need to present several backup solutions to Gwenaelle and her management—both specialized backup tools and utilities built into the operating systems in use.
When it comes to specialized backup tools, you’ve regularly encountered three solutions throughout your professional experience:
Bacula;
NetBackup;
Veeam Backup.
You therefore prepare a short comparison table of the solutions you’ve worked with:
Features | Veeam Backup & Replication CE | Bacula | NetBackup |
Usability | +++ | + | ++ |
Minimum cost | Free (Community Edition) | Open source, possible free use | Paid |
Configuration | Simple | Complex | Variable complexity |
Platform support | Virtual (VMware, Hyper-V) and physical | Physical, virtual | Physical, virtual |
Advanced features | Instant recovery | Highly flexible configuration | Application-specific agents |
Deduplication | Integrated deduplication | Volume-level backups | Storage-level integration |
Advanced monitoring | Advanced monitoring | Application plugins | Cloud monitoring, deduplication |
Cloud integration | Cloud-ready | Encryption, compression | Centralized management |
Cloud storage | Integrated | Depends on configuration | Integrated |
Enterprise-ready | Yes | Scalable with effort | Yes |
Support cost | Free community support | Variable | Included |
After reviewing the comparison table, Coffecao asks you to help Gwenaelle deploy and configure Veeam Backup, which appears to be a good balance between technical complexity and cost.
Install the Veeam Backup Tool
You can now begin installing and configuring Veeam Backup & Replication Community Edition with Gwenaelle.
After downloading the Veeam CE ISO, transfer it to your future storage server and double-click it to mount the image.
Locate and launch the installer.
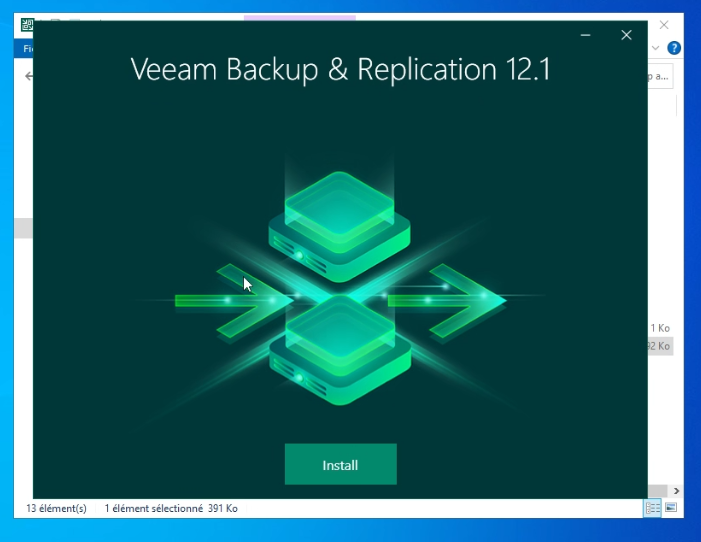
When the installer opens, click Install.
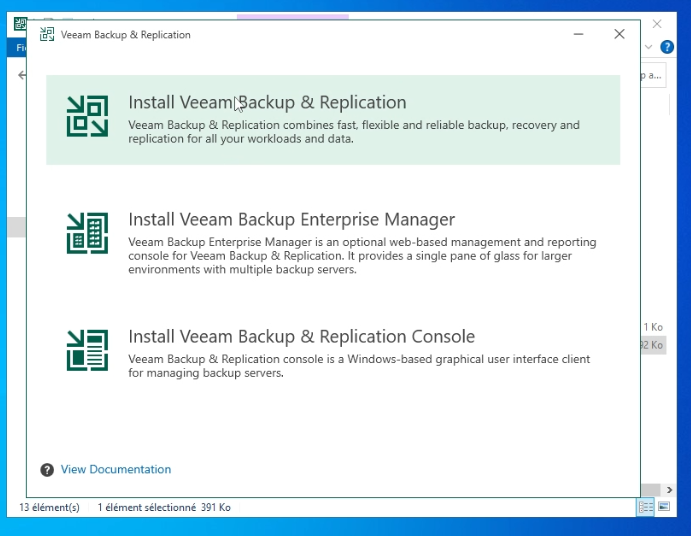
Select the Veeam Backup & Replication program.
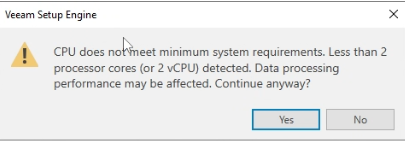
If your virtual machine does not meet the minimum vCPU requirements, a warning may appear. Click Yes to continue.
Next, choose the license. You’ll be demonstrating the free Community Edition.
Accept the license by clicking I agree.
No license file upload or Veeam account login is required. You are now using the Community Edition.
Click Next.
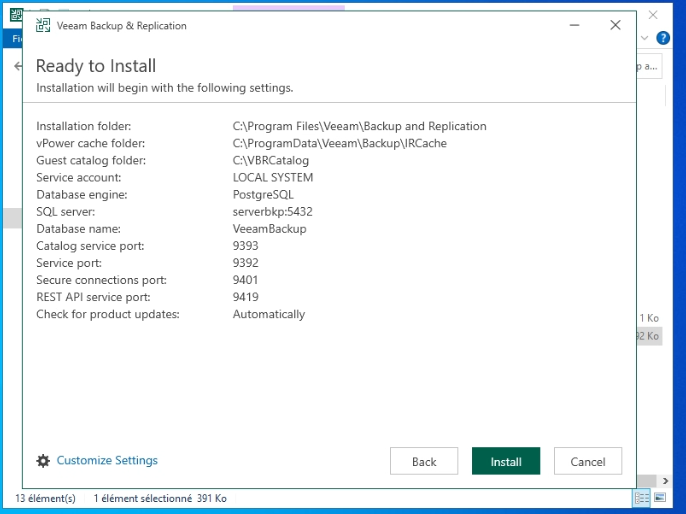
The installer will now check system requirements and install dependencies.
Wait for the installation to complete—it may take more than 15 minutes.
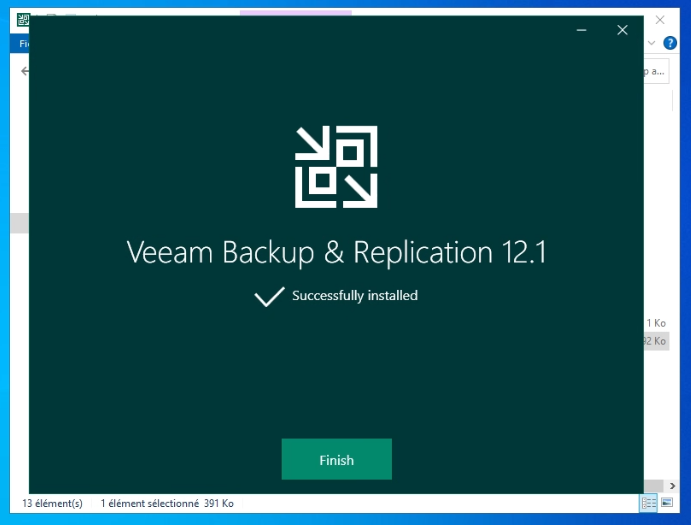
Installation is complete. You can now launch Veeam CE by double-clicking the desktop icon.
Log in using the account dedicated to backups, then click Connect.
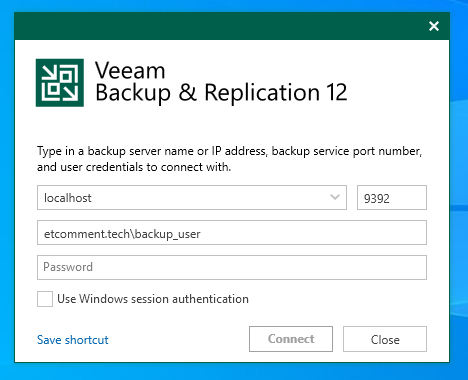
After a brief loading period, you’ll reach the Veeam CE home screen.
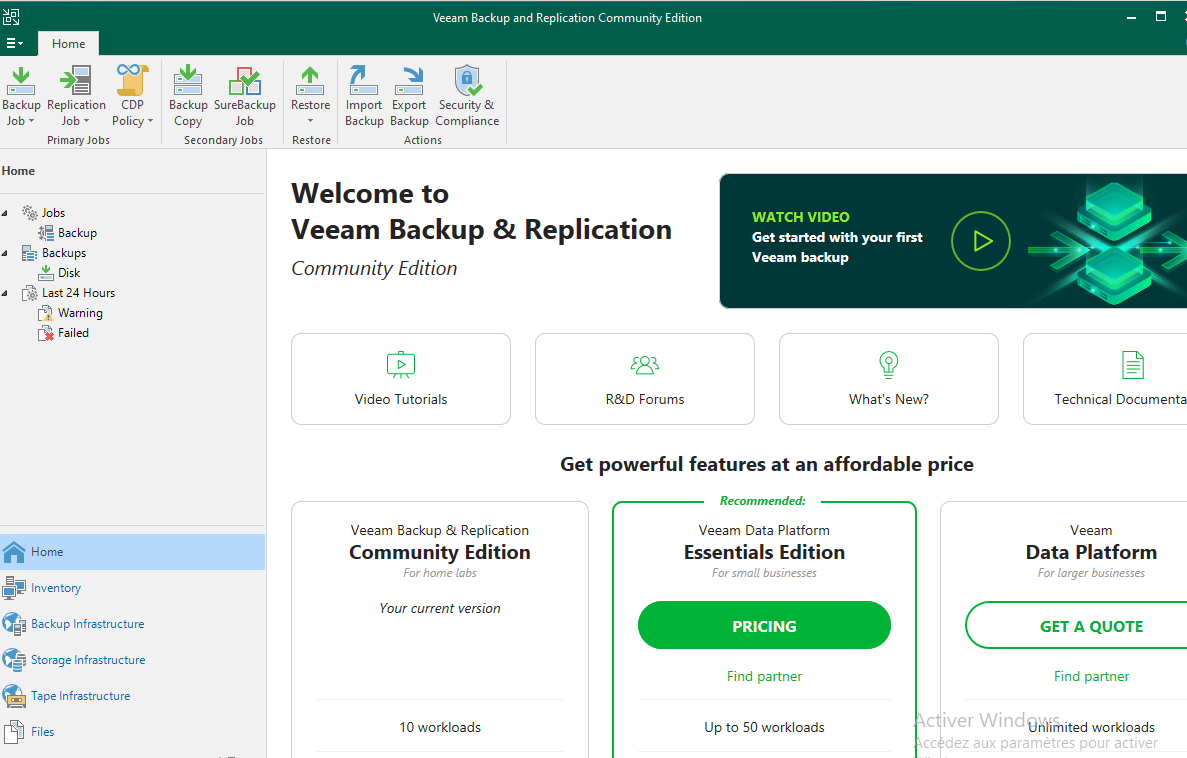
You can now begin configuring your backups.
Back Up Your Data with Veeam Backup
You can now show Gwenaelle how to configure Veeam Backup.
This step prepares the foundation for your future backups.
You’ll learn how to:
Add a backup repository.
Add one or more credential accounts.
Create a protection group to organize devices for backup.
Once your backup server is ready, you’ll need to automate backup execution by creating a schedule.
You’ll perform the following steps:
Configure a backup job.
Create a schedule.
Run an initial full backup.
Restore Your Backup with Veeam Backup
Your backups are now correctly configured and have run successfully.
It’s time to test restore scenarios.
In this video, you saw how to:
Restore an Active Directory user.
Restore a deleted file.
Over to You!

Context
It’s now time for your first proof of concept (POC) to validate the feasibility of using Veeam to manage EthicalIT’s backups.
To demonstrate how backups work and how Veeam manages them, you propose creating two protection groups—one for Delhi and one for headquarters—with different, adapted backup windows.
Your POC will consist of two Windows Server virtual machines: one hosting Active Directory with several users, and one containing file data only.
The goal is to demonstrate to your CIO that data from both servers can be stored on the same backup server using separate time slots.
Instructions
Install three Windows Server virtual machines: one Veeam backup server, one with Active Directory, and one file server.
Configure two protection groups with appropriate schedules:
One for EthicalIT headquarters in France.
One for the branch office in India.
Run an initial full backup of both servers and restore a deleted Active Directory user.
Monday to Thursday: 9:00 p.m. – 1:30 a.m.
Friday 9:00 p.m. – Monday 1:30 a.m.
Summary
Veeam Backup & Replication Community Edition is a free backup solution.
Regular restore testing is essential to ensure backup reliability.
Veeam can restore both files and application components such as Active Directory objects.
Now that you understand Veeam Backup & Replication Community Edition, you can move on to monitoring backups with Veeam ONE.
