Back Up Your Windows Environments

Your mission at Coffecao is almost complete.
However, there’s one last area you’d like to show Gwenaelle how to set up: Windows Server backups.
In server administration—whether Linux or Windows—there’s rarely only one way to achieve a result. Here again, you’ll be able to show her two ways to back up data:
robocopy;
the Windows Server backup tool.
Use robocopy to Back Up Your Data
Robocopy is a Windows command that is, in some ways, similar to what rsync can do on Linux.
It makes it possible to synchronize two folders.
And like rsync, robocopy is used from the command line.
You can start by running robocopy with the /? option to display help and view available parameters.
robocopy /?
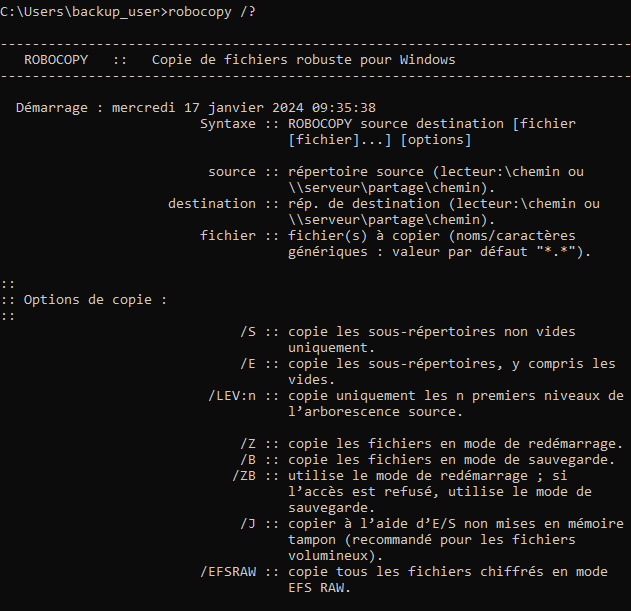
You won’t need to use every parameter, of course.
File Backup
For backups, the most appropriate option is /S.
/S copies files and subfolders, but it does not copy empty folders, which helps avoid creating empty directory trees.
If you run it for the first time, it is equivalent to a full backup.
robocopy /s “Downloads” \\BACKUPSERVER\sauvegarges\%COMPUTERNAME%\
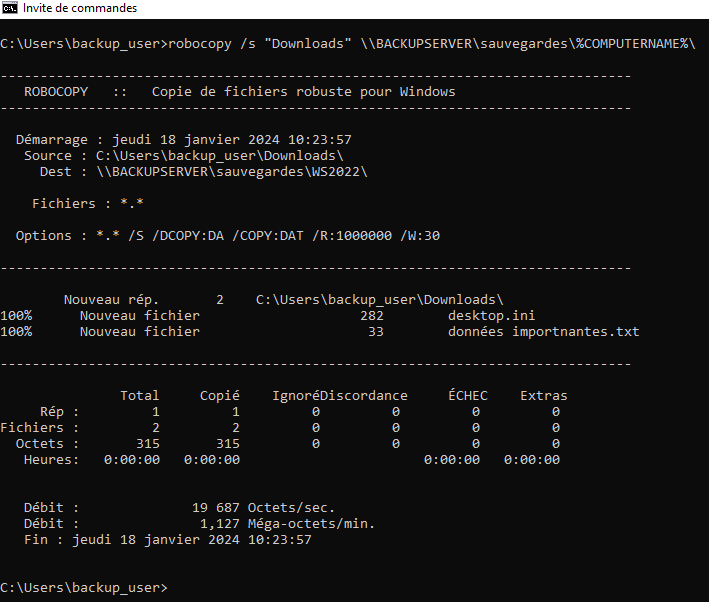
This command copies your Downloads folder directly to the server, into a shared folder.
Robocopy can be used with relative paths (.\Documents), absolute paths (c:\users\), and UNC paths (\\server\share).
You’ll notice that a line of options was added automatically. These are the default options used for this backup.
Each one can be modified to adapt or optimize your backups.
*.* The mask indicating that you want all files and folders.
/S Copies non-empty folders and subfolders.
/DCOPY:DA Copies directories with data and attributes, but does not preserve directory timestamps (creation, modification, access).
/COPY:DAT Copies files with data, attributes, and timestamps.
/R:1000000 Number of retries if a copy fails. The default is one million.
/W:30 Wait time between retries, in seconds.
You can, of course, reduce both the number of retries and the wait time in case of failure.
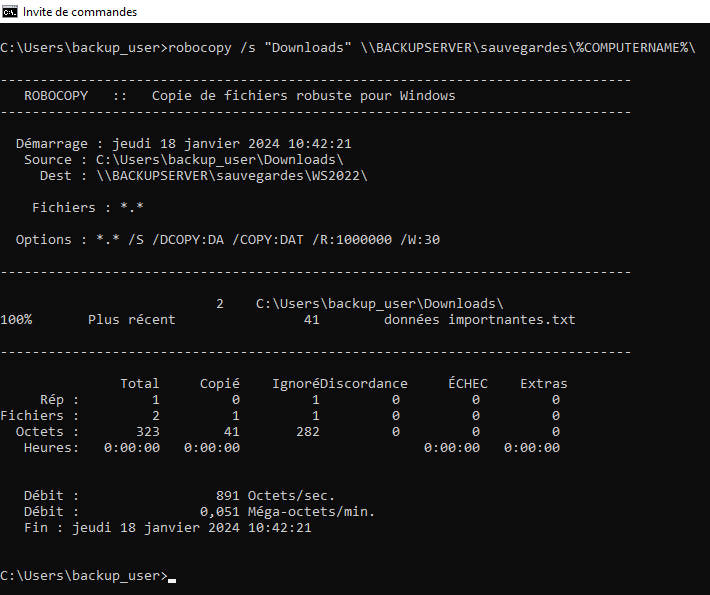
What if I want to do an incremental backup?
For an incremental backup, you simply run the same command again.
Robocopy will automatically transfer only the files that have been modified.
Directory Mirroring
To mirror one directory to another, use robocopy’s /MIR option.
This option copies all files and subfolders, but it also deletes files on the destination that no longer exist on the source.
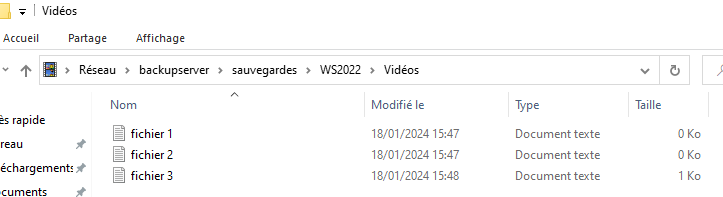
Robocopy.exe "Videos" \\backupserver\sauvegardes\%COMPUTERNAME%\videos /MIR
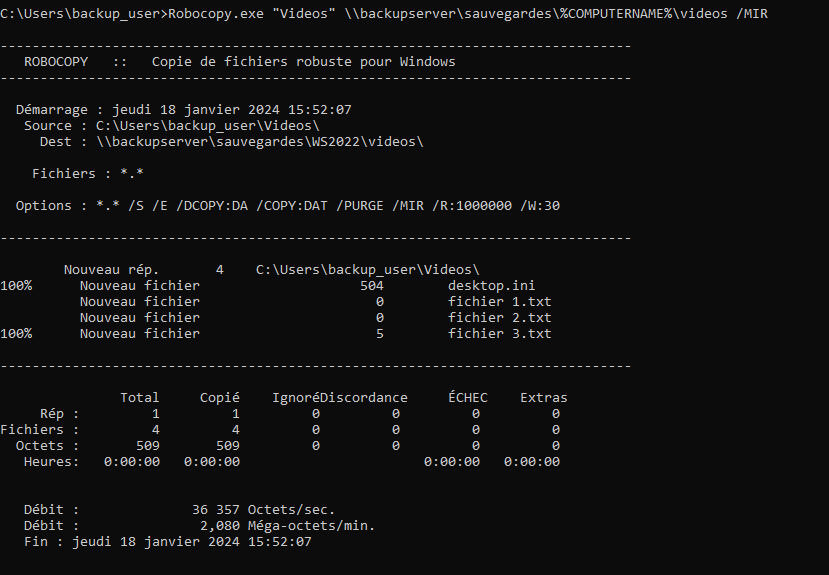
You’ll find your three files.
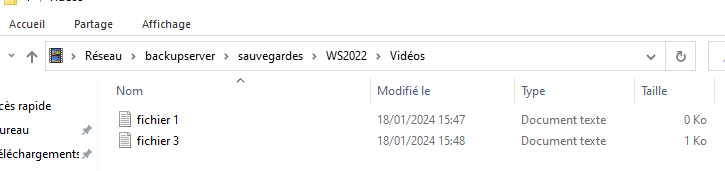
If you now delete one of them (file 2, for example) and run robocopy again, you’ll get the following result:
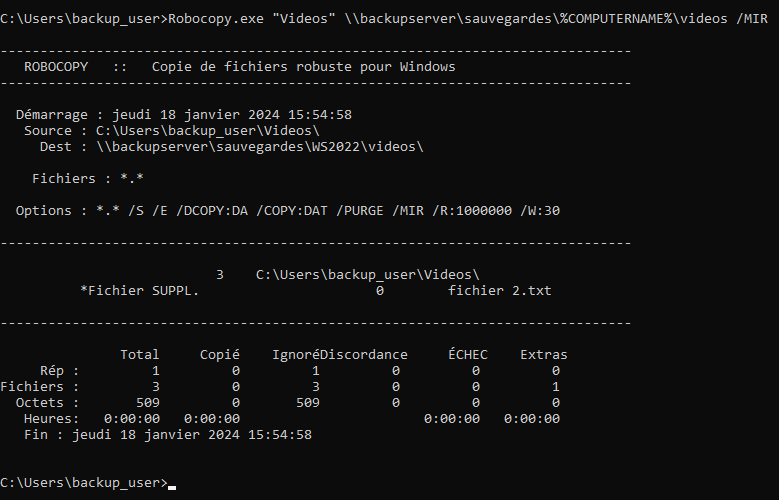
File 2 has disappeared from the destination:
This happens because /MIR implicitly adds two additional options:
/E, which copies directories even if they are empty—consistent with the idea of mirroring.
/PURGE, which deletes a file from the destination if it is missing on the source. This is precisely why mirroring is not suitable—and can be dangerous—for backups.
Now that you’ve gotten comfortable with file synchronization using robocopy, let’s look at Windows Server’s backup functionality.
Discover Windows Server Backup
At Coffecao, there is a Windows Server dedicated to programming packaging machine tools. This server is connected to all the machine tools on the packaging lines, but it is disconnected from the broader infrastructure.
Currently, daily backups of machine data are performed manually by a line manager onto an external hard drive.
You can show Gwenaelle how to configure the Windows Server Backup feature to automate these backups. That’s exactly what you’ll see in the following tutorial video:
In this video, you saw how to install the “Windows Server Backup” feature. It is included in Windows Server and provides more comprehensive backup management than File History.
You also saw how to configure a virtual disk on a server. That virtual disk can then be archived to another location.
You point out to Coffecao’s IT technician that in their situation, they could configure their backup disk. That’s what you’ll see in this tutorial video:
You now know how to create a backup schedule using the “Windows Server Backup” feature.
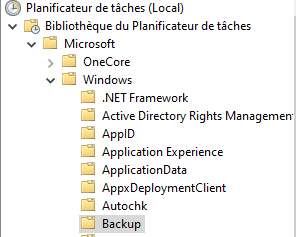
These schedules are accessible in Task Scheduler under the following path:
Task Scheduler Library -> Microsoft -> Windows -> Backup
You also saw how to restore a file from an existing backup.
Now you’ll be able to apply robocopy and scheduling in one final activity.
Over to You!

Context
You have one last, rather unusual server to back up: community media created by EthicalIT employees. For this server, located at EthicalIT France, you decide to create backups using robocopy and automate execution with a scheduled task.
You want to back up a specific folder and send it directly to a share on the file server.
Instructions
Find the robocopy command syntax to back up your files.
Add a scheduled task to run a backup every Saturday at 9:00 PM.
Summary
Robocopy is a file copy tool for Windows.
Robocopy can be used instead of Copy-Item in a PowerShell script.
Windows Server includes a built-in backup scheduling feature.
Windows Server Backup offers file restore capabilities similar to Veeam Backup.
Backup scheduling with Windows Server Backup relies on Task Scheduler.
Congratulations! You can now approach backup management with a fresh perspective. Try setting up different backup strategies for your personal data to keep practicing in other contexts.
And before you go—let’s have some fun. Take the final quiz to test what you’ve learned and wrap up this course!
