Get to Grips With Your Notebook

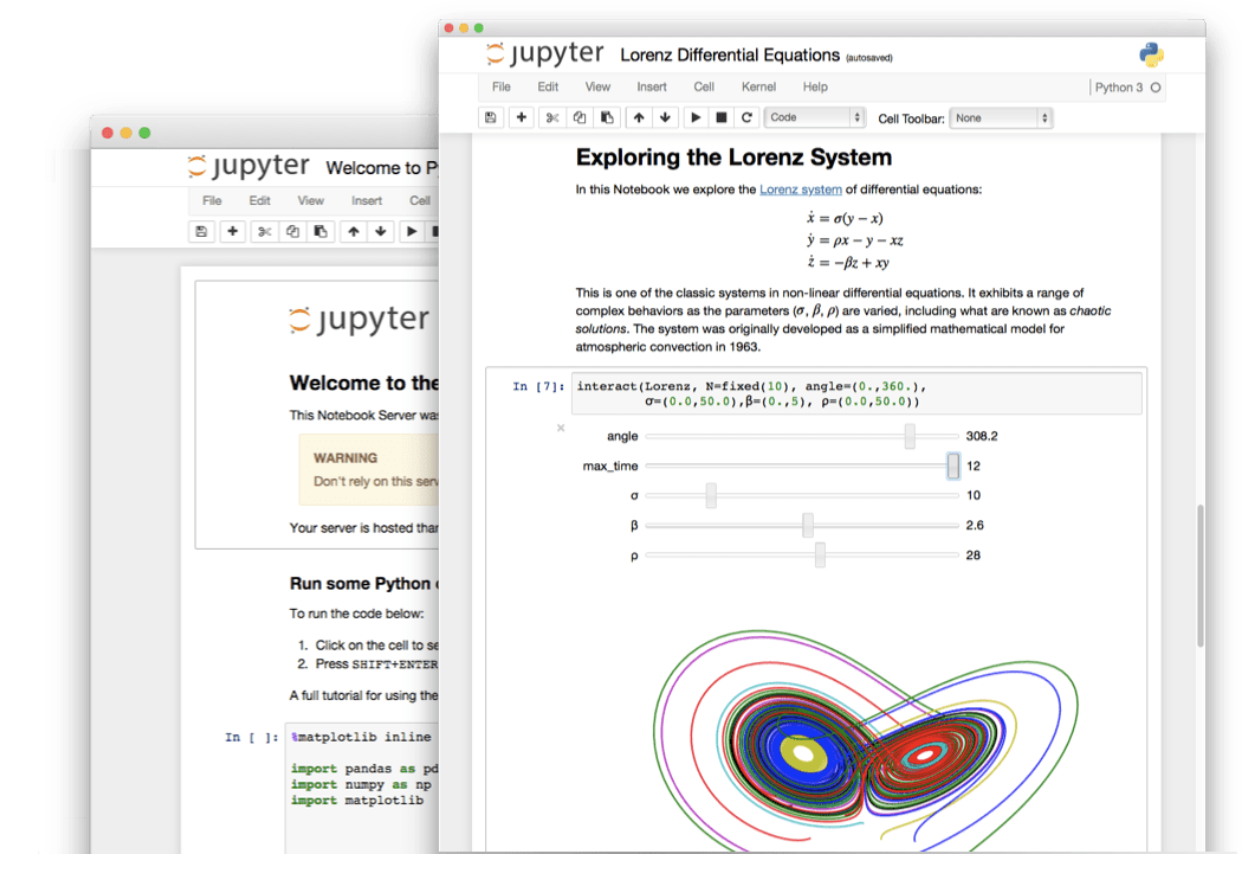
Jupyter Notebook is a web application that lets you create and store lines of Python code, their output (charts, tables, etc.) and formatted text. This can be compared to a web page… containing Python code! A bit like this course, really.
Discover Jupyter Notebook
Jupyter Notebook is a powerful tool that enables Python language users to create and share interactive documents containing dynamic, executable code, visuals, documentation, and equations. The term “notebook” refers to the intrinsic nature of the tool, which lets you write snippets of executable code (called “cells”), document them to explain what they do and display the data generated when the code is run. All this is stored in a document that can be shared with other users.
So, it’s particularly useful for prototyping algorithms or testing pieces of code to analyze the results with a view to potentially adding them to your main project. When using a notebook, you don’t need to organize your code into functions, with a main function, etc. You just need to write your code in the predefined blocks and run it to get Python up and running!
Use Jupyter Notebook to Analyze Data
Jupyter Notebook is a very popular application for everyone who works in data analysis. It enables a team to create and share reports in a documented code format, enhancing productivity and collaboration.
So, how about starting your very first Jupyter Notebook?
Start Your Jupyter Notebook
To start a Jupyter Notebook, you have two options. If you want to work on your own computer, you’ll need to install Python and Jupyter, which you can do using the Anaconda distribution, for example. If you want to use a cloud-hosted notebook, the most well known is without a doubt Google Colaboratory, or Google Colab for those in the know!
Work Locally
Before opening your notebook, you first need to launch Jupyter. There are a number of possible solutions for this:
If you’re on Windows, Mac or Linux, you can open a terminal, type
jupyter notebookand press Enter.Windows users can also search for the Jupyter Notebook (Anaconda) application and run it from the search bar.
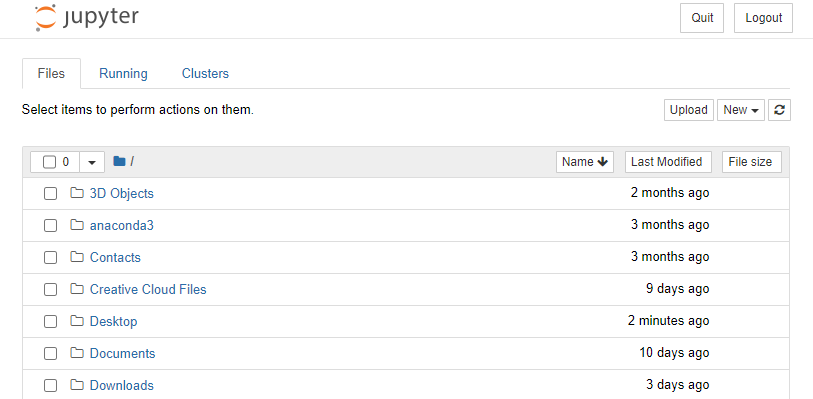
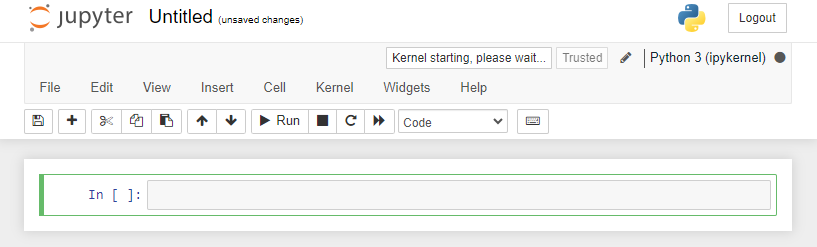
In both cases, Jupyter should open in your chosen internet browser and you should see a page similar to this:
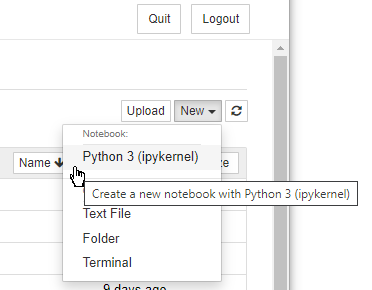
Okay, so we’ve successfully launched Jupyter! Now, you just need to click on the New button at the top right-hand corner of the page and select Python 3 under Notebook:
Use Google Colab
If you want to use Google Colab, you first need to have a Google account, which you can get by creating a Gmail address. This will give you access to all Google services, including Gmail, Google Drive, Google Sheets and, of course, Google Colab!
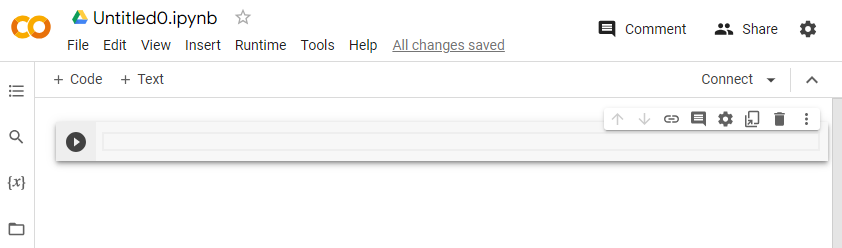
Next, go to Google Colab and you’ll see a screen like the one below:
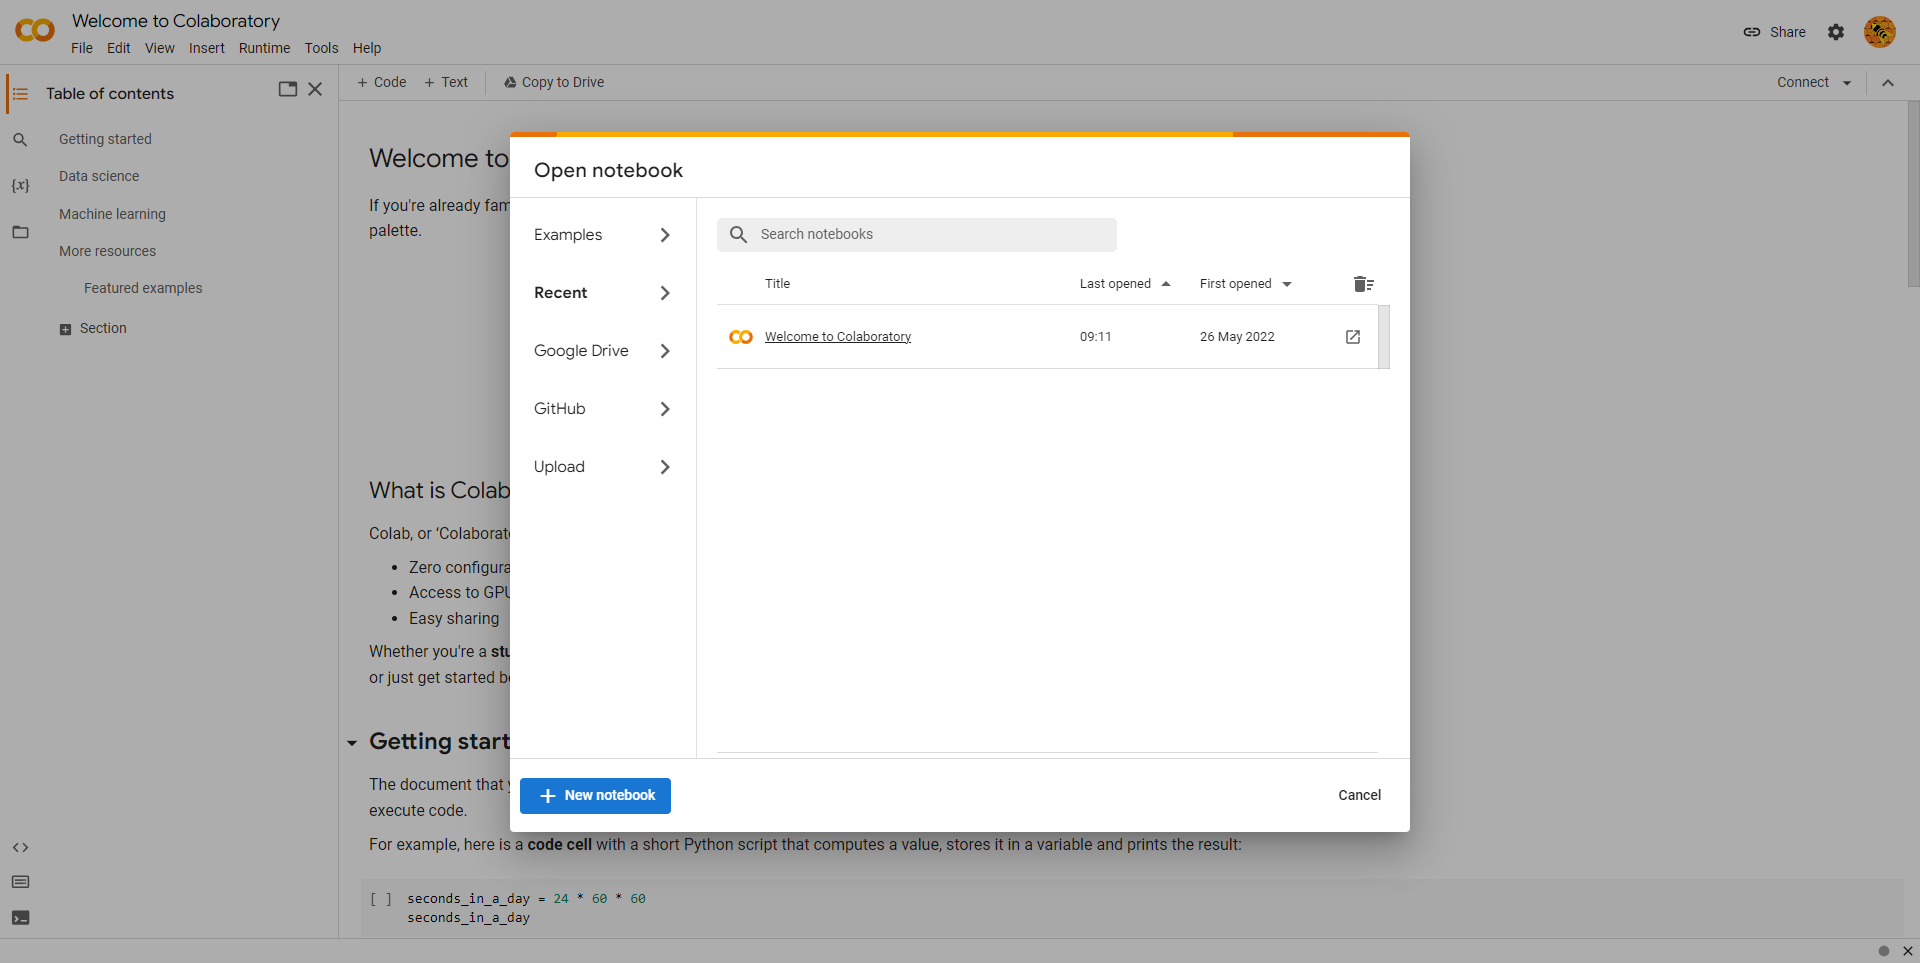
Once you get here, you can click on New Notebook to create (yes, you’ve guessed it!) a new notebook in Google Colab.
Take Your First Steps With Jupyter
Now that you’ve created a Jupyter Notebook and you’ve learned a little more about how it’s used, it’s time to run our first lines of Python code.
In your notebook, you’ll find from top to bottom: the name of your notebook (which you can change by clicking on it), a menu bar, a toolbar and an empty cell.
If you are running locally it will look like this:
If you are using Google Colab it will look like this:
Try writing your first line of code in this cell and then click on Run if you’re running it locally, or on the little arrow on the left  if you’re using Google Colab. Saying “Hello” could be a good place to start.
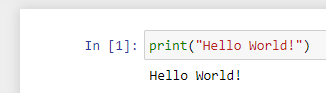
print('Hello World!')“Hello World!” should appear below your cell as a result of running the code. If you are running locally it will look like this:
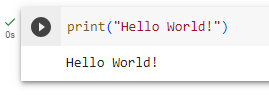
If you are using Colab it will look like this:
Congratulations, you just ran your very first line of Python code!
Did you know that displaying the text “Hello World” (using the command “print” in this case) is usually the first thing you learn when you start learning a new programming language?
If you want to save time, there are some shortcuts you can use to run code. For example, rather than clicking on Run, you could:
use Ctrl/ Command + Enter to run the current cell.
or use Alt + Enter to run the current cell and move on to the next.
Now that your Python environment is set up, let’s get down to business in the next chapter!
