Discover the Basics of Testing in React With Jest
Use Automated Testing in React
Tests are an integral part of any developer’s job (even front end) regardless of the language you develop in. They ensure the reliability of your code.
What Are Tests For?
Writing tests takes time and consideration. But count yourself lucky – over the past few years, tools have appeared to make testing JS easier. Again, when you’re working alone coding a small application, it seems like a lot of work for little reward, but try to think bigger. ✨
When you’re working on a codebase with various features as part of a team, it’s easy to make a change that leads to a regression (the introduction of a bug in production), especially when you’re dealing with code that you didn’t write, and you’re not familiar with. In situations like this, it’s good to rely on tests to flag errors! As a result, you’ll avoid regressions and be more confident with your modifications.
Test is a small word for a vast topic because there are several different types of them.
Discover Different Types of Test
🤓 What type of test should I run?
As you can see, the main types are unit, integration, and end-to-end testing.
That’s not to say that you should completely abandon unit and end-to-end testing: it’s important to find a happy medium between the three types. For example, you might choose to implement end-to-end testing for specific, critical features of your application.
Time to get to work! 👩💻
Create Your First Test With Jest
Like everything with JavaScript, the testing ecosystem is quick to evolve. So here, we’ll be using Jest and React Testing Library.
For many years, Jest has stood out as one of the best-regarded tools for testing, and it even comes ready-installed with Create React App. Not a bad place to start. 🚀
On the other hand, React Testing Library provides access to even more tools for testing your components. We’ll look at this in the following two chapters.
If you’re wondering how the two fit together, imagine that Jest is the basic testing tool, and React Testing Library makes component testing easier.
Dive into the world of testing with a Jest example in the screencast below👇:
Let’s begin by writing a unit test.
Prepare Your Code
To test code independently, pull out a part of your logic on the /Results/index.jsx page and do the following function:
export function formatJobList(title, listLength, index) {
   if (index === listLength - 1) {
      return title
   }
   return `${title},`
}
And put this into JSX:
<ResultsTitle theme={theme}>
   The skills you need:
   {resultsData &&
      resultsData.map((result, index) => (
         <JobTitle
            key={`result-title-${index}-${result.title}`}
            theme={theme}
         >
            {formatJobList(result.title, resultsData.length, index)}
         </JobTitle>
      ))}

</ResultsTitle>
Time to run a test!
Create Your Test File
Throughout this course, you learned how to organize files into folders with a specific name and an index.jsx file. This filing method will be useful here because it lets you place tests directly at the file root.
Start with /Results , create an index.test.js file, and job done!
But how will Jest find the test file?
Don’t worry! Jest is configured to search all subfolders (except for node_modules and .git ) for files ending with spec.js or test.js , preceded by a hyphen ( - ) or a dot ( . ). Another option is to put your tests into a __tests__ folder.
How to Write Tests
Now let’s look at writing the test.
First, import the element that needs testing, and then use test .
We’re using test , but we haven’t imported it anywhere. Why isn’t this an error?
Well, test is a tool that you can access globally in a file, thanks to Jest. Learn about other global tools in Jest’s documentation.
To see if the test works, import the function in Results/results.test.js and prepare the test:
import { formatJobList } from './'

test('This is my first test', () => {})
Notice that test() takes a string as its first argument , and then a function as its second argument.
Let’s try to launch the command yarn run test in terminal.
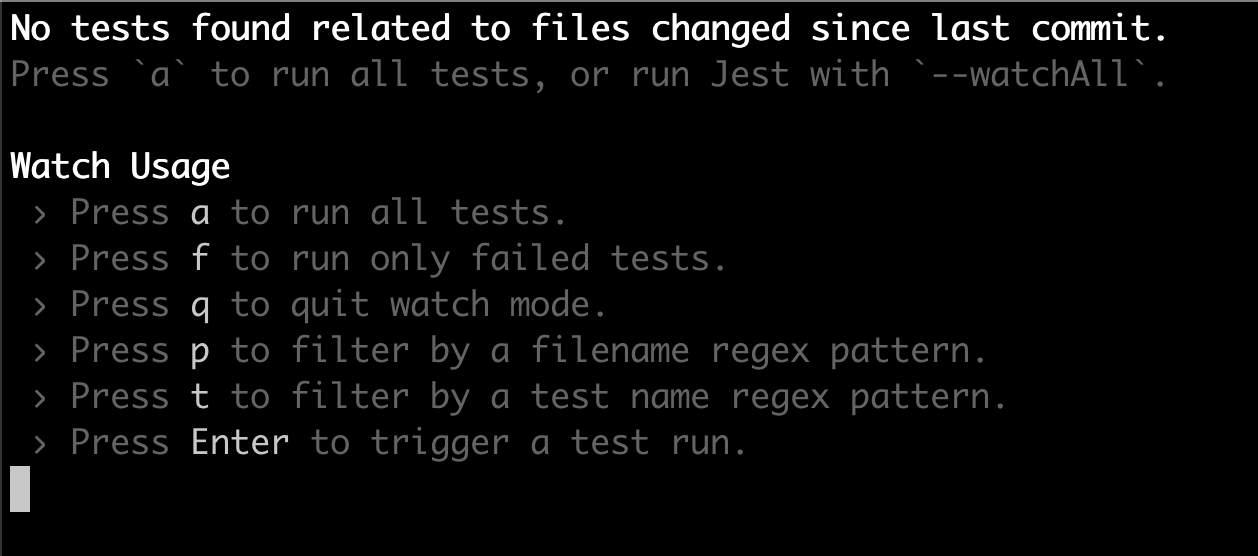
That’s completely normal. We didn't write the core of the test, i.e. to run the function and compare with a reference.
For this test, let’s use expect and toEqual , which is a Jest “matcher.” Use the expect() function, which will compare an element with the matcher. This means you have to know what you want to get from formatJobList .
For example, take item2 , which will be the second item on the list (its index is 1), but won’t be the last, meaning that you want the title to add a comma.
Which gives you:
import { formatJobList } from './'

test('This is my first test', () => {
   const expectedState = 'item2,'
   expect(JobTitle('item2', 3, 1)).toEqual(expectedState)
})
Save, and then the tests will run automatically (unless you quit watch mode). It’s green! Yay! 🎉
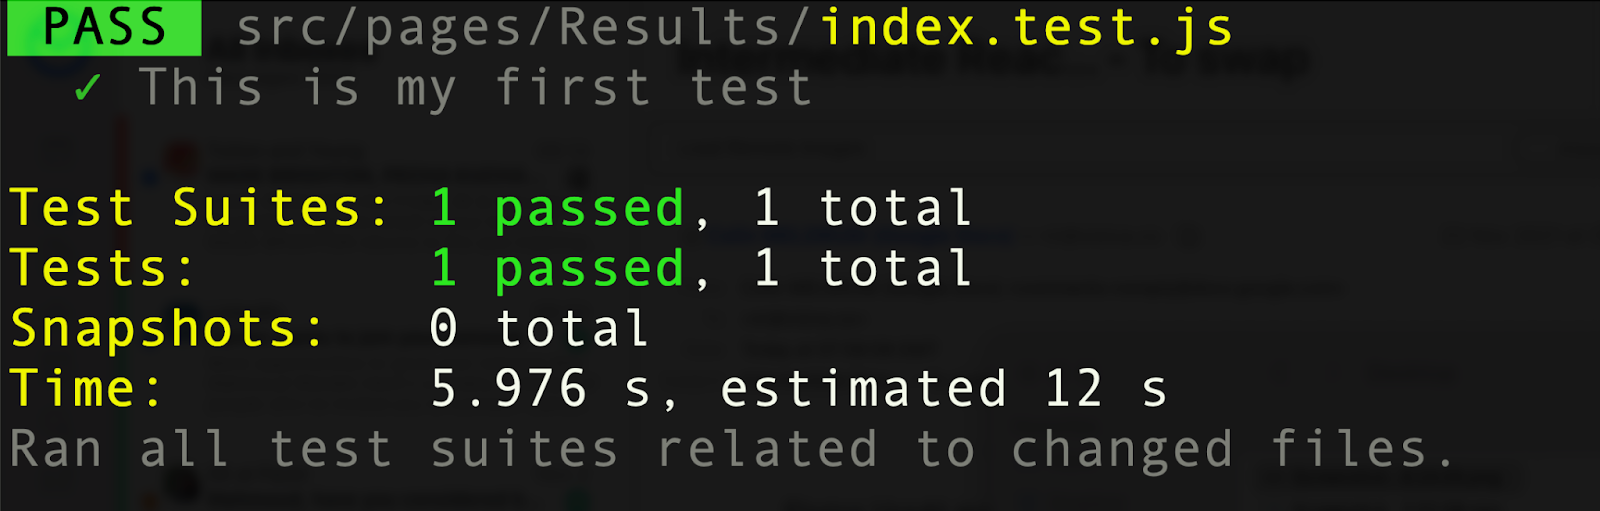
Not so hard, was it?
Other functions exist, such as describe() .
Describe lets you group several related tests (you can choose the link) and displays everything in a more readable way when you run your tests. In our example, you could add a test to check that your function does not put a comma on the final item:
import { formatJobList } from './'

describe('The function formatJobList, () => {
   test('add a comma to an item', () => {
      const expectedState = 'item2,'
      expect(formatJobList('item2', 3, 1)).toEqual(expectedState)
   })
   test('does not add a comma to the last element', () => {
      const expectedState = 'item3'
      expect(formatJobList('item3', 3, 2)).toEqual(expectedState)
   })
})
Resulting in:

Much easier to read, isn’t it? 👀
Like with everything, conventions apply when writing tests to make them as explicit as possible. One option is starting them with “should.” Here, it’s even more explicit to use the alias it , which would look like this:
import { formatJobList } from './'

describe('The formatJobList function', () => {
   it('should add a comma to a word', () => {
      const expectedState = 'item2,'
      expect(formatJobList('item2', 3, 1)).toEqual(expectedState)
   })

   it('should not add a comma to the last element of the list', () => {
      const expectedState = 'item3'
      expect(formatJobList('item3', 3, 2)).toEqual(expectedState)
   })
})
Ensure You Have Ideal Code Coverage
When running tests, you can measure code coverage (the percentage of code covered by tests). You can then identify the untested parts (or insufficiently tested) and work out where to focus your next efforts.
Here's the command for checking code coverage.
For this, write yarn test -- --coverage .
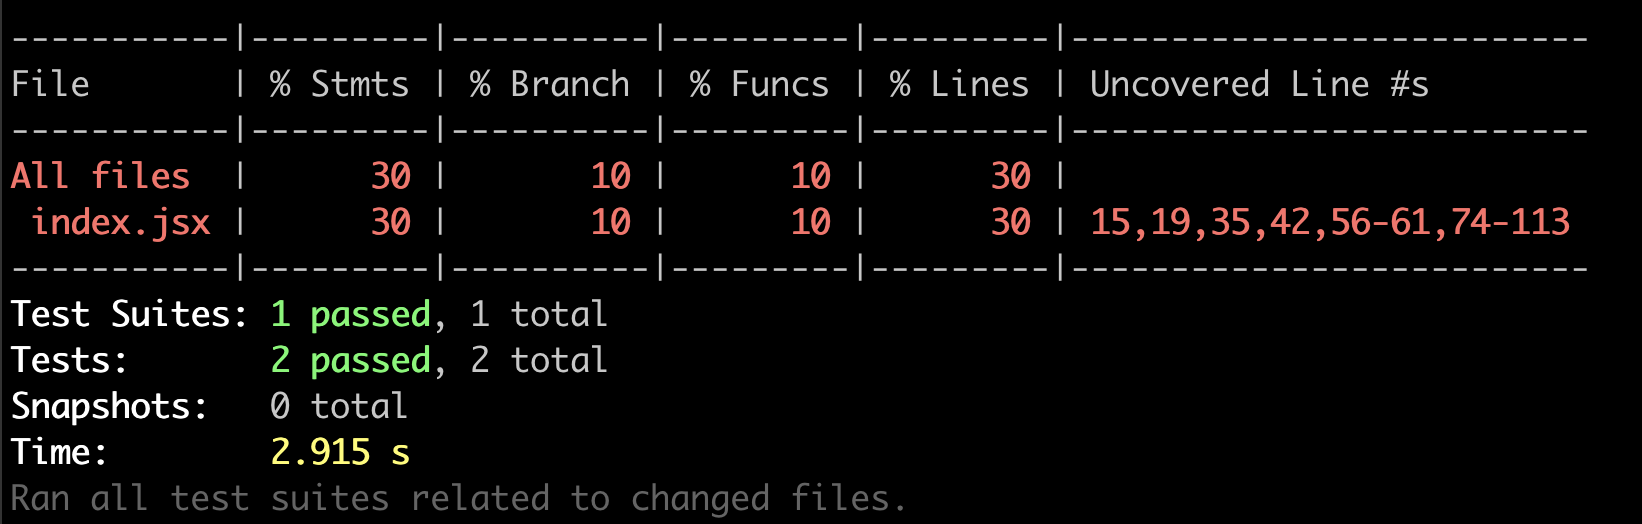
You now have the details of your test coverage, including the lines not covered by your tests.
Some services let you use test coverage as a criterion for blocking the integration of new code to your projects, setting a minimum rate, or preventing lowering the existing rate for allowing a pull request to be merged into the destination branch.
It can be very satisfying to increase your code coverage to the maximum. Be careful, though—it can be tricky. You might waste time trying to get to 100% coverage, which is unnecessary. You should be maintaining your tests over time, with the same logic in mind. Another point to be aware of is that coverage does not consider your tests’ relevance. Don’t go into it blind! 🙈
Give It a Go!

For this exercise, you’re going to continue testing pages/results/index.jsx with the function formatQueryParams . As usual, you’ll find the codebase you need for this exercise on branch P3C1-begin.
Create two different tests for formatQueryParams within a series of tests (grouped together in describe() ).
You can find the solution on branch P3C1-solution.
Let’s Recap!
Tests provide security when modifying a codebase, especially when you integrate them into continuous deployment practices.
The main types of testing are unit, integration, and end-to-end testing.
Integration testing is a good compromise between the time spent writing tests and the security they provide.
Jest and React Testing Library give developers access to a set of tools and functions that can be used to test an application.
Tests might seem scary, but they’re not that bad, are they? Nothing impossible so far? Great—let's continue your testing journey in the next chapter, where you’ll learn how to use React Testing Library to test your components. 💣
See you there!
