Use Your Knowledge of useState and useEffect to Make API Calls

Revisit useState and useEffect
Remember… 💭
Local state is present within components. It can re-render as many times as you like and still hold its data. For this, use useState , a hook that lets you add local state to function components.
useEffect is another hook used to perform an action after your components have rendered, choosing when and how often this action should be performed with a list of dependencies.
As you may have guessed, we’re going to use both of these to make API calls:
useEffectto trigger thefetch.useStateto store the API response instate.
So let’s get to work! 💪
Get Data From an API
Learn API Calls
Data is at the heart of any application. Whether it’s local data or data pulled from an API, it powers components and feeds interactions with users.
What’s an API?
API stands for application programming interface: it’s a means of communication between two pieces of software. We’ll be using it to fetch data. If you want to learn more about APIs, consider taking the Build Your Web Projects With REST APIs course.
But why don’t we put data straight into the front end? We did that in the first course, and it worked just fine!
For the Shiny project, we’ll use a dedicated API. You’ll find all the instructions you need for running it in the README.md . Take a minute to clone the repository and launch the API in local. ⏱
Now let’s get the content for the questions on the API using the route http://localhost:8000 with the fetch() method.
fetch() is the native method for making API calls. Of course, you could use a tool like Axios, but we’ll go for the native approach to avoid installing another external tool.
Improve Your Survey With Data
To understand using the API better, we’re going to work more on the /survey page. Remember, we created links to navigate between questions and redirect the user to /results after the 10th question in the last chapter. So let’s improve this page so it fetches data from the API. In addition, I’ve added additional style to see things more clearly (you can get this from the GitHub repository for this course, on branch P2C1-exercise).
The API returns all of the questions on the endpoint http://localhost:8000/survey.
How do you know that?
Well, I cheated a bit because I also wrote the API that we’re using. But you can use the API documentation. You can access it all in the README file.
Call it in useEffect to get the questions. If you look at the documentation, you’ll see that the route that matches the questions (http://localhost:8000/survey) is a GET route, which does not require a parameter. You can get the data by doing fetch(‘http://localhost:8000/survey’) .
Here you only need to call the API when you first set up your component and specify an empty list of dependencies in your file:
useEffect(() => {
   fetch(`http://localhost:8000/survey`)
      .then((response) => response.json()
      .then(({ surveyData }) => console.log(surveyData))
      .catch((error) => console.log(error))
   )
}, [])
Just what we wanted! 🤩
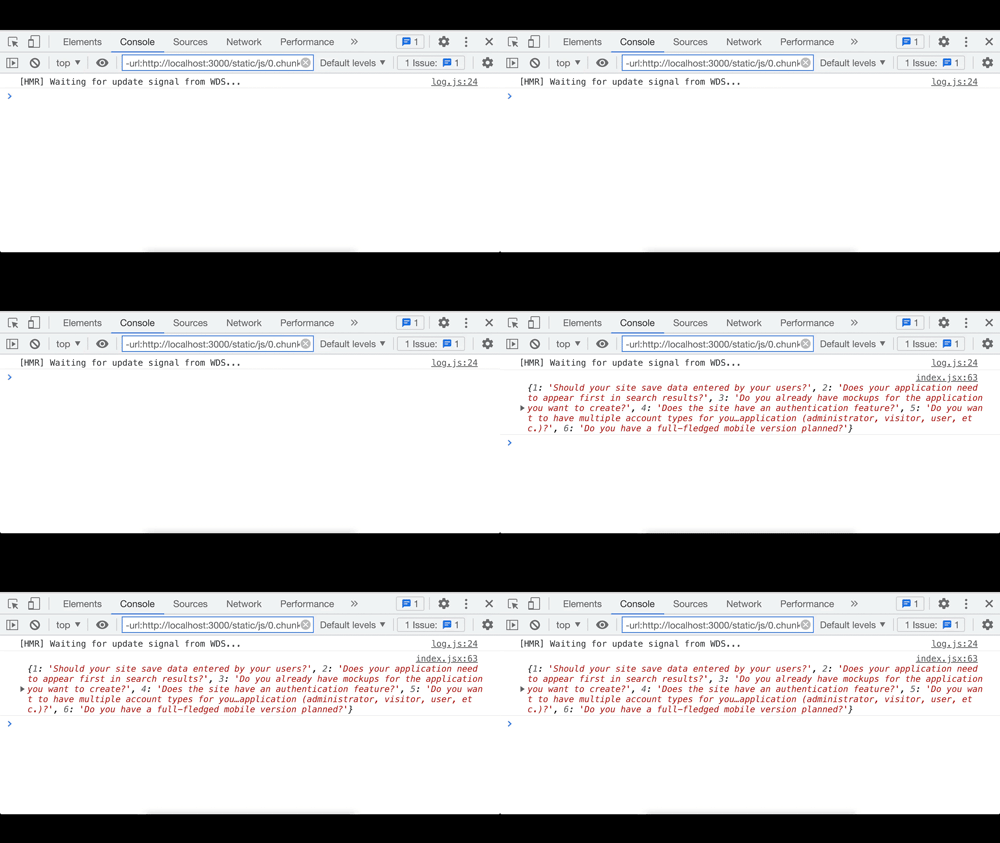
We used Promises , but you could also use the async / await syntax. Watch out, though – there are a couple of details you have to pay attention to with useEffect . You’ll see it in the screencast at the end of this chapter.
Seeing the API response in the console is not enough-you also want to see it in the app.
For this, we’ll use state. So, with useState , write the following:
const [questions, setQuestions] = useState({}) questions lets you store the object that has been returned by the API. From then on, it will be pretty simple to use questions just by calling:
setQuestions(surveyData) .You’ll have seen on your console that surveyData is an object that has numbers as its key. This is a practical way of ensuring that your questions are always in order, and that you can easily access a question with:
surveyData[questionNumber]Similarly, to know whether to link to the next question or to the results, you can simply check what the following statement says:
surveyData[questionNumberInt + 1] ?Which gives you this code:
function Survey() {
   const { questionNumber } = useParams()
   const questionNumberInt = parseInt(questionNumber)
   const prevQuestionNumber = questionNumberInt === 1 ? 1 : questionNumberInt - 1
   const nextQuestionNumber = questionNumberInt + 1
   const [surveyData, setSurveyData] = useState({})

   useEffect(() => {
      setDataLoading(true)
      fetch(`http://localhost:8000/survey`)
         .then((response) => response.json()
         .then(({ surveyData }) => console.log(surveyData))
         .catch((error) => console.log(error))
      )
   }, [])

   return (
      <SurveyContainer>
         <QuestionTitle>Question {questionNumber}</QuestionTitle>
         <QuestionContent>{surveyData[questionNumber]}   </QuestionContent>
         <LinkWrapper>
            <Link to={`/survey/${prevQuestionNumber}`}>Back</Link>
            {surveyData[questionNumberInt + 1] ? (
               <Link to={`/survey/${nextQuestionNumber}`}>Next</Link>
            ) : (
               <Link to="/results">Results</Link>
            )}
         </LinkWrapper>
      </SurveyContainer>
   )
}

export default Survey
Set a Loading State
Not bad! The question looks great:
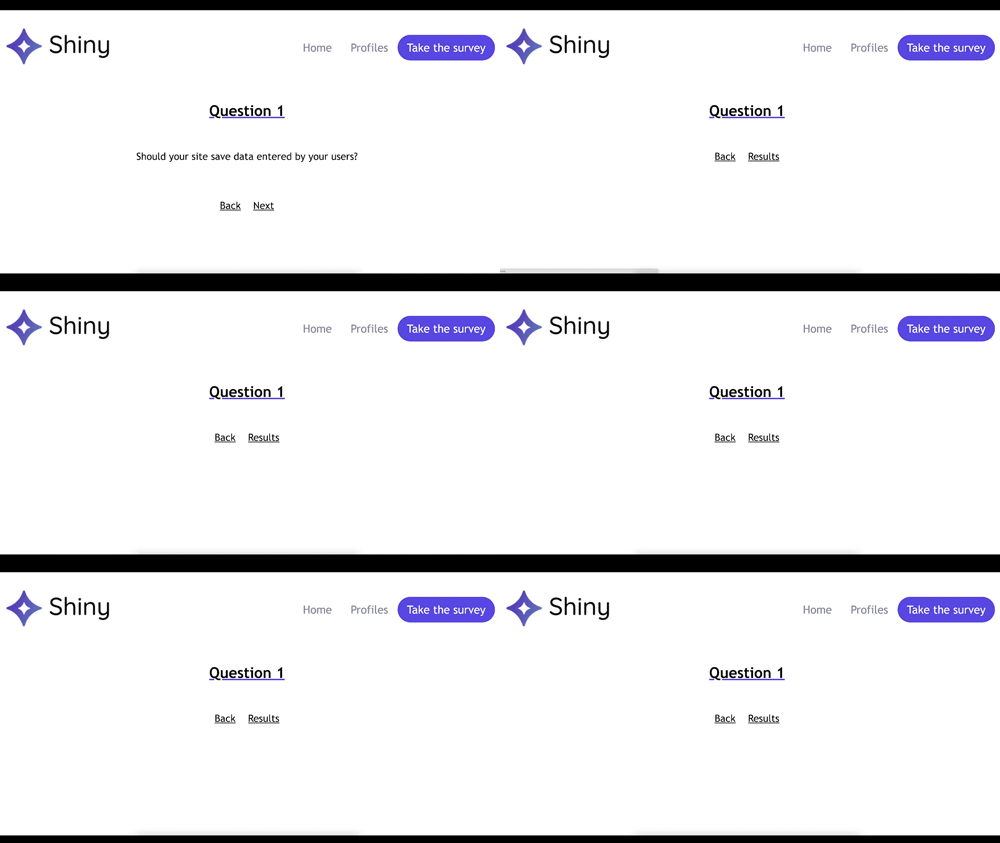
But why does the screen go blank for a moment? How can I make it look more like professional websites?
It is just the time between a component rendering and the data being loaded. True, from a UI point of view, it’s not ideal. The user won’t know that the data is being loaded and might think there’s a problem with the app.
A common practice is to display a loader to signal that it will display the data shortly. Of course, you could just display a bit of text saying “Loading...,” but given that you know how to handle the CSS, you might as well have fun with it, right?
Let’s create a simple CSS Loader directly in the utils/Atoms.jsx file . To do this, import keyframes from the styled-components library. That gives you:
import colors from './colors'
import styled, { keyframes } from 'styled-components'

const rotate = keyframes`
   from {
      transform: rotate(0deg);
   }

   to {
   transform: rotate(360deg);
   }
`

export const Loader = styled.div`
   padding: 10px;
   border: 6px solid ${colors.primary};
   border-bottom-color: transparent;
   border-radius: 22px;
   animation: ${rotate} 1s infinite linear;
   height: 0;
   width: 0;

`We’re now going to use state to display the Loader. To do this, create an isDataLoading variable with useState :
const [isDataLoading, setDataLoading] = useState(false)In the useEffect , modify the boolean:
useEffect(() => {
   setDataLoading(true)
   fetch(`http://localhost:8000/survey`)
   .then((response) => response.json())
   .then(({ surveyData }) => {
   setSurveyData(surveyData)
   setDataLoading(false)
   })
}, [])
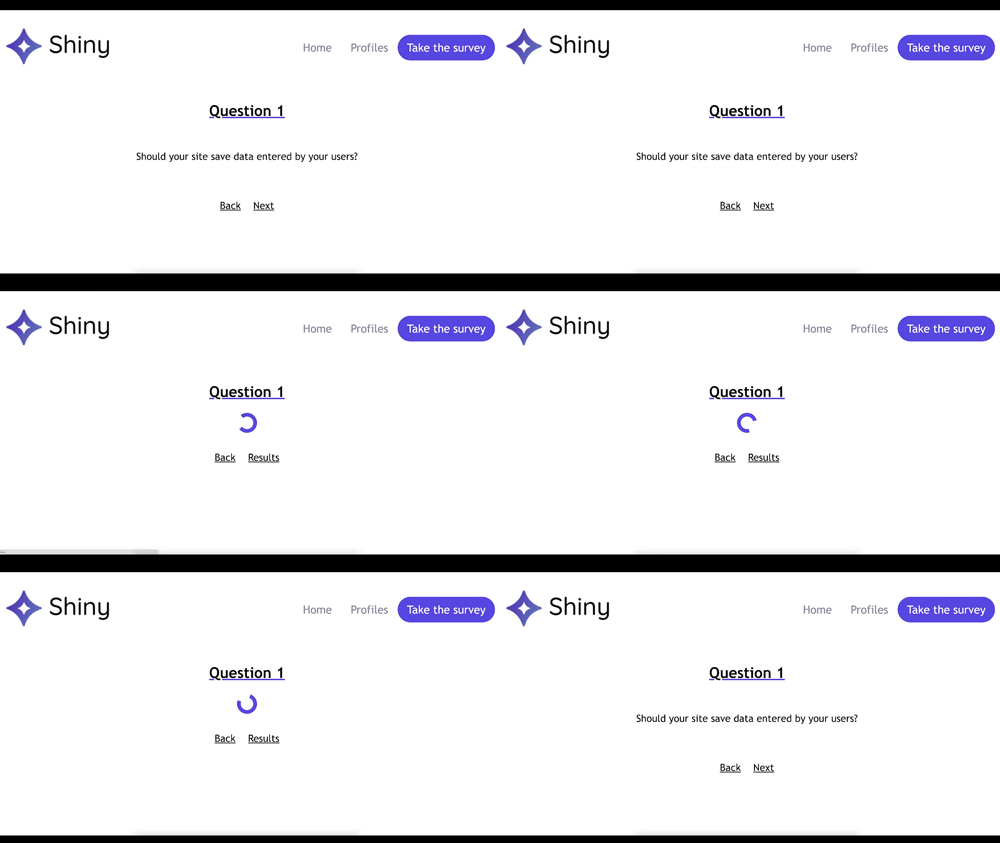
It lets you condition your component render. The Loader will now display while the data loads, and once you have it, the question will appear in place of the Loader .
<SurveyContainer>
   <QuestionTitle>Question {questionNumber}</QuestionTitle>
   {isDataLoading ? (
      <Loader />
   ) : (
      <QuestionContent>{surveyData[questionNumber]}</QuestionContent>
   )}
...
</SurveyContainer>
Yes! 🎉 The content is appearing exactly the way we wanted it to!
Now that things are working as we want them to, let’s implement a slightly more modern syntax and handle errors:
It’s time to put all of this into practice. 💪
Give It a Go!
 You’ve managed to get data from the backend of the Shiny app. Well done! Now do the same thing for the freelancer profile pages. As usual, you’ll find the code you need to start the exercise on branch P2C1-begin.
For this task, you’ll need to do the following:
Get the freelancer profiles from the API endpoint
/freelancers. You can either use the syntaxasync / awaitor.then.Use the
Loaderwhen the freelancer profile content is loading.Display the data on the page.
Display an error if there is a problem.
You’ll find the solution for the exercise on branch P2C1-solution. 💡
Let’s Recap!
You can easily make API calls using the hooks
useEffectanduseState:useEffecttriggers the API call.useStatestores the data that is returned.
You can use either promises or
async / awaitto make asynchronous calls in React.For the UI, you can create a
loadingstate to display a loading animation while the data is loading.
I told you in the first course that the useState and useEffect hooks were useful. I wasn’t lying! They let you create local and external service interactions. Good times! 😎
Let’s now venture further into the world of hooks with useContext , and learn all about context, which makes it easy to share data between components. Let’s go! 🚀