Cushion elements with padding
You'll often want the border of an element to be pushed out from the element's contents itself. Borders can visually suffocate your elements, and it would be nice to let them breathe!
You can see the difference in spacing between an element's contents and its below. There's more space on the right:

Padding is the space between an element's contents and border. It is still within the element itself, not around it.
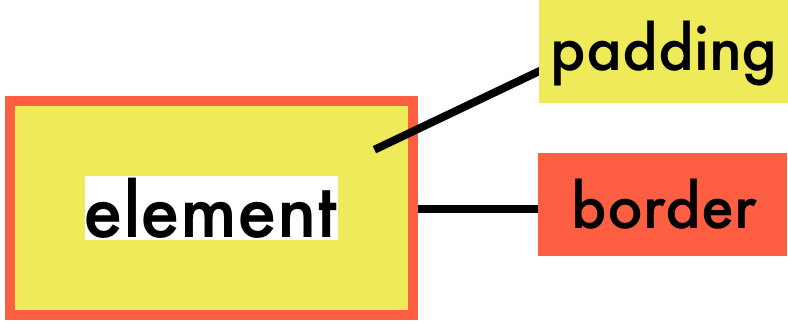
Unlike many other CSS properties, padding is not inherited from parent elements. You must explicitly set it on the elements where you want it.
How to set padding
Setting padding is as simple as giving the padding property a space value via:
pixels
em/rem
a percentage.
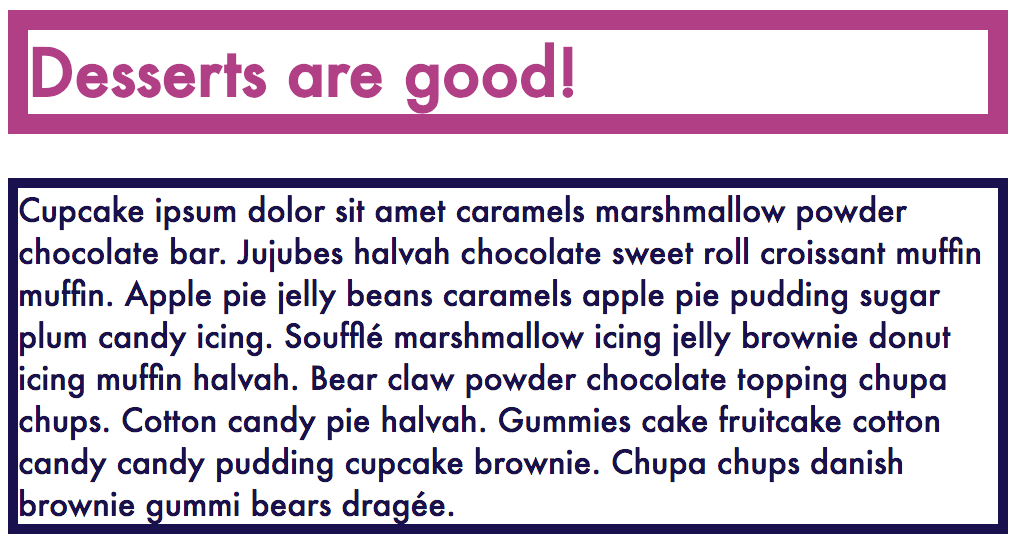
Here's the example we'll use in this course, which currently has no padding:
HTML
<h1>Desserts are good!</h1>

<p>Cupcake ipsum dolor sit amet caramels marshmallow powder chocolate bar. Jujubes halvah chocolate sweet roll croissant muffin muffin. Apple pie jelly beans caramels apple pie pudding sugar plum candy icing. Soufflé marshmallow icing jelly brownie donut icing muffin halvah. Bear claw powder chocolate topping chupa chups. Cotton candy pie halvah. Gummies cake fruitcake cotton candy candy pudding cupcake brownie. Chupa chups danish brownie gummi bears dragée.</p>
CSS
body {
    font-family: Futura;
}

h1 {
    color: #B33C86;
    border: 10px solid #B33C86;
}

p {
    color: #190E4F;
    border: 5px solid #190E4F;
}Let's add some padding!
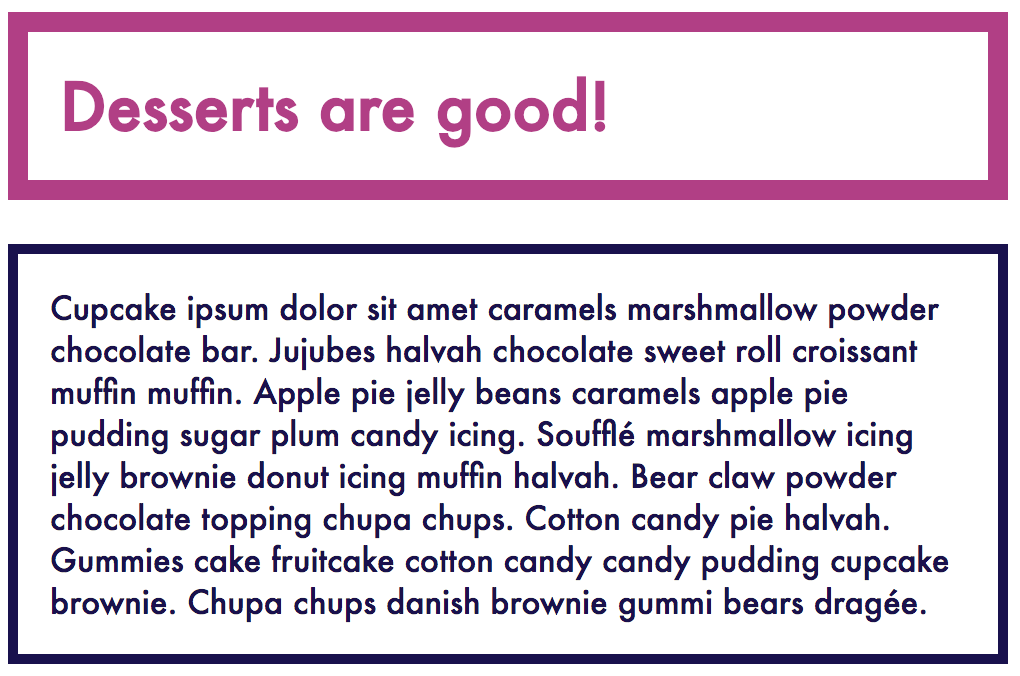
Setting padding in pixels
Adding padding in pixels is a great way to set padding that never changes. Regardless of the text size the user has set, the padding will always be shown at the same size.
Select your element, declare a padding property, and set it to a numerical value in pixels:
h1 {
    padding: 10px;
}

p {
    padding: 10px;
}
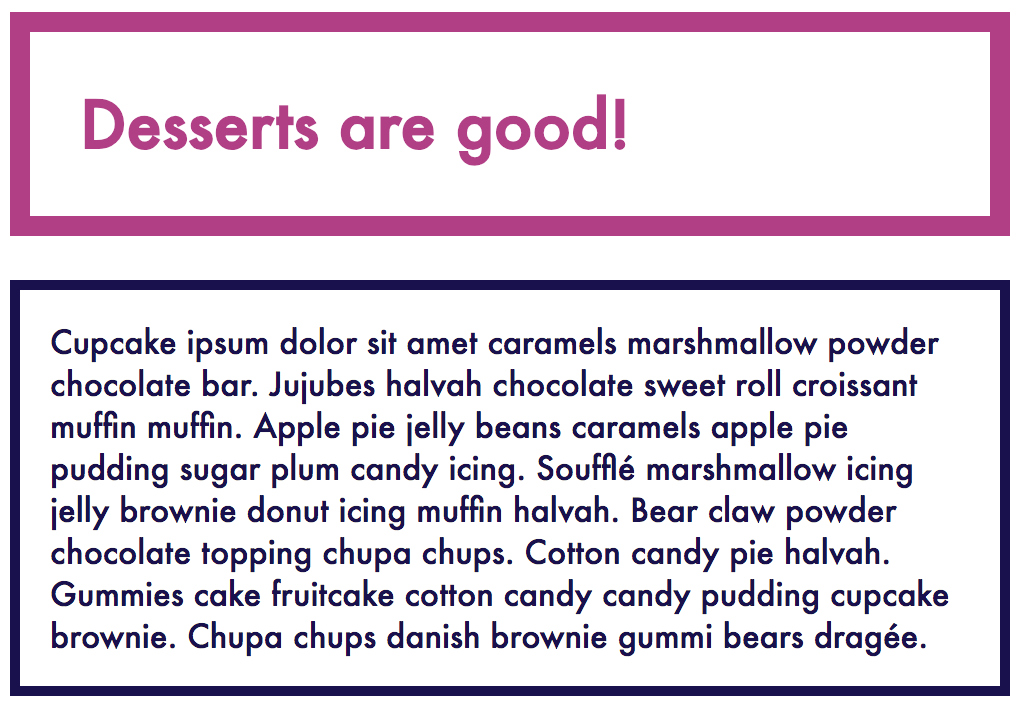
Setting padding in em/rem
You can also set padding as an em or rem value. The padding value will then be relativeto the element's text size. If an h1 has a font-size of 32px, 1em of padding would be 32px. If a p has a font-size of 16px, 1em of padding would be 16px.
Setting padding with a relative unit like em or rem means that if a user has a default font size set in their browser, your design will be relative to that font size. This could allow for more design consistency.
h1 {
    padding: 0.5em;
}

p {
    padding: 1em;
}
Setting padding via percentages
You can also set padding as a percentage value. The percentage is relative to the widthof the containing element. This is a bit abstract, so stick with me.
Take the following example of a paragraph within the body of your page:
<body>
    <p>My paragraph</p>
</body>
Say that:
the body of the page is 850px wide.
the paragraph inside the body is 300px wide.
If you set padding: 10% on the paragraph element, the paragraph's padding will be 85px (10% of 850px); not 30px (10% of 300px).
To calculate your ideal padding value as a percentage, here's some easy math:
padding as percentage = desired padding in pixels / width of containing element * 100
In our previously used example, a body contains the heading and paragraph. Because the body is 500px wide, the h1's padding (5%) will be 25px. The paragraph's padding (3%) will be 15px.
h1 {
    padding: 5%;
}

p {
    padding: 3%;
}
Setting multiple padding values
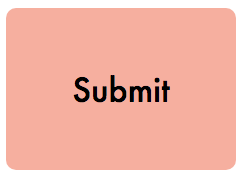
You'll often want to set one vertical padding value and another horizontal padding value. Let's take the case of buttons; it's a little too intense to have 30px of padding on every side of a button (top, right, bottom, and left):
It would make more sense to have more padding on the left/right sides of the button and less on the top/bottom sides:
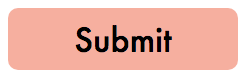
You can set top, right, bottom, and left padding values in that order:
p {
    padding: 5px 30px 5px 30px;
}If your top/bottom values are the same, and your left/right values are the same, you can also just set two values: one for the top/bottom padding and another for left/right padding.
p {
    padding: 5px 30px;
}
Here are different padding values and their results:

In the middle example, the same result is achieved in both lines of code!
Your Turn
Add padding of your own in the following interactive exercise. Start off by adding a padding value of 3% to the h1 element and a padding value of 5% to the p element. Then, feel free to experiment further with padding values in pixels or em or rem units!
Recap
Padding is the space between an element's contents and border.
Set padding by using the
paddingproperty and setting a space value in pixels, em/rem, or percentages.Multiple values for
paddingcan be set by changing TRBL (top, right, bottom, left) margins.
