Add breathing room with margins
You've learned how to set borders around elements in this course so far. You have also learned how to add space between the element and its border.
What about spacing around elements, though?
Margin is the CSS property that controls spacing between elements. In this diagram, see how it relates to the other layout elements you've seen so far:
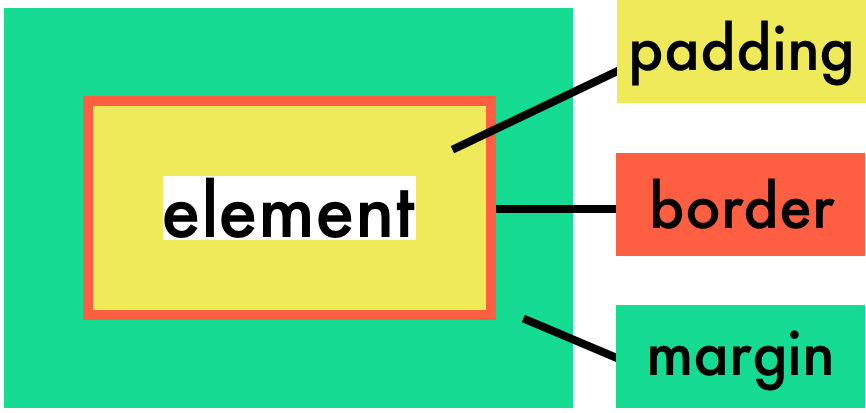
An element has padding around it, which is then surrounded by a border, which then has margins outside of it that determine the space between this element and its neighbor(s).
How to set margins
Margins are similar to padding in that they can be set as:
pixels
em/rem values
percentages that are relative to the width of the containing block.
Margins also can have a value called auto that is useful for centering content. We'll see it at the end of the chapter.
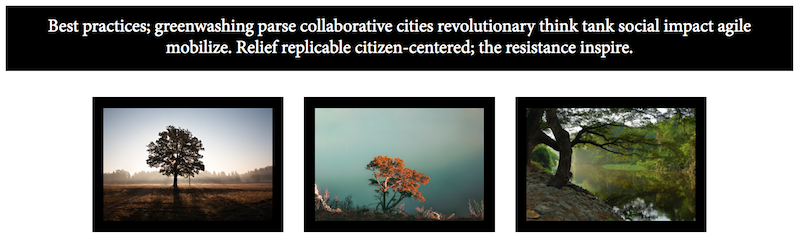
Let's start with checking out an example using a paragraph and some images:
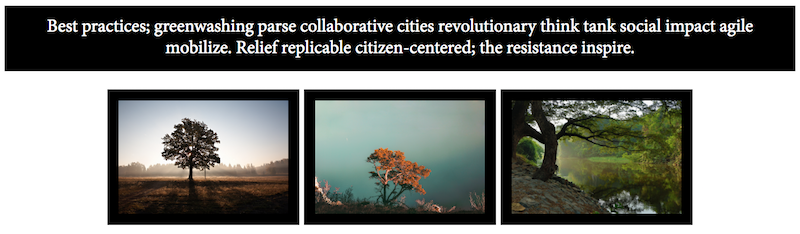
You'll notice there's a very small amount of space between each image already. This is the default space set by the browser when images are placed on new lines in HTML.
Here's the HTML and CSS for the example below:
HTML
<p>Best practices; greenwashing parse collaborative cities revolutionary think tank social impact agile mobilize. Relief replicable citizen-centered; the resistance inspire.</p>

<img src="https://images.unsplash.com/photo-1481402665672-0a280f0e9845?ixlib=rb-0.3.5&q=85&fm=jpg&crop=entropy&cs=srgb&ixid=eyJhcHBfaWQiOjE0NTg5fQ&s=f572b8be919dd72727de32df24f7fcfe">

<img src="https://images.unsplash.com/photo-1482148454461-aaedae4b30bb?ixlib=rb-0.3.5&q=85&fm=jpg&crop=entropy&cs=srgb&ixid=eyJhcHBfaWQiOjE0NTg5fQ&s=150b97749895691afb8e046df5bce838">

<img src="https://images.unsplash.com/photo-1446714276218-bd84d334af98?ixlib=rb-0.3.5&q=85&fm=jpg&crop=entropy&cs=srgb&ixid=eyJhcHBfaWQiOjE0NTg5fQ&s=b1d696434ea0bb834407b989b34b2f8b">
CSS
body {
    width: 700px;
    text-align: center;
}

p {
    font-family: 'Minion Pro';
    background-color: black;
    color: white;
    padding: 10px;
}

img {
    width: 150px;
    border: 10px solid black;
}Now that you've seen the HTML and CSS for our example, let's go ahead and set some margins!
Setting margins via pixels
Adding margins in pixels is a great way to set margins that never change, regardless of the size of the element or the text size involved.
Let''s select the image element, declare the margin property, and set it to 20 pixels:
img {
    margin: 20px;
}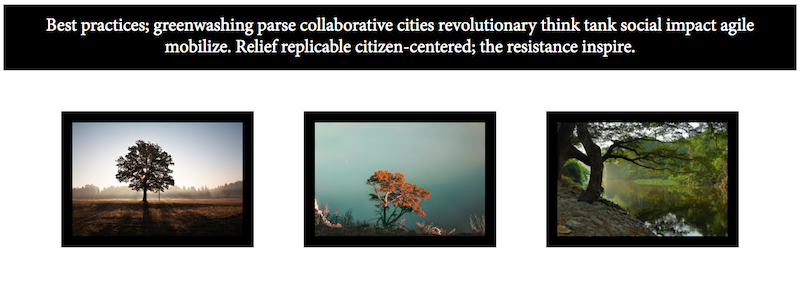
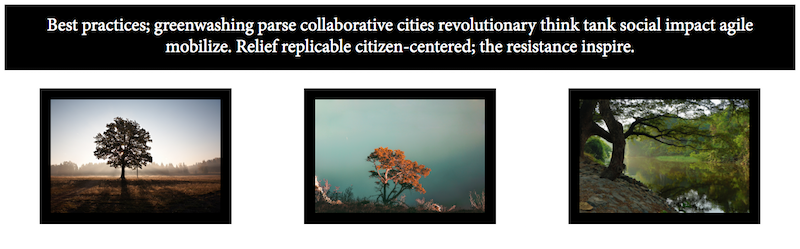
By specifying one single value, you set the top, bottom, right, and left margins all to the same amount. Now, 20px of margin has been added to the top, left, bottom, and right of each image element. This means that there's more space between:
the paragraph and the images, which is a result of the image's top margin value
the images themselves, which is a result of the image's left and right margin values
Setting margins in em/rem
You can also set margins using em or rem values. The margin value will then be relative to the element's text size. If an h1 has a font-size of 32px, a 1em margin would be 32px. If a p has a font-size of 16px, a 1em margin would be 16px.
Setting margin with a relative unit like em or rem means that if a user has a default font size set in their browser, your design will be relative to that font size. This could allow for more design consistency.
In our tree image example, the default body text size of 16px is applied (since images don't really have their own text size). Setting a 1em margin will result in a margin of 16px:
img {
    margin: 1em;
}
Setting margins via percentages
You can also set margins as percentage values. Like we saw in the last chapter for padding, the percentage is relative to the width of the containing element.
Take the following example of a paragraph within the body of your page:
<body>
    <p>My paragraph</p>
</body>
Say that:
the body of the page is 850px wide.
the paragraph inside the body is 300px wide.
If you set margin: 10% on the paragraph element, the paragraph's margin will be 85px (10% of 850px); not 30px (10% of 300px).
Margin percentages are not relative to the width of the element itself; they're relative to the width of its containing element.
To calculate your ideal margin value as a percentage, here's some easy math:
margin value as percentage = desired margin in pixels / width of containing element * 100
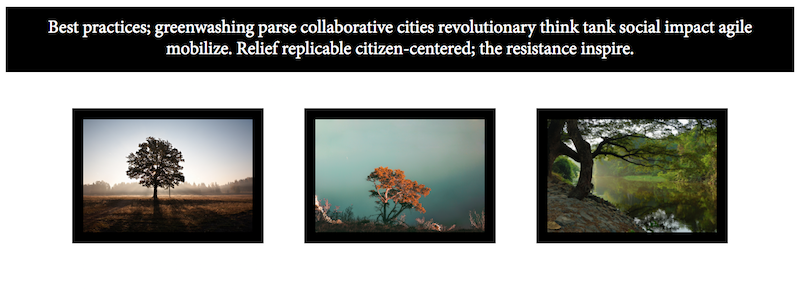
In our tree image example, a body contains the paragraph and three images. Because the body is 700px wide, setting a margin of 1% will result in a margin of 7px:
img {
    margin: 1%:
}
Setting multiple margin values
You'll sometimes want to set top/bottom margins that are different than the left/right margins.
You can therefore set top, right, bottom, and left margin values in that order:
img {
    margin: 0px 30px 0px 30px;
}
If your top/bottom values are the same, and your left/right values are the same, you can also just set two values: one for the top/bottom margins and another for left/right margins.
img {
    margin: 0px 30px;
}
Why is there still some space between the paragraph and the images in the example above, even though the margin is 0?
Good question. Default spacing between elements can be tricky to control. That space is the paragraph's default margin that you didn't specify; paragraphs have 16px of margin around them by default.
In order to get rid of that space, you'd have to work on the paragraph's margins or set a negative top margin value for the images (yes, negative values are possible!):
img {
    margin: -16px 30px 0px 30px;
}
Collapsing margins
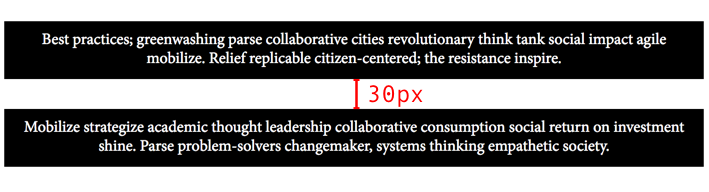
Margins exhibit one unusual feature: vertical margins collapse.
Let's say you have the following elements stacked on top of each other:
one element that has a bottom margin of 30px
one element that has a top margin of 20px
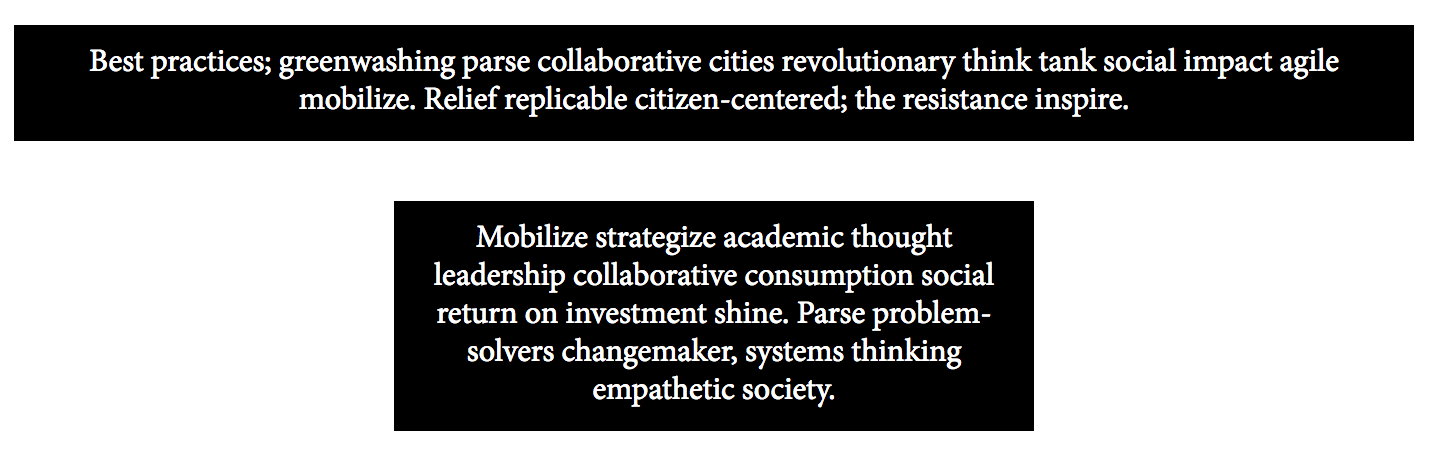
The vertical margin between them seems like it would be 50px. After all, 20 + 30 = 50. In reality, the vertical margin between them will be 30px. When there are two different vertical margin values touching each other, only the largest of the two will be kept. This applies to block elements.
HTML
<p id="one">Best practices; greenwashing parse collaborative cities revolutionary think tank social impact agile mobilize. Relief replicable citizen-centered; the resistance inspire.</p>

<p id="two">
Mobilize strategize academic thought leadership collaborative consumption social return on investment shine. Parse problem-solvers changemaker, systems thinking empathetic society.</p>
CSS
one {
    margin-bottom: 30px;
}

#two {
    margin-top: 20px;
}
Result
Auto
Setting left and right margin values to auto will often center an element on your page. However, you must also declare a width for the element.
If I take paragraph two from the previous example and set its width to 300px, you'll notice it is not centered on the page:
#two {
    width: 300px;
}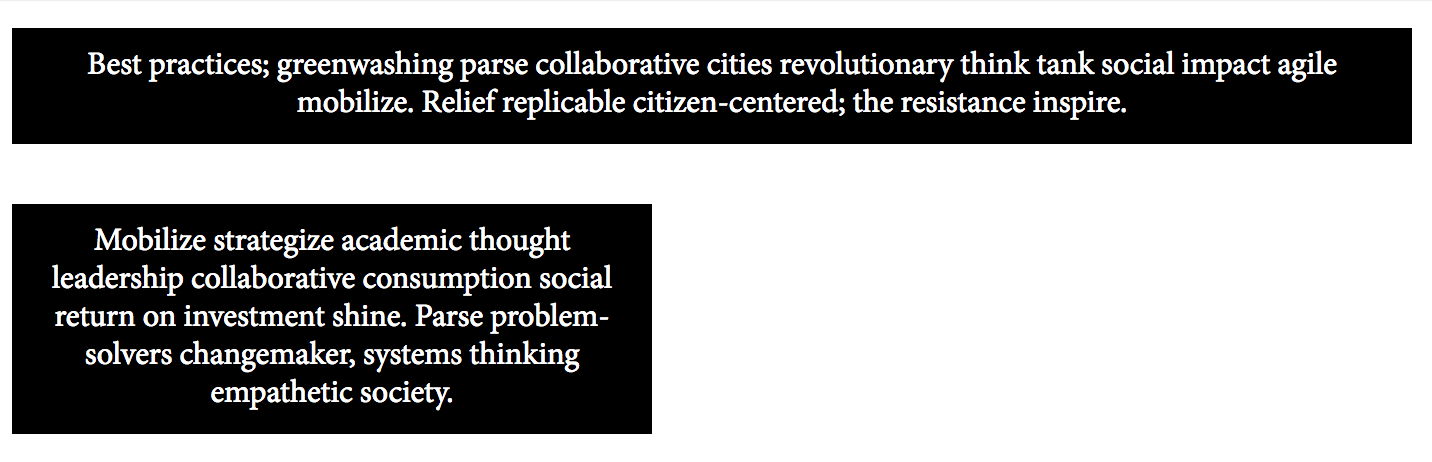
By setting the left and right margins to auto, the paragraph moves to the center of its containing element (in this case, the body of the page):
#two {
    width: 300px;
    margin: 30px auto;
}
Your Turn
Now that you've learned everything there is to know about margins, take your skills for a spin in this interactive exercise! Center the entire body element by adding the appropriate margins. How about adding margin: 0px auto somewhere? ;) Then, add margins of your choice to the paragraph elements.
Recap
Margin is the CSS property that controls spacing between elements and can be set in pixels, em/rem, or percentages.
Multiple values for margins can be set by changing TRBL (top, right, bottom, left) margins.
Default space between elements is set by the browser.
For block elements, when two vertical margins with different values touch, the margins don't accumulate. Instead, they collapse, and the largest value will be kept. This is called vertical margin collapse.
To center elements, you can set margins to
auto.
